
Even if you’re designing a website for a company that needs to play it safe marketing-wise, that doesn’t mean you can’t have a little fun with the design.
Take the Careers microsite that so many companies have. As long as you’ve accurately communicated the benefits of working for the company and the design is done tastefully, a few eye-catching touches can help make your content more engaging.
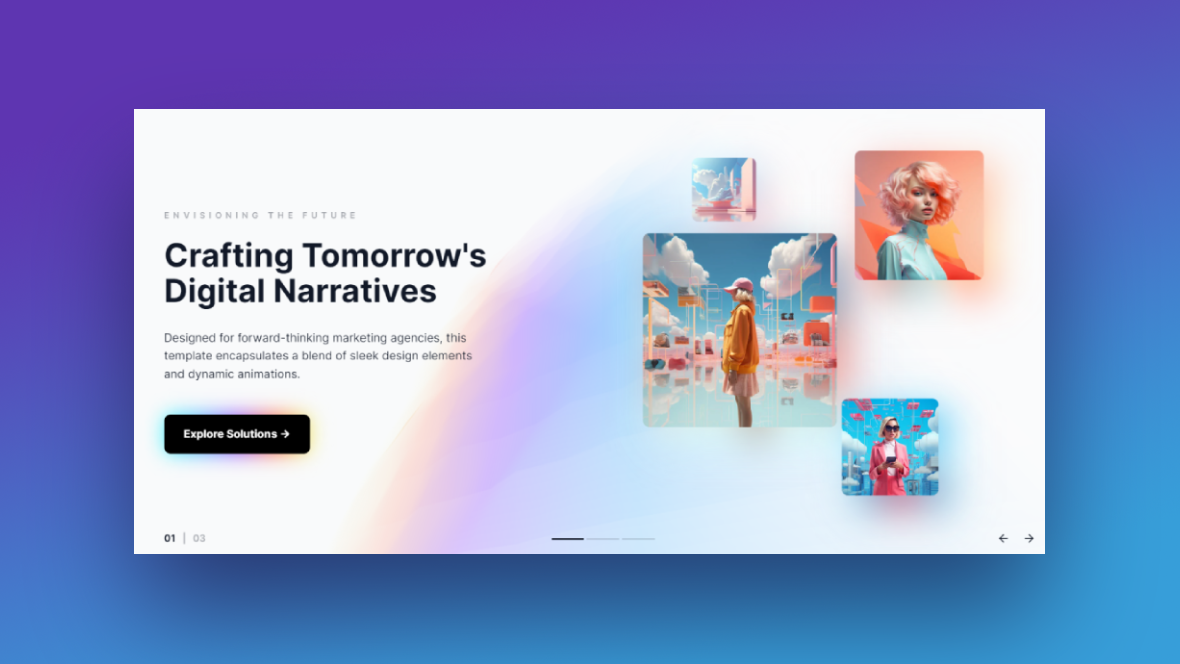
In this tutorial, we’ll show you how to strike that perfect balance. We’ll demonstrate how to create an eye-catching hero image using the FutureSight Digital Marketing template.
Table of Contents:
- Step 1: Delete all global layers
- Step 2: Delete Slides 2 and 3
- Step 3: Edit hero section background
- Step 4: Customize the text
- Step 5: Edit the button layers
- Step 6: Upload your images
- Step 7: Customize the particle wave
How to create an eye-catching hero section for your Careers page
This template can be used for a wide variety of digital marketing purposes.
In this tutorial, however, we’re going to show you how to create an eye-catching hero section for the Careers page of a food delivery company. The gradient and particle effects are more subtle, but nevertheless effective and engaging.
Here are some quick-start guides to help you navigate Slider Revolution if this is your first time using the plugin:
Step 1: Delete all global layers
We’re converting this slider into a single hero image. That means we don’t need any of the navigational elements found at the bottom of the slides.
To remove them, go to “Slides” in the top toolbar and select Global Layers.
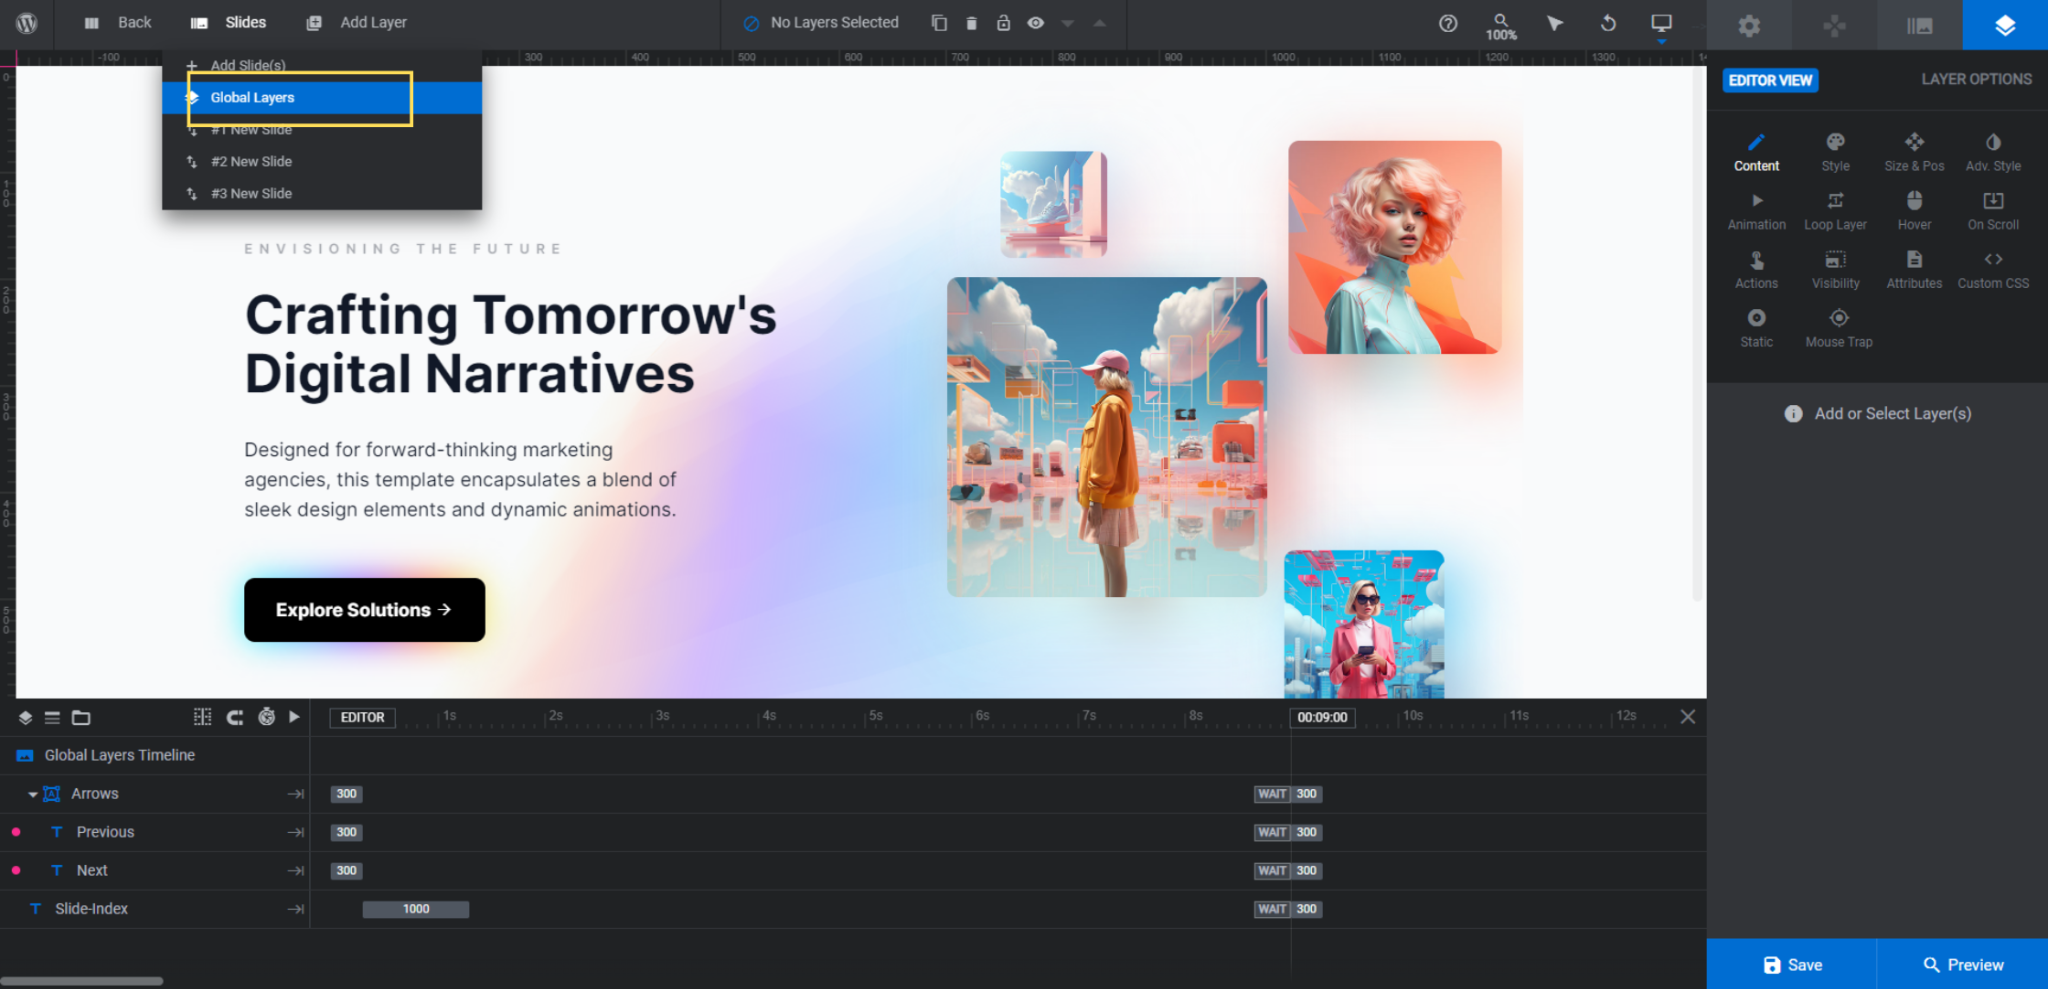
You can either click on each layer in the timeline editor and hit Backspace or delete. Or you can hold down the Ctrl or command key, select the Arrows and Slide-Index layers. Then delete them.
Learn more:
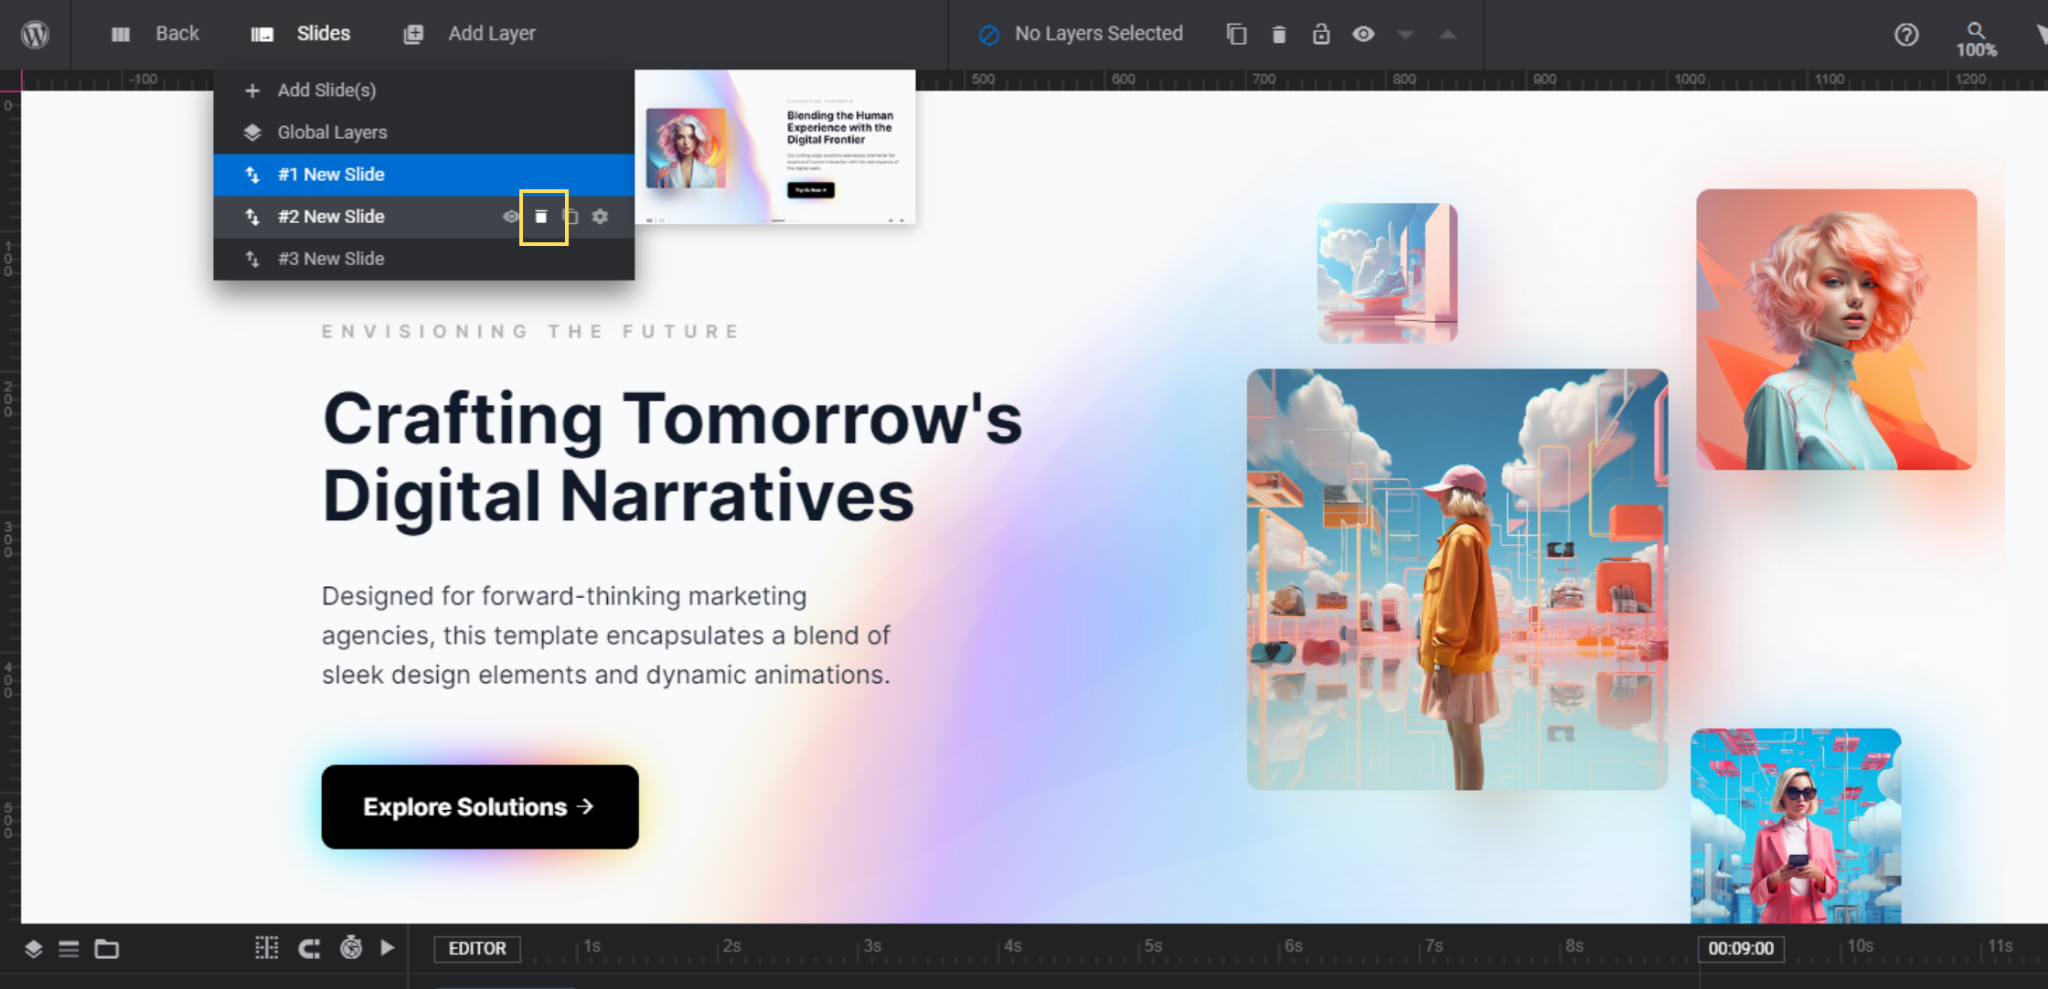
Step 2: Delete Slides 2 and 3
Open up the “Slides” drop-down once more. To turn this multi-slide hero section into a single slide, hover over the slides you want to delete.
Click the trash can icon that appears to the right of the slides to delete them.
Note: In this tutorial, we’re editing Slide 1. However, you can still follow along with these steps if you choose one of the other slide layouts for your hero section.
Learn more:
Step 3: Edit hero section background
If you’d like to change the background color, there are two places to go to do it.
The first is under “Module Options” > “Layout” > Module Background.
The other is under “Slide Options” > Background.
Locate the BG Color setting. Click on the color block. Then either select a new color from the presets in the bottom-right corner or input a custom HEX code into the Color field.

The color should be the same for both the Module and Slide backgrounds.
Learn more:
Step 4: Customize the text
There are three text layers in this hero section:
- Subtitle is the smaller line at the top.
- Title is the big, bold headline in the center.
- Description is the paragraph below it.
To change what each layer says, select it from the timeline editor or canvas. Then go to “Layer Options” and “Content” to edit the text.
Note: If you want to force a line break in the Title, hit the Enter or return key in between the words where you want it to appear. You can also add <br /> between the words.
To customize the font and appearance of the text, go to the “Style” tab and make your changes accordingly.
In addition to changing the font, you can customize the color, transparency, weight, size, spacing, and more for each layer of text.
Learn more:
Step 5: Edit the button layers
There are two layers that make up the button design.
Button is the traditional button layer in the foreground. Behind it is Button-Shadow. It is a mirror image of the button. However, it has a special filter applied to it that gives it that glowing appearance from behind.
Use the “Content” and “Style” settings to customize the text and font of both button layers.
Note: There is an arrow icon in the template’s button. To keep it, leave the icon code in the text editor. To change it, delete the code, click on Icon above the editor box, and choose a replacement icon.
To adjust the colors of the button, there are a number of places to do it.
For the Button layer:
- Use “Style” > “Background” to change the normal background color.
- Use “Hover” > “Style” to change the color in its hover state. You can also change the text color here.
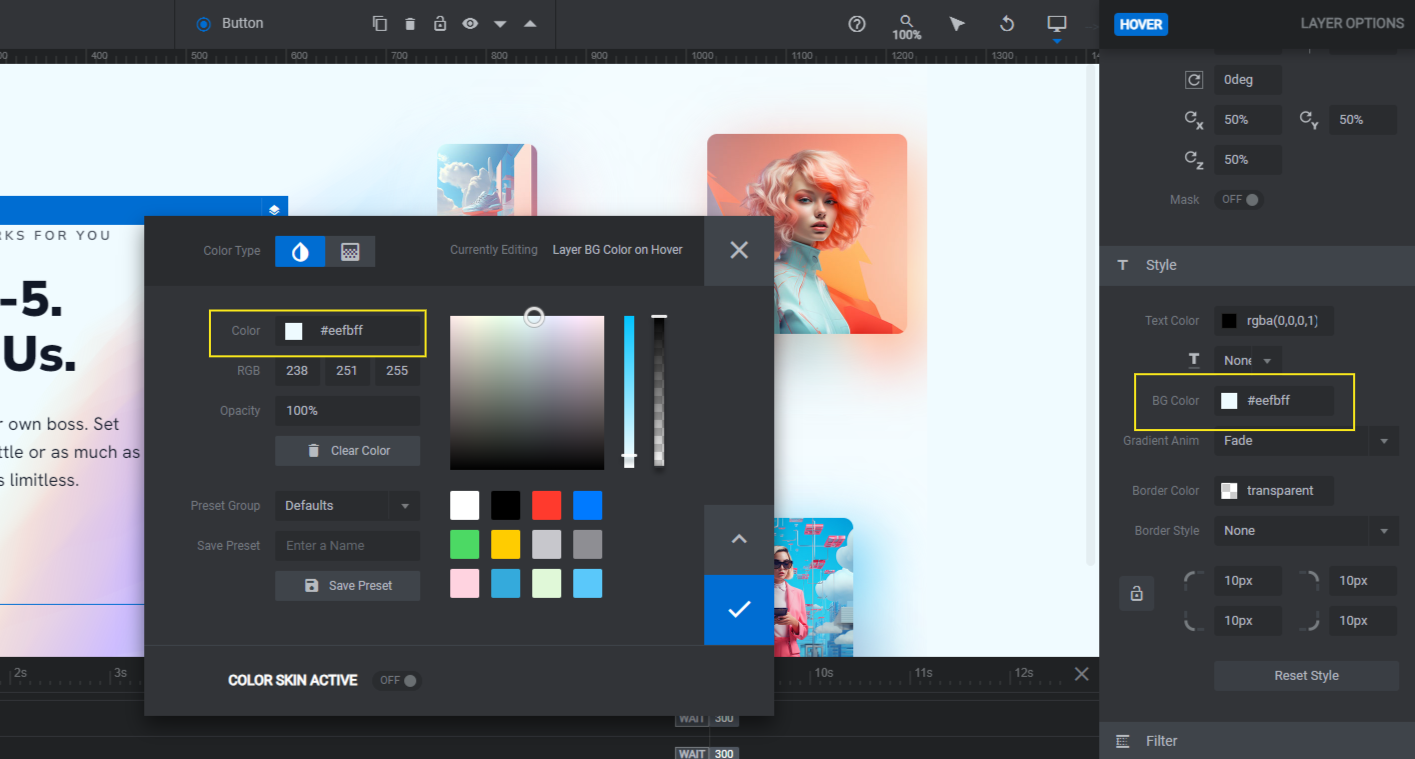
For the Button-Shadow layer, use “Style” > “Background”. However, rather than apply a solid color, create a gradient.
Pro tip: For the best results, replace the existing colors on the gradient bar. That way, you’ll preserve the angle of the gradient glow around the button. You can delete one or two of the colors if you don’t need that many to create your gradient.
The last thing to do with the Button layer is to apply a custom action to it. Go to “Actions” and choose the action from the list on the right.
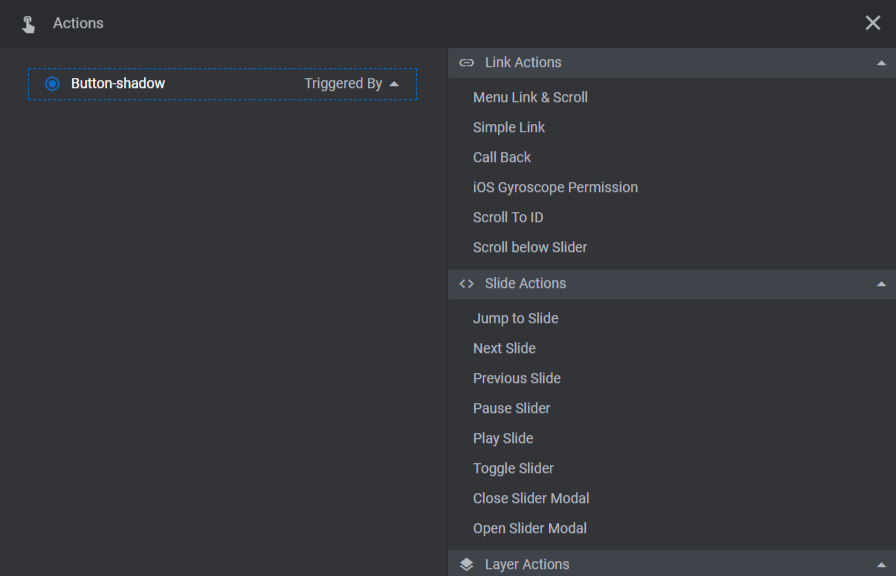
A Simple Link will link to a different page.
Scroll To ID or Scroll below Slider are also commonly used options. When clicked, the button will automatically scroll users to a different part of the page.
Choose the option you prefer, configure the settings, and then close the pop-up to save your changes.
Learn more:
Step 6: Upload your images
There are four images in this template, but eight image layers to edit.
The Image-Shape-# layers are the images that appear in the foreground. The Blur-Image-Shape-# layers are the filtered versions of the images that you see poking through in the background.
To replace each of these layers, select each from the timeline editor. Then go to “Layer Options” and “Content” or “Style” to upload the replacements.
Note: For faster editing in Slider Revolution, have your images sized to match the existing image placeholders:
- Image-Shape is 300px by 300px.
- Image-Shape-2 is 600px by 600px.
- Image-Shape-3 is 400px by 400px.
- Image-Shape-4 is 200px by 200px.

By the way, if you want to customize the appearance of your images or their blurry counterparts further, use the following settings to do so:
- “Style” > “Border” to change the rounding or squaring of the corners.
- “Animation” > “Layer Filter” to customize the blurred filter and brightness of the background image.
- “On Scroll” > “Parallax & 3D” to change the side-to-side motion.
Once you’re done uploading and customizing your images, save your changes.
Learn more:
Step 7: Customize the particle wave
The last component to customize is the particle wave that appears behind the images. What you do with this animated feature depends on the theme of your hero section and imagery.
For instance, if you’re creating this hero for a marketing or technology company, a super colorful wave animation would probably look great in your design. For our more buttoned-up Careers page, we need to take a different approach.
To customize this feature, locate the Particle-Wave layer in the timeline editor. Then click on the “Particle Wave” settings.
To start, decide if you want to keep the Web-styleparticle wave. If you drop open the Particle Effects Library and Default Presets, you’ll find other options to choose from.
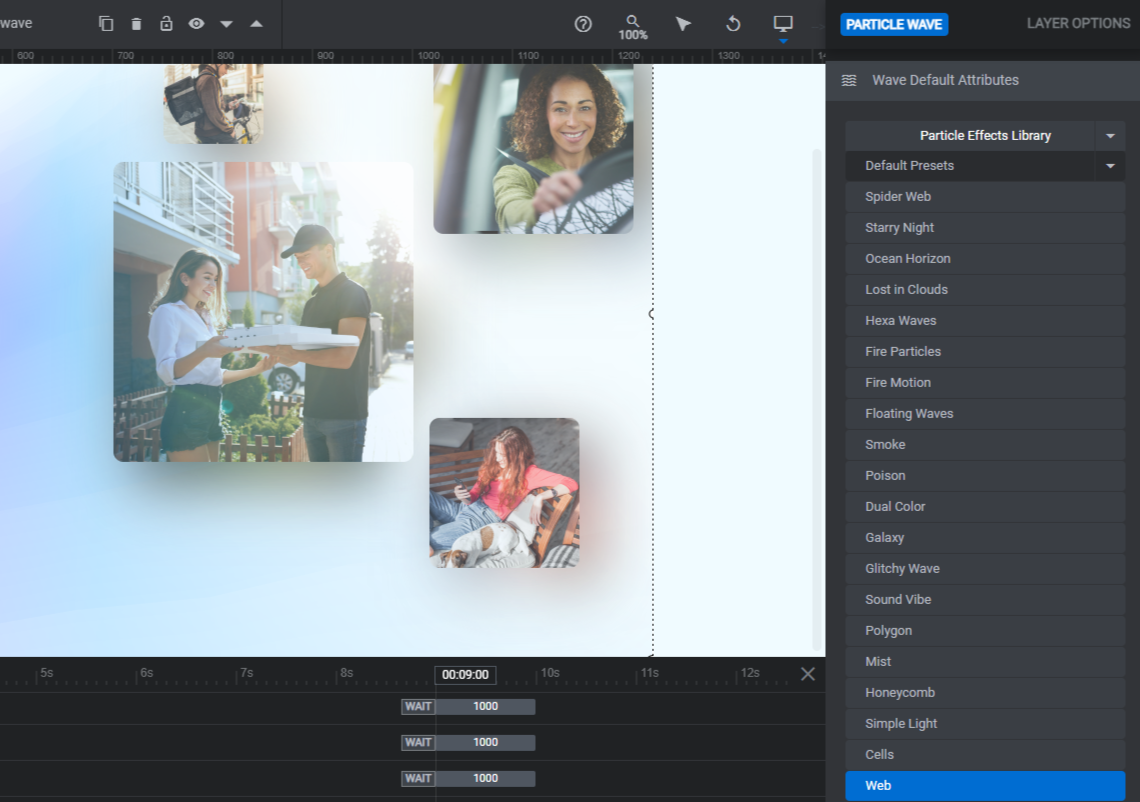
We’ll be changing ours to Sound Vibe.
Note: The settings are the same regardless of which effect you use. So even if you don’t change the type of particle wave, you can still follow the next steps.
You’ll find six settings to configure:
- Wave allows you to alter the speed, curve, amplitude, and more.
- Particles enables you to customize the colors, shapes, style, and so on of the individual particles as well as the lines or shapes that fill the spaces between them.
- Scene allows you to tilt and refocus the particle wave.
- Fade gives you the ability to apply a fade effect to different parts of the wave.
- Motion allows you to change the type of particle wave motion as well as to make it interactive.
- FX enables you to apply a blur or glitch effect.
Pro tip: If you decide to try a different particle wave effect and want to keep it on the right side of the design, open the Scene tab. Set the Angle to -145deg and the Tilt to 45deg.
Preview your new design. If you’re happy with how it turned out, save your changes. You can then either grab the shortcode from under “Module Options” to embed the hero section into your page or you can do it using the Slider Revolution widget in your page builder.
Learn more:
Wow your users with an eye-catching hero design
You don’t need psychedelic, colorful imagery or a hi-tech concept in order to use the FutureSight Digital Marketing template. This design can easily be repurposed and used to create an eye-catching hero for any type of business. All you need to do is come up with gradients and a particle wave effect that match your overall theme.


