Create a Facebook Media Feed From Scratch
This guide explains creating a Facebook media feed module using the Slider Revolution plugin.
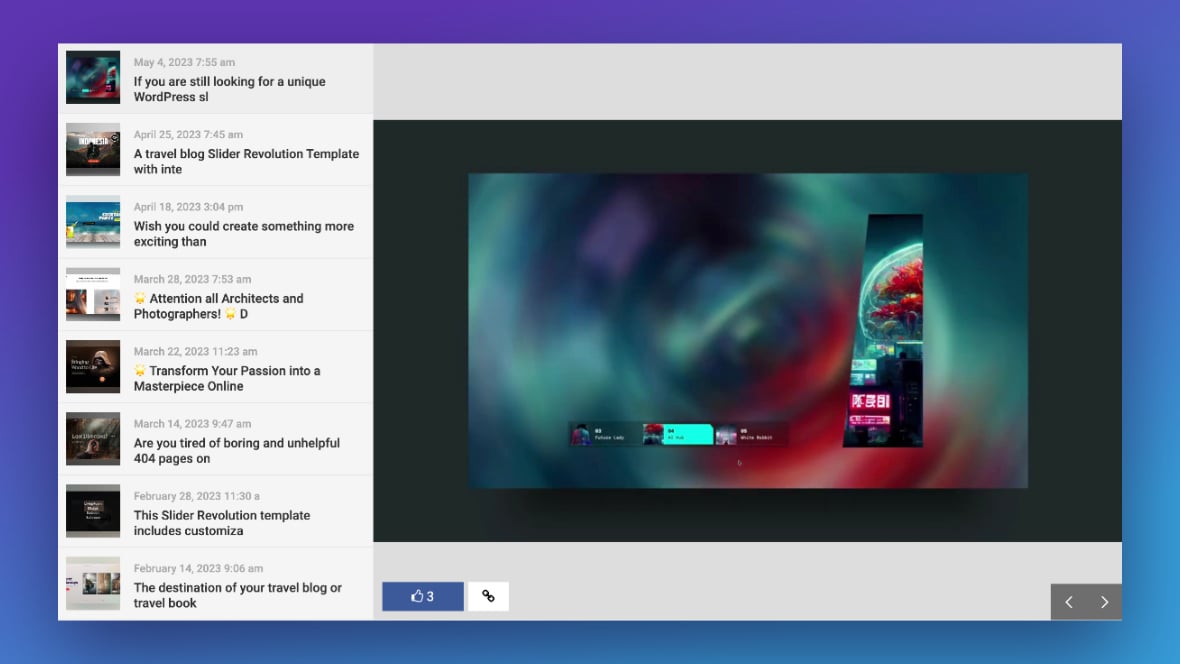
Table of Contents
Integrate Facebook Feed into Your Website with Slider Revolution
Integrating a Facebook feed into your website using Slider Revolution offers numerous advantages. Showcasing captivating media elevates user engagement. For content promotion or audience entertainment, seamless Facebook feed integration enhances your site’s appeal, ensuring visitors return for exciting media content.
Create a Blank Module / Import Template
If you’re new to the Slider Revolution [?]
Slider Revolution is a website content creation tool with a focus on captivating animation and stunning visual effects.
It began its life as a plugin for creating slideshows, but has evolved into a fully fledged piece of design software. Plugin and want to learn how to create a blank module [?]
A module in Slider Revolution acts as a container for slides, which in turn act as containers for layers. Modules are created and edited with the module editor.
A "module" is a single, self contained piece of content. You can think of this as being similar to the way a post or page in regular WordPress is a self contained piece of content.
A module can represent any kind of content Slider Revolution is capable of creating, such as a slider, carousel, hero unit, navigation menu, posts display and so on.
Multiple modules can be combined to form rich content such as complete sites and landing pages. or import a template [?]
A "Template" is a premade module. It has pre-configured layers already in place.
It is designed to be ready for use, either as is or after being modified in the module editor.
Slider Revolution comes with several templates you can use, or alternatively you can create your own templates, thereby allowing you to easily reuse modules you have produced., check out the manual. It provides step-by-step instructions to guide you through the process.
Content Source
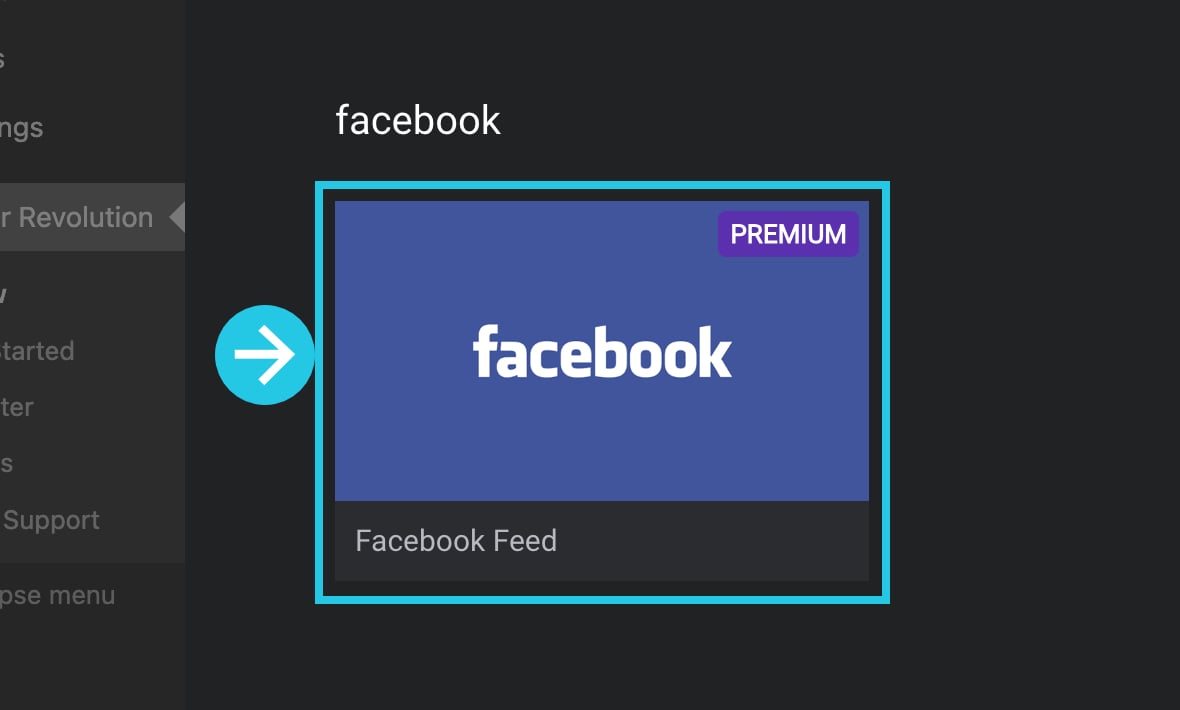
Hover over the newly created module:
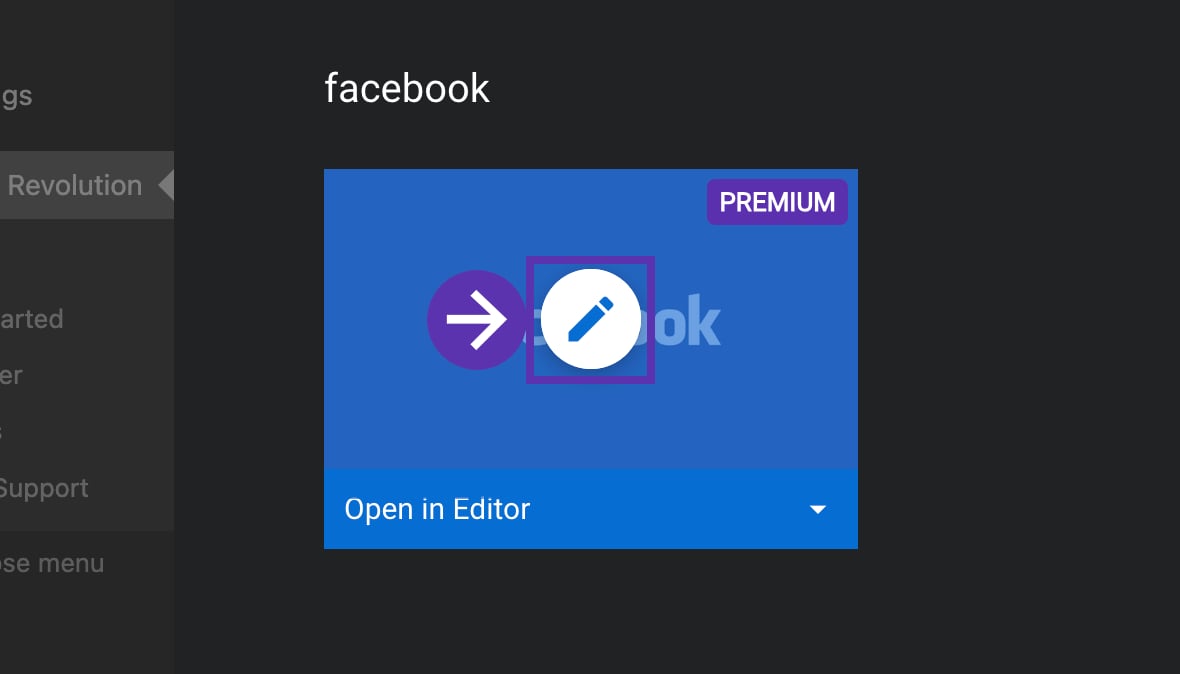
Click on the pencil icon to edit the module:
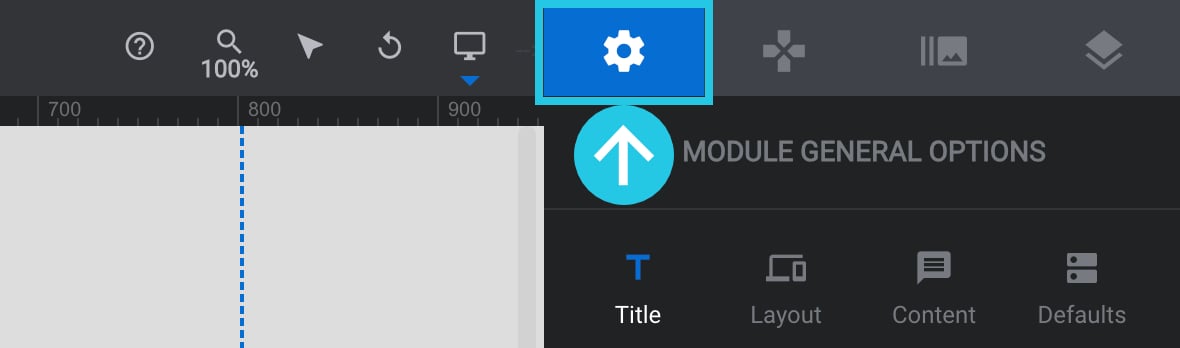
Go to the Module General Options tab from the right sidebar:
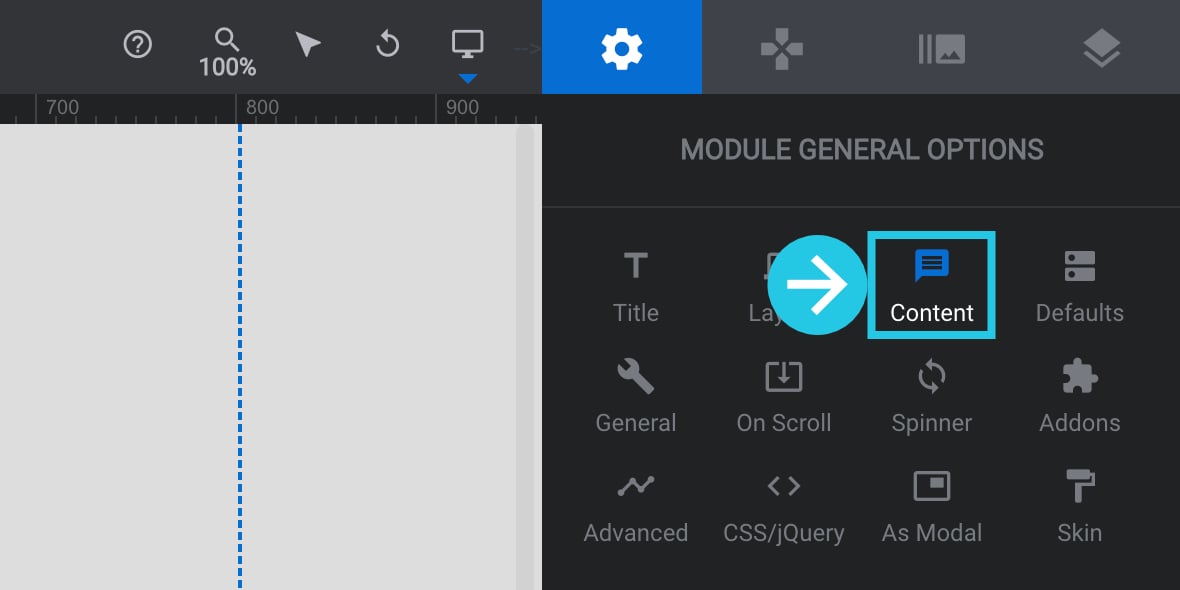
Go to the Content sub-section:
Scroll down to the Content panel:
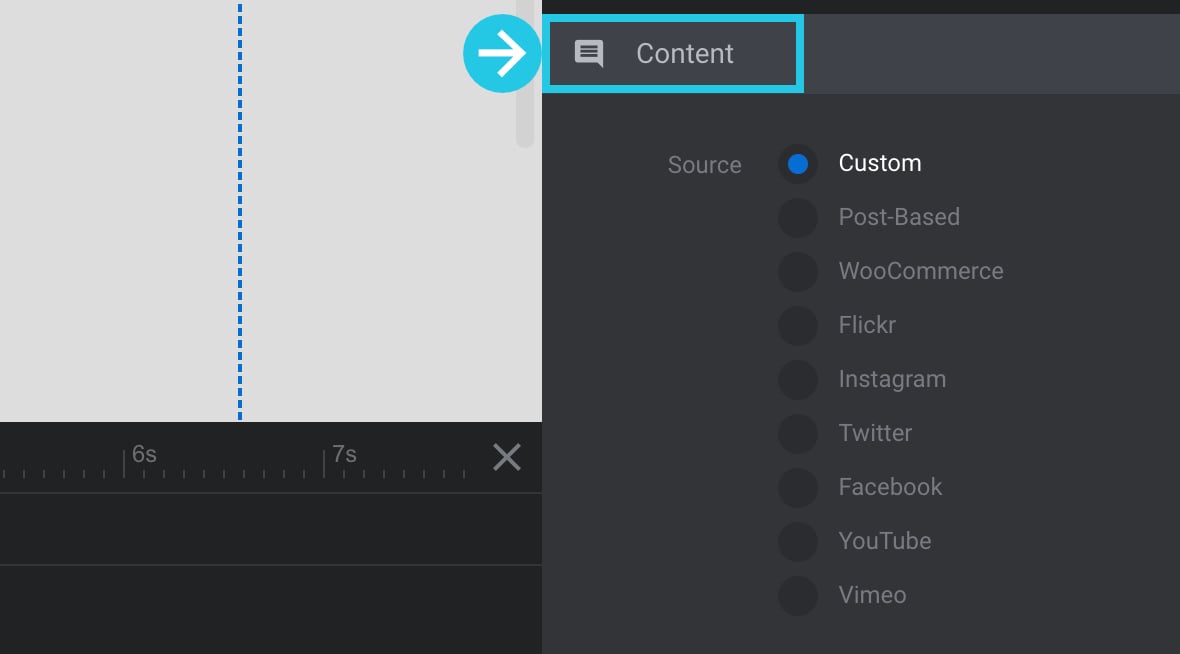
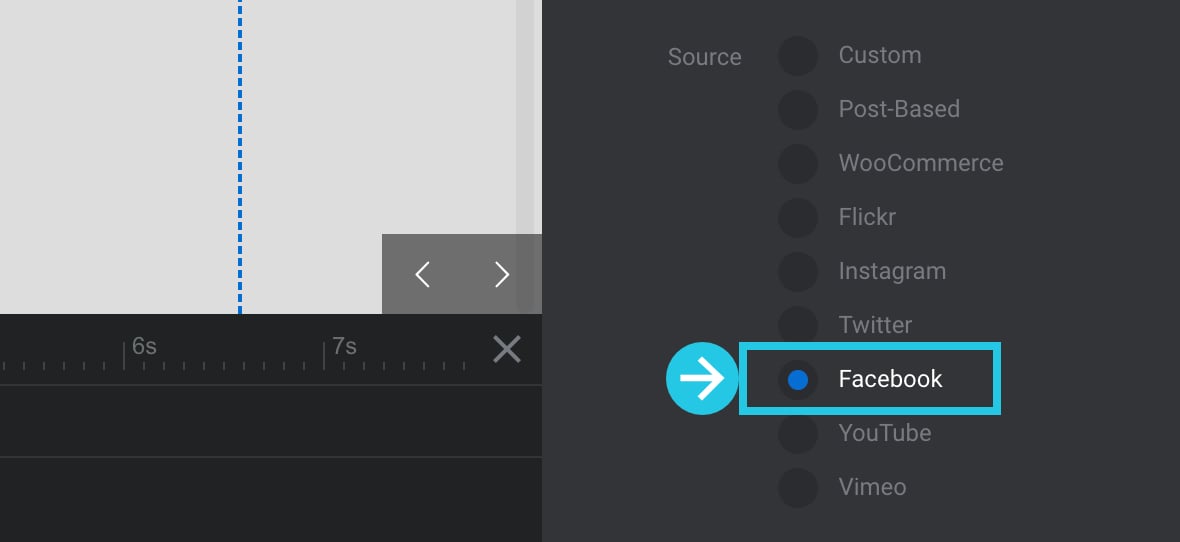
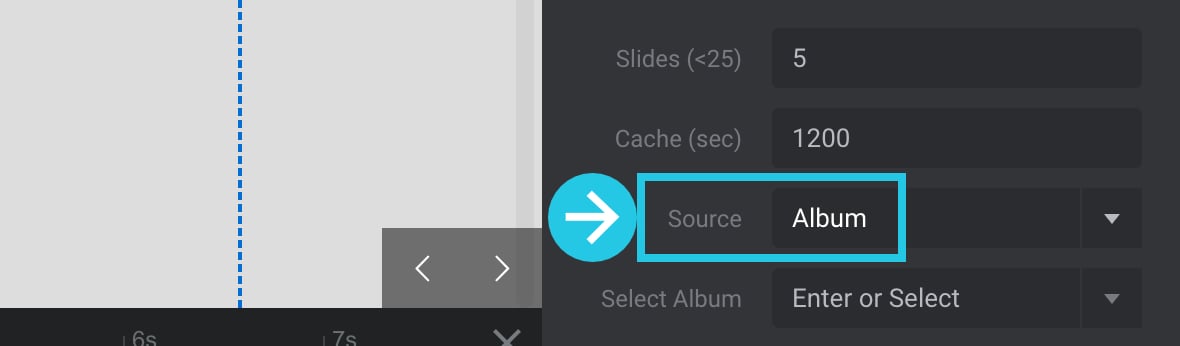
Select the Facebook setting from the Source option:
Scroll down to the FaceBook Settings panel:
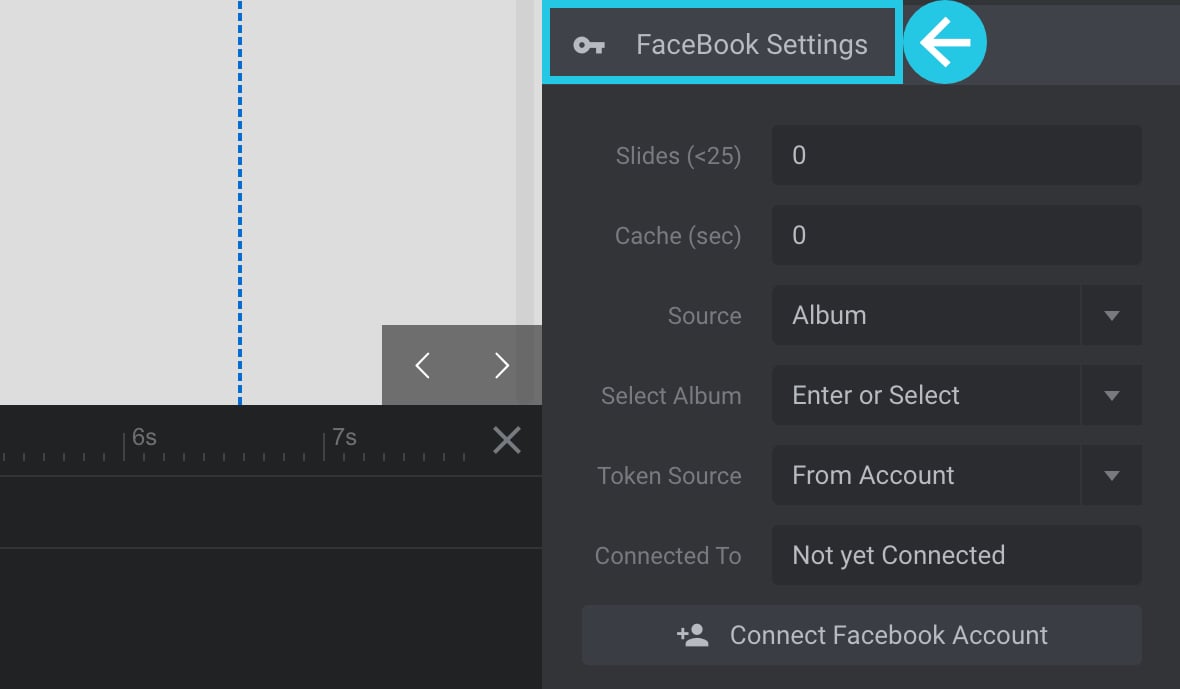
Facebook Settings Panel
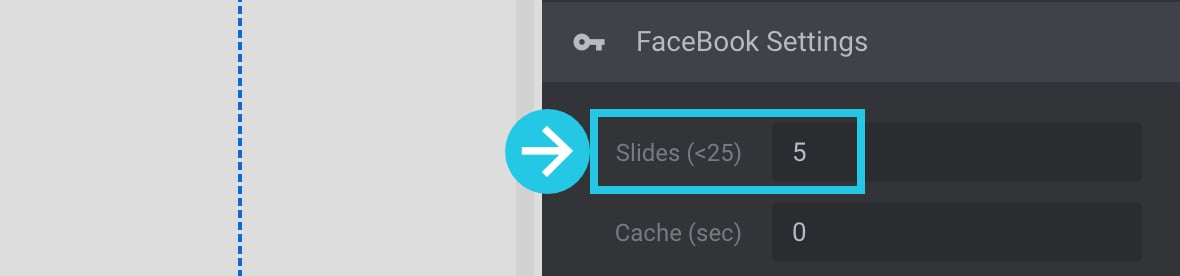
Slides
In the Slides option, you can choose several slides that should be created with Facebook content. For example, if you wish to have five slides with Facebook media, you can input 5 in the input field:
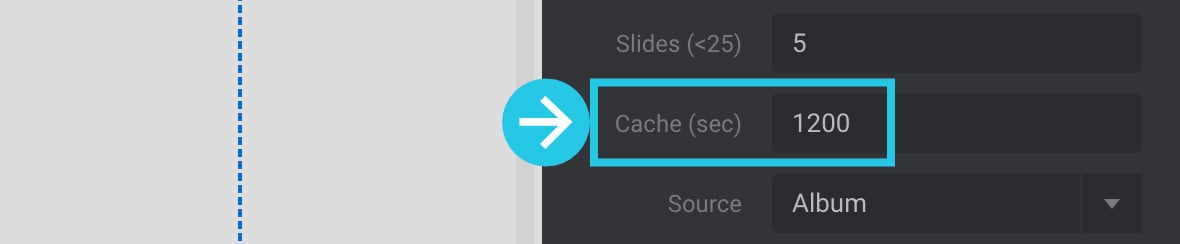
Cache
The Cache option helps make Facebook media load faster. This option saves the media in a temporary storage area called a cache, so the website can access them more quickly the next time users visit. This means users can immediately load the media whenever they visit the website. So, the Cache option helps make browsing the internet faster and more enjoyable!
By default, the Cache option has a delay value of 1200 seconds; the Facebook API will be called every 1200 seconds later; You can change the interval for how often the Facebook API should be called:
Source
Click on the Source dropdown menu to see all options:
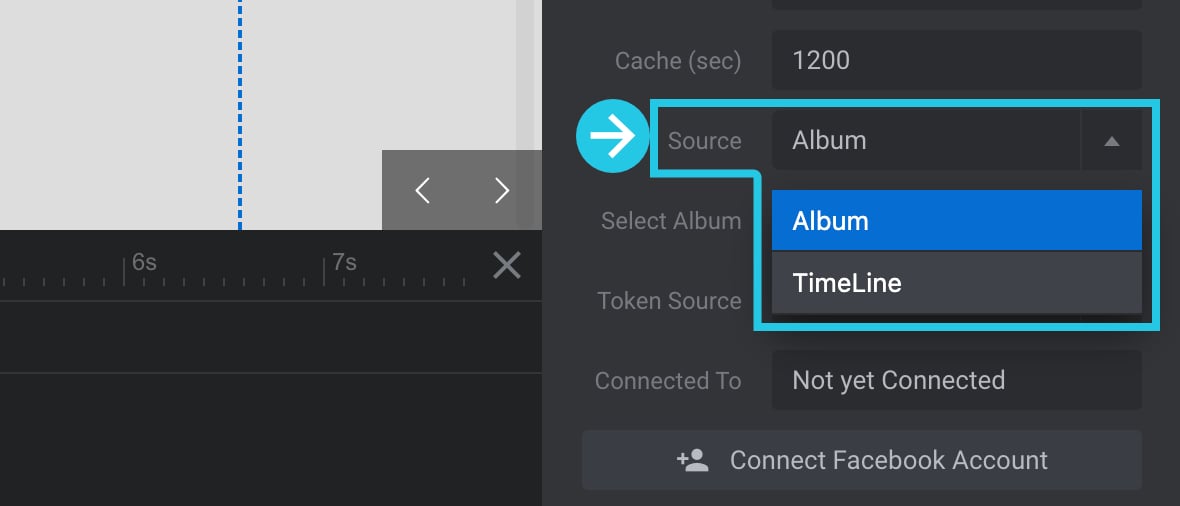
Album
Click on the Album setting to load all the albums on a Facebook profile:
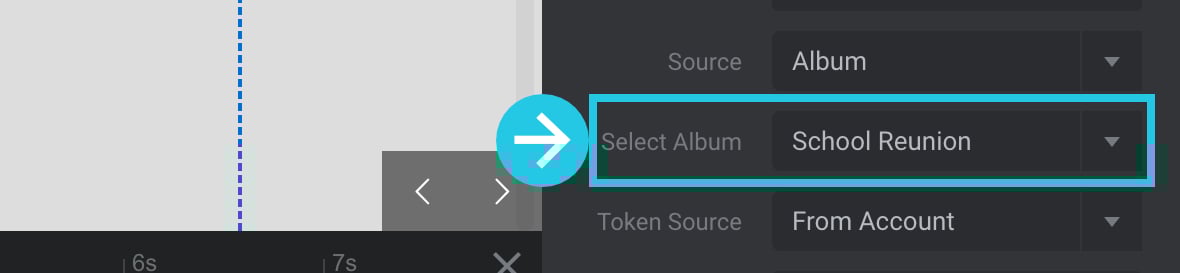
Select Album
Select any of the albums of your choice:
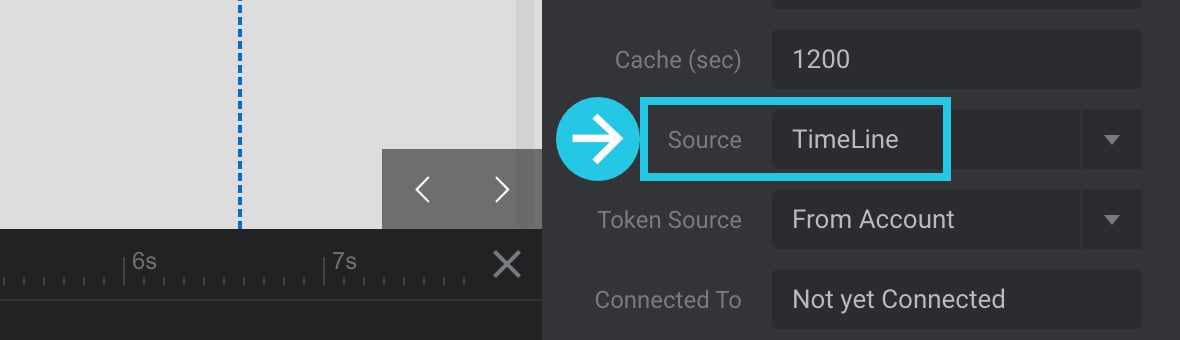
TimeLine
Selecting the TimeLine setting will load media from a Facebook profile timeline only:
Token Source
There are two methods to fetch Facebook media feed into the Slider Revolution module. You can either select the From Account setting to connect your Facebook account or choose the Manual setting to get access to a Facebook account using Access Token.
From Account
Click on the Token Source dropdown option:
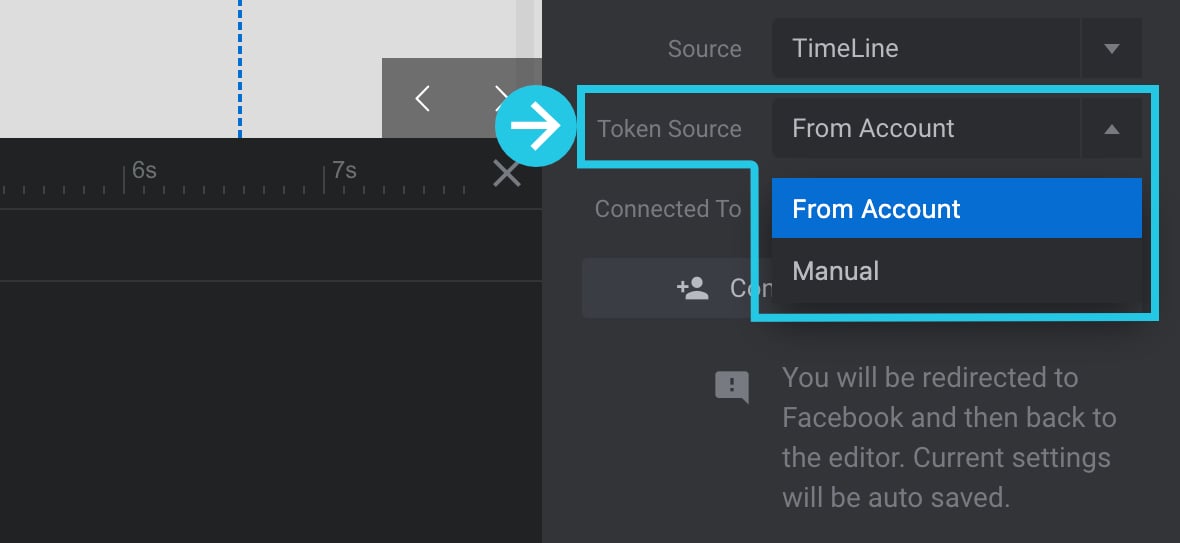
Select the From Account settings:
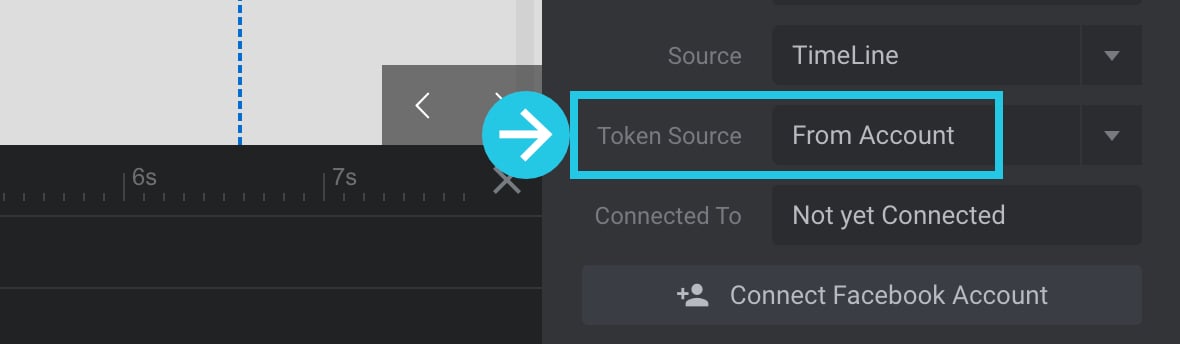
Connected To
Click on the Connect Facebook Account button:

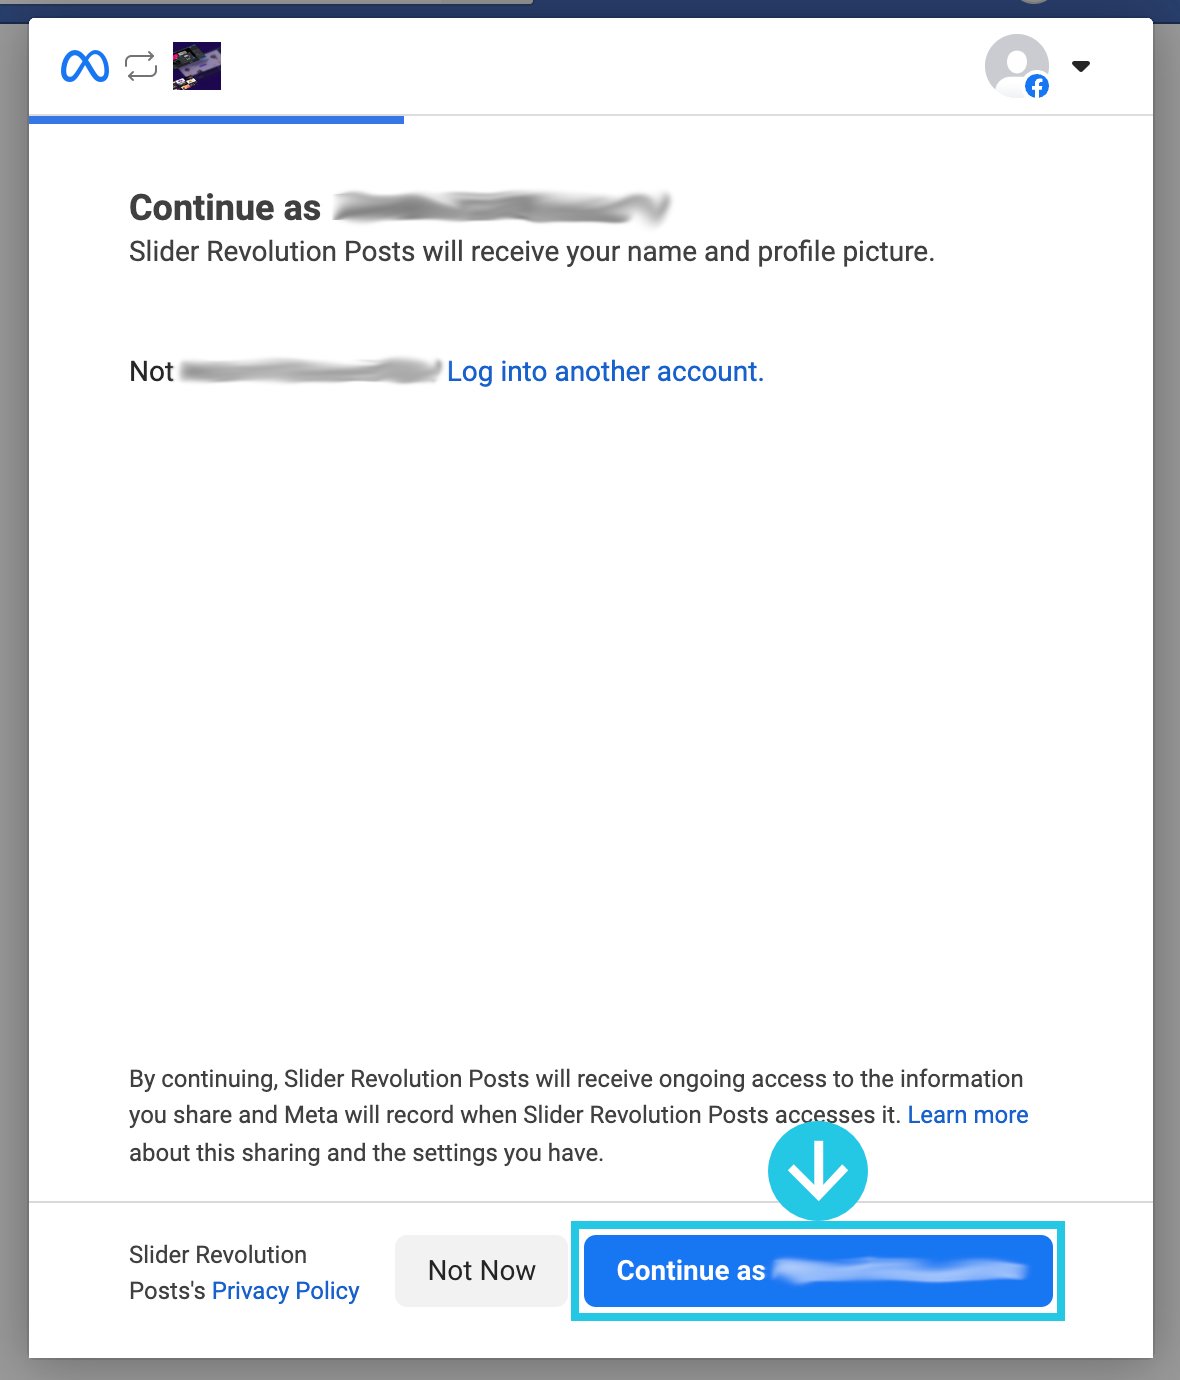
The button will lead you to your Facebook account and will ask you for permission to allow Facebook to connect to the Slider Revolution plugin. Click the Continue button:
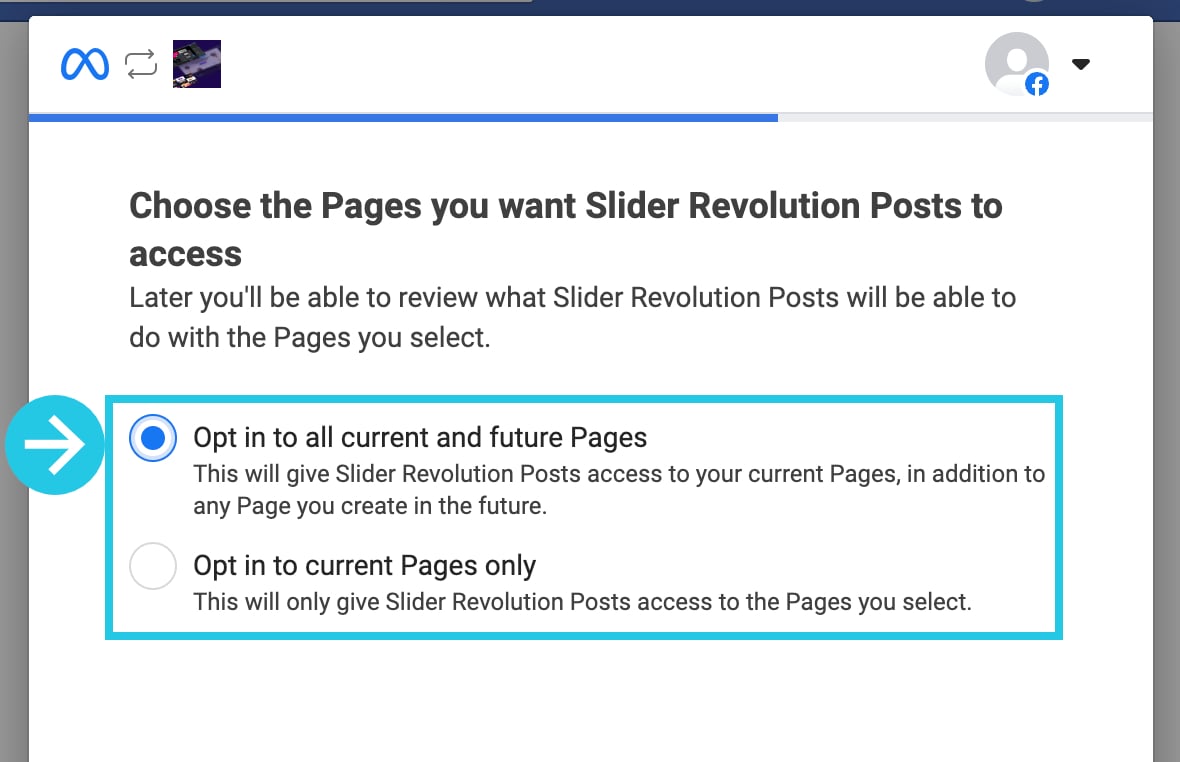
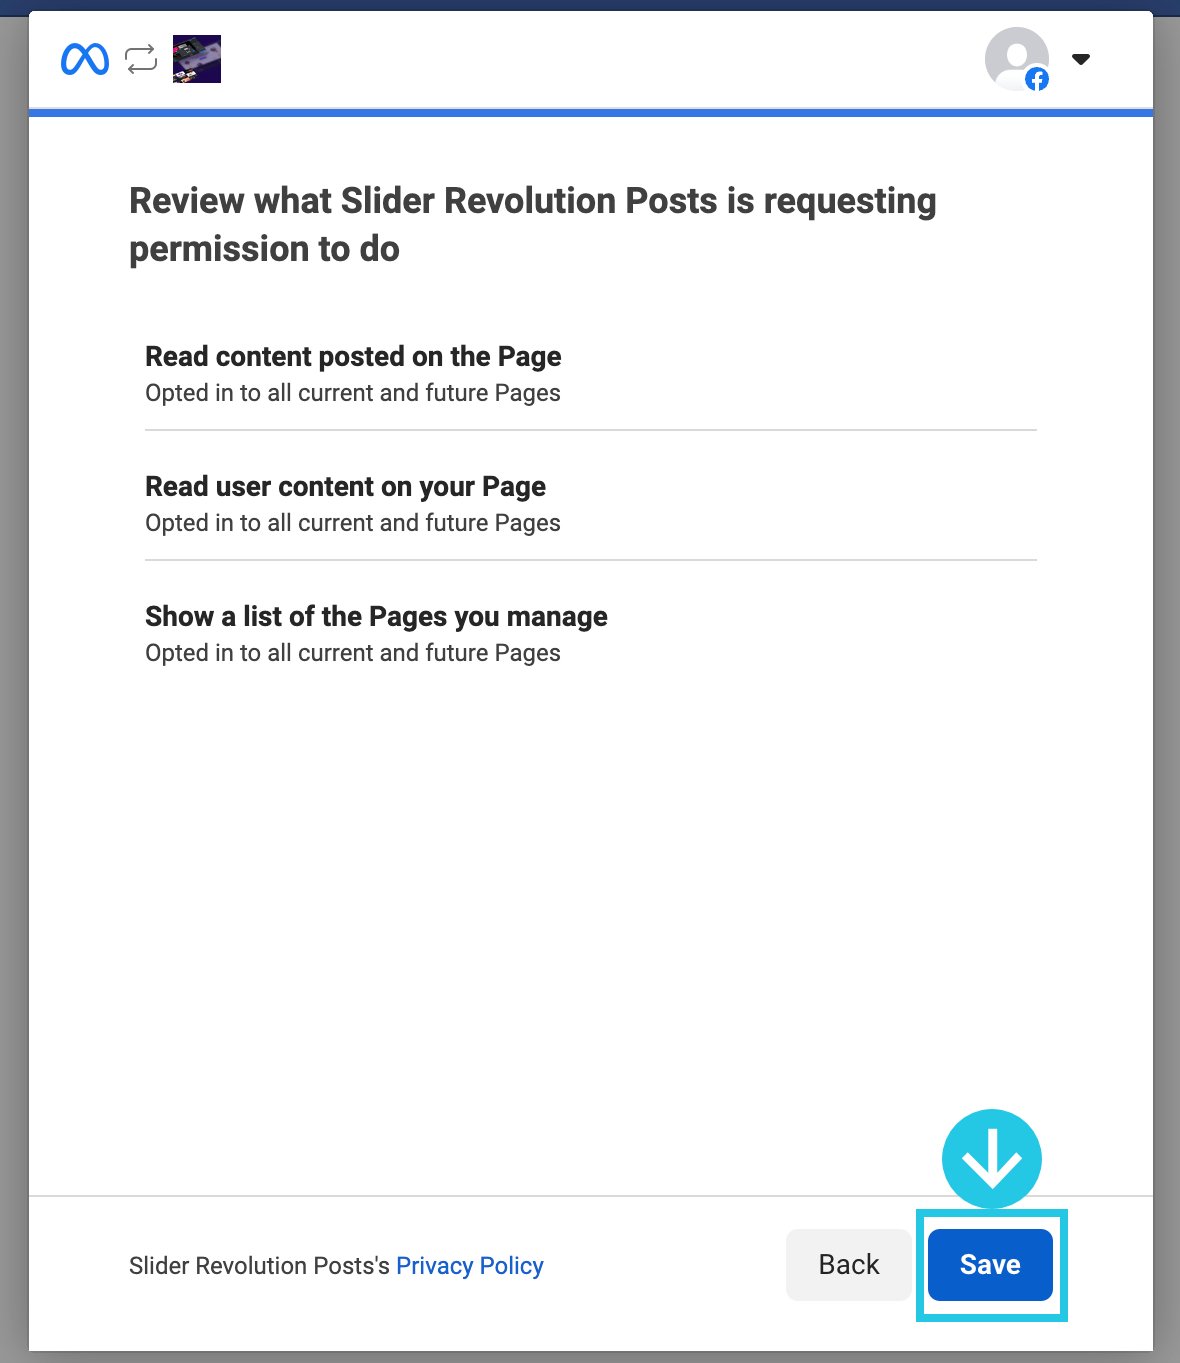
After that, you will see another popup, “Choose the Pages you want Slider Revolution Posts to access”.
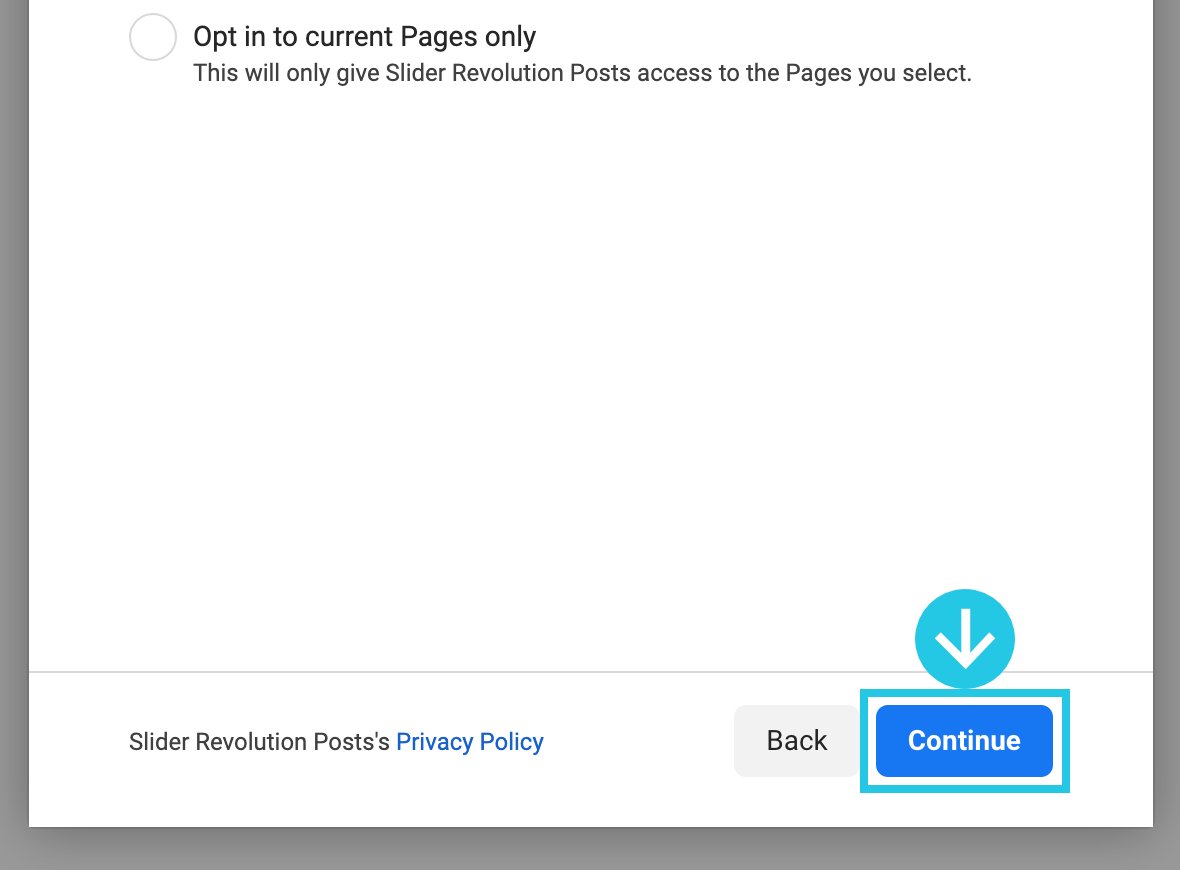
Select one of the options from: “Opt in to all current and future Pages” or “Opt in to current Pages only” option:
Click the Continue button:
Click the Save button:
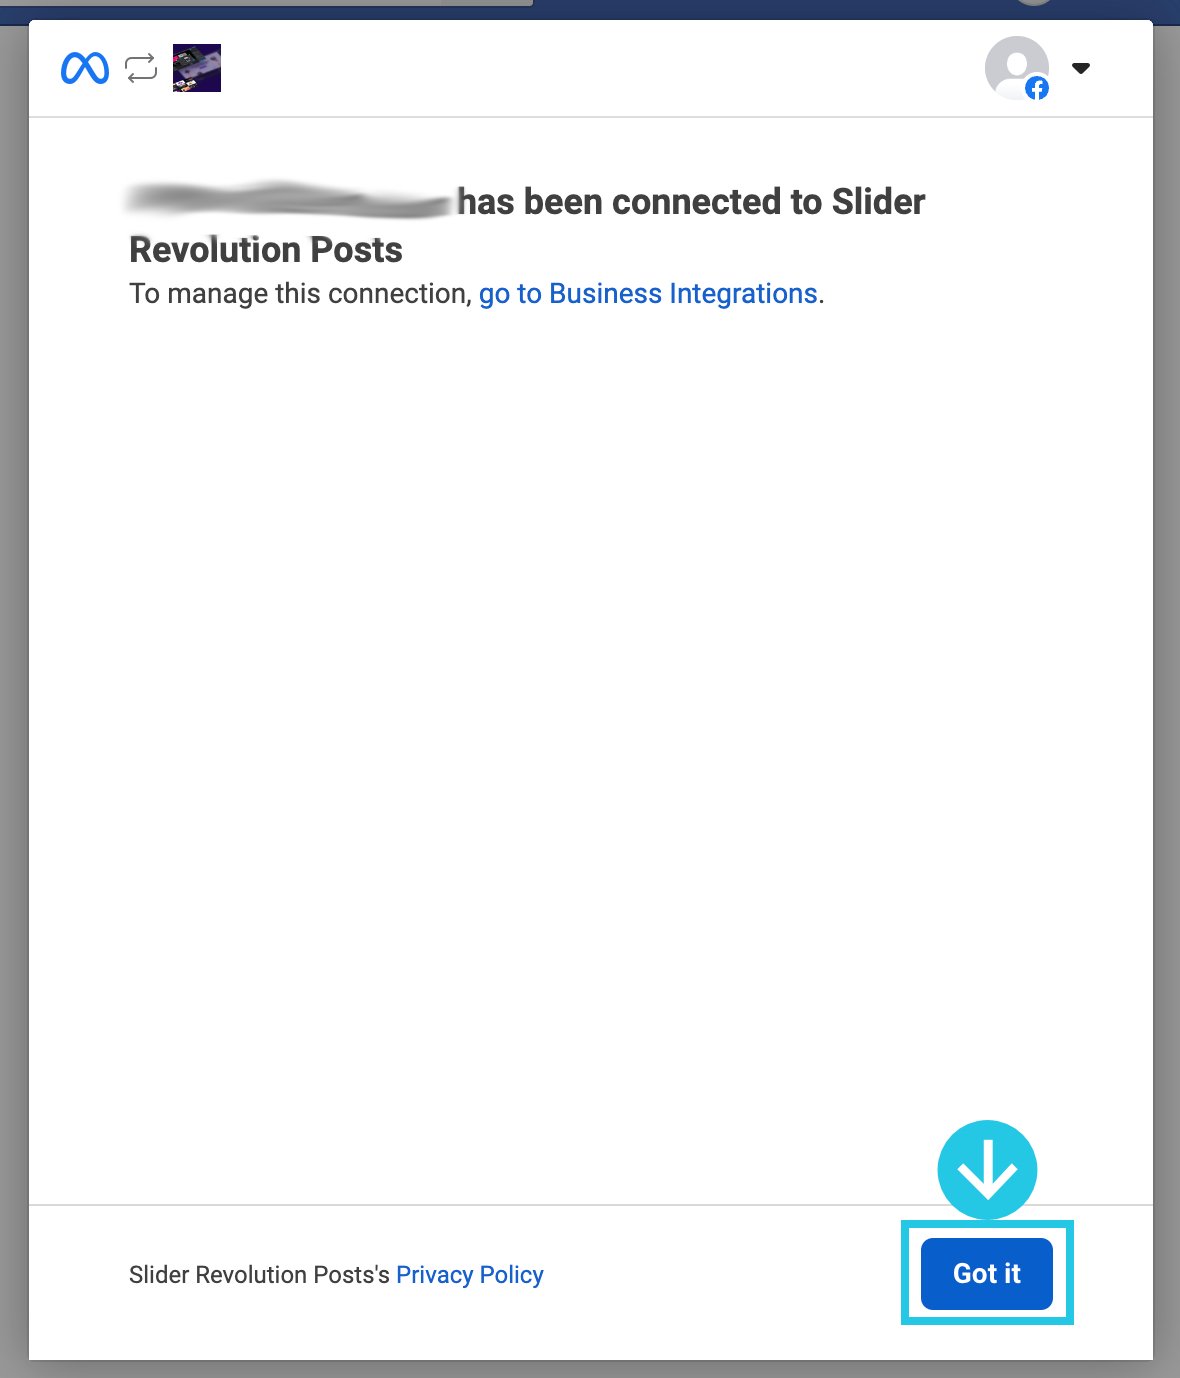
In the next window, you will see the message “Username has been connected to Slider Revolution Posts”. Click the Got it button:
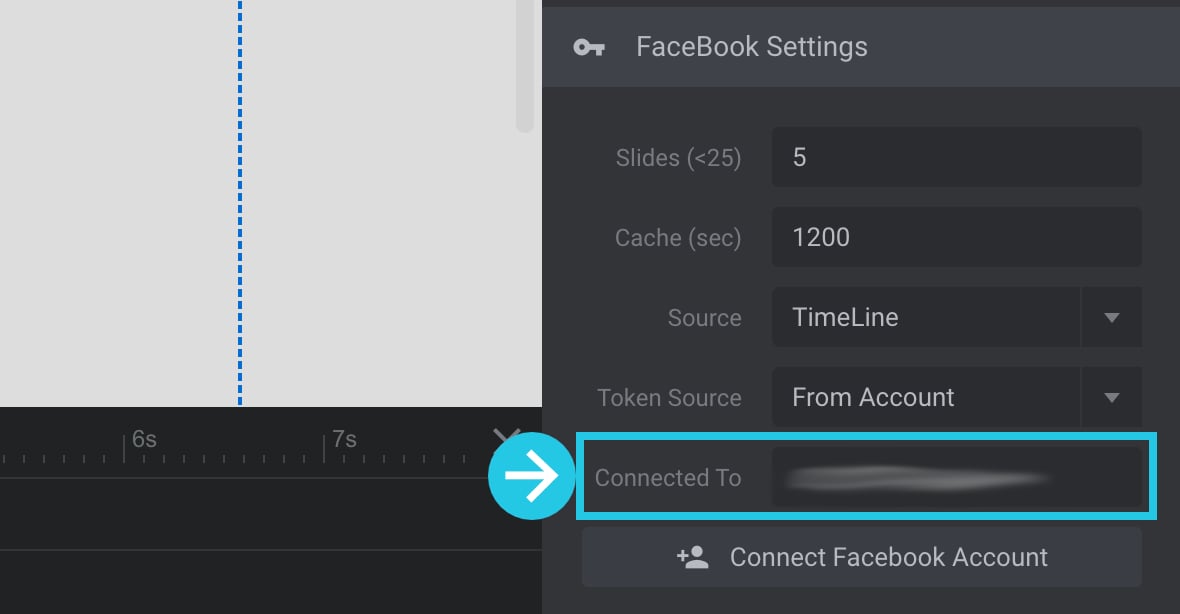
Your Facebook page username will automatically appear in the Connected To option field:
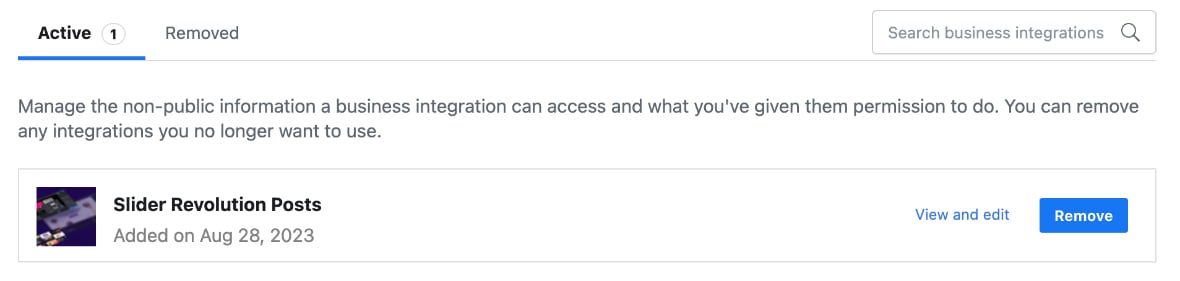
You can see the authorization to the Slider Revolution plugin in the Settings & Privacy > Settings > Business Integrations > Active tab:
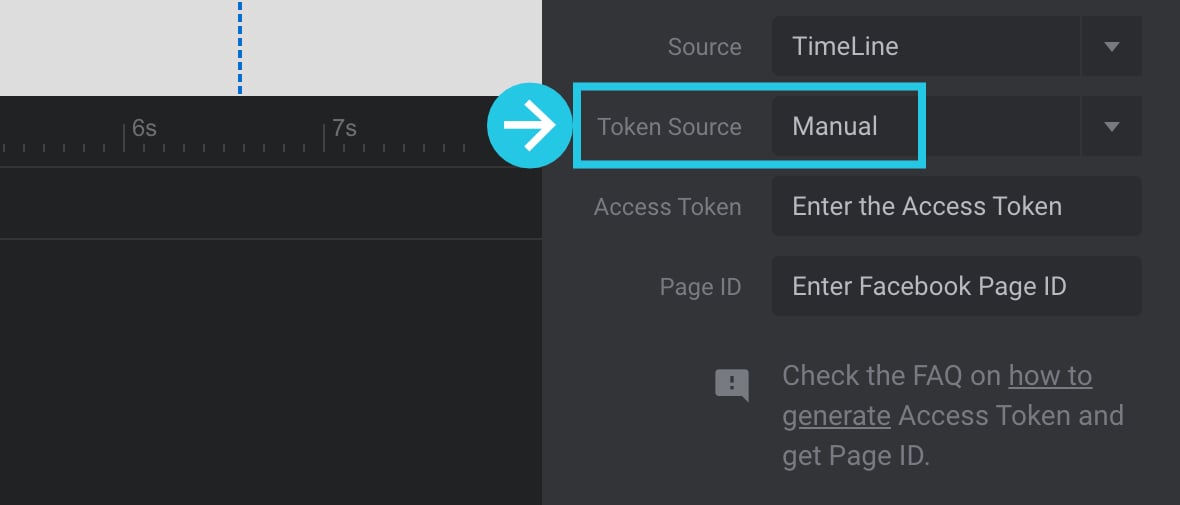
Manual
Click on the Token Source dropdown option:
Select the Manual settings:
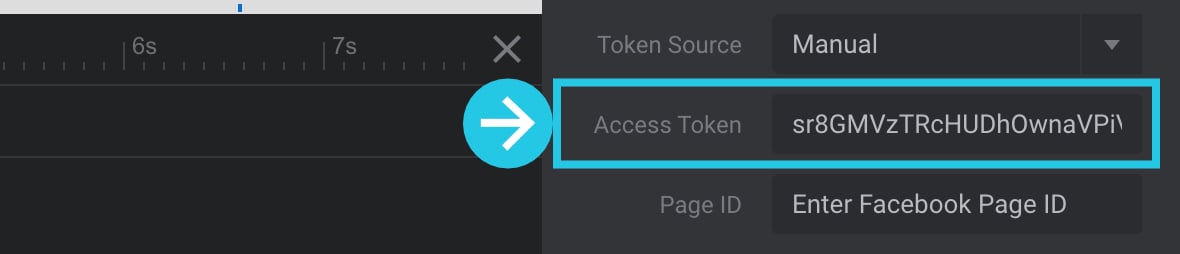
Access Token
First, you will need an access token to be input in the Access Token option field. Refer to the guide to learn how to generate the access token.
Paste the generated token to the Access Token field in the Slider Revolution module:
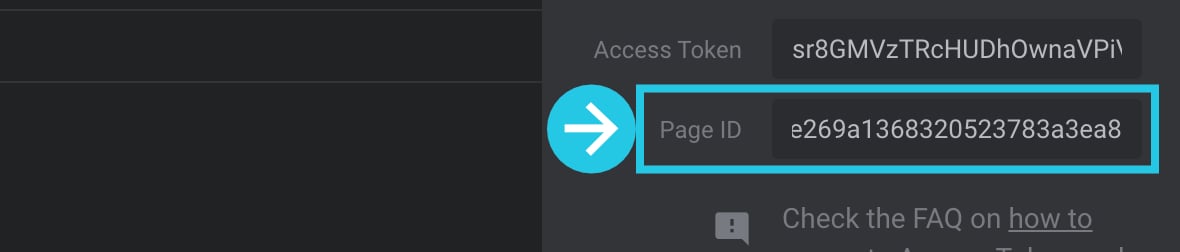
Page ID
Follow the guide to Find your Facebook Page ID, then paste it into the Page ID option in your Slider Revolution module:
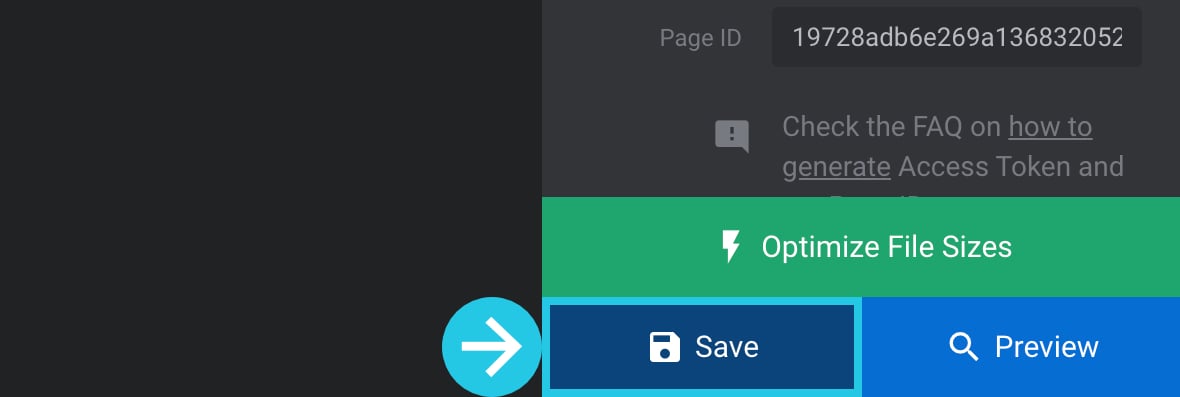
Click the Save button:
Streaming Media Feed Images in Slider Revolution
Images as Slide Background
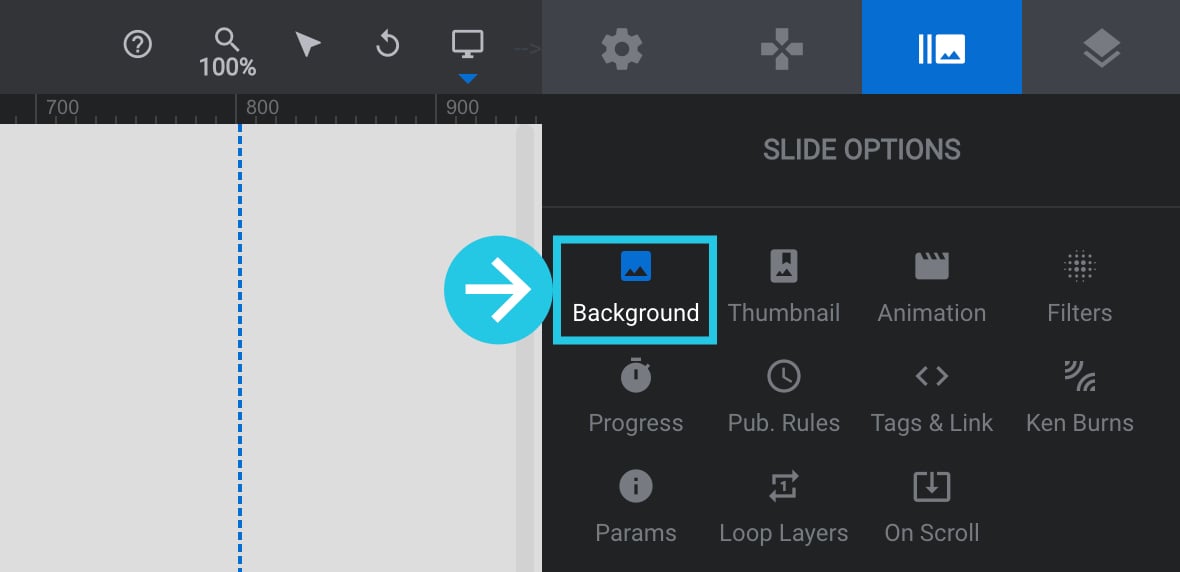
Go to the Slide Options tab:

Click on the Background sub-section:
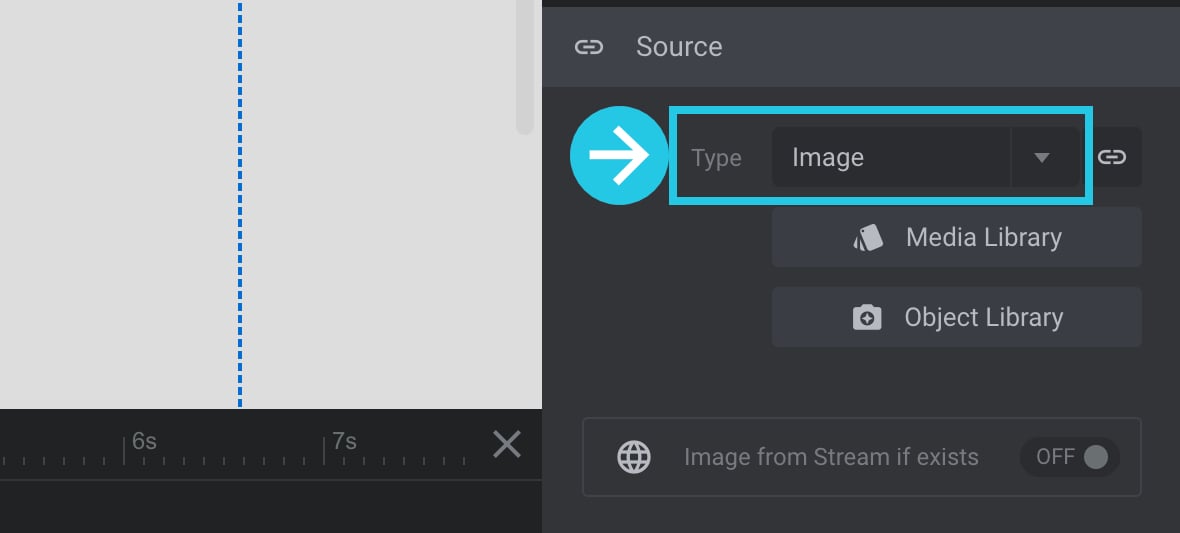
Scroll down to the Source panel:

Select the Image setting in the Type option:
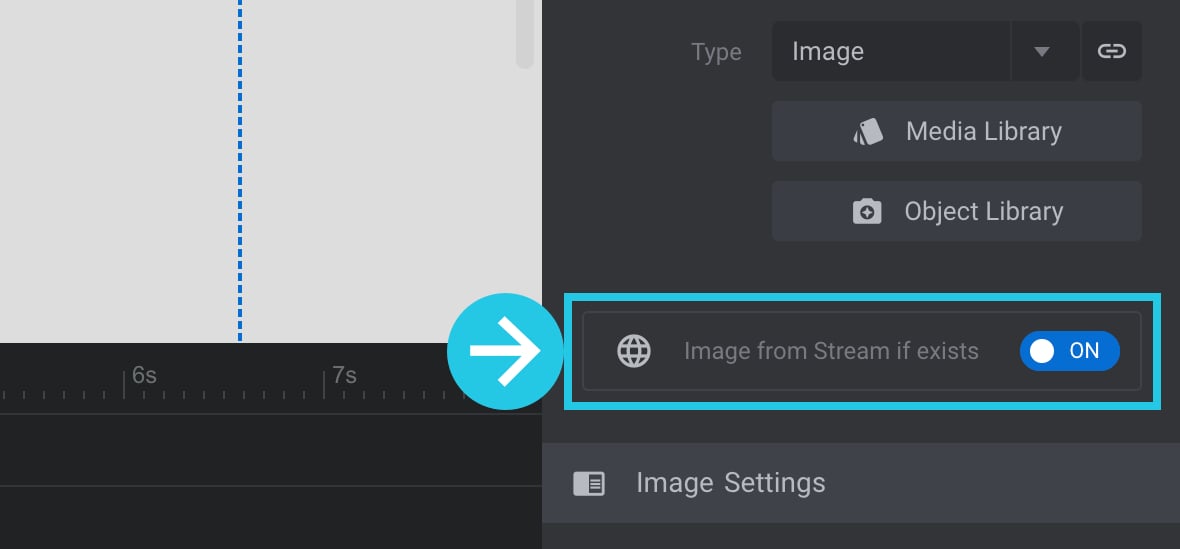
Toggle the Image from Stream if exists option to ON:
Click the Save button:
Images as Layers
Hover over the Add Layer [?]
Layers are containers for visual, audio or layout items and are added to slides. For example, text, button, image, audio, video, group and row are all types of layers.
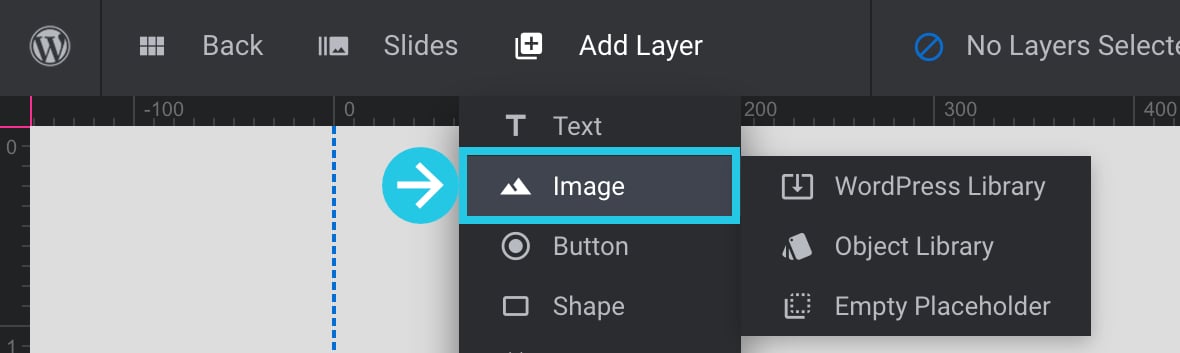
Layers are added to slides via the module editor. dropdown menu on the top bar:
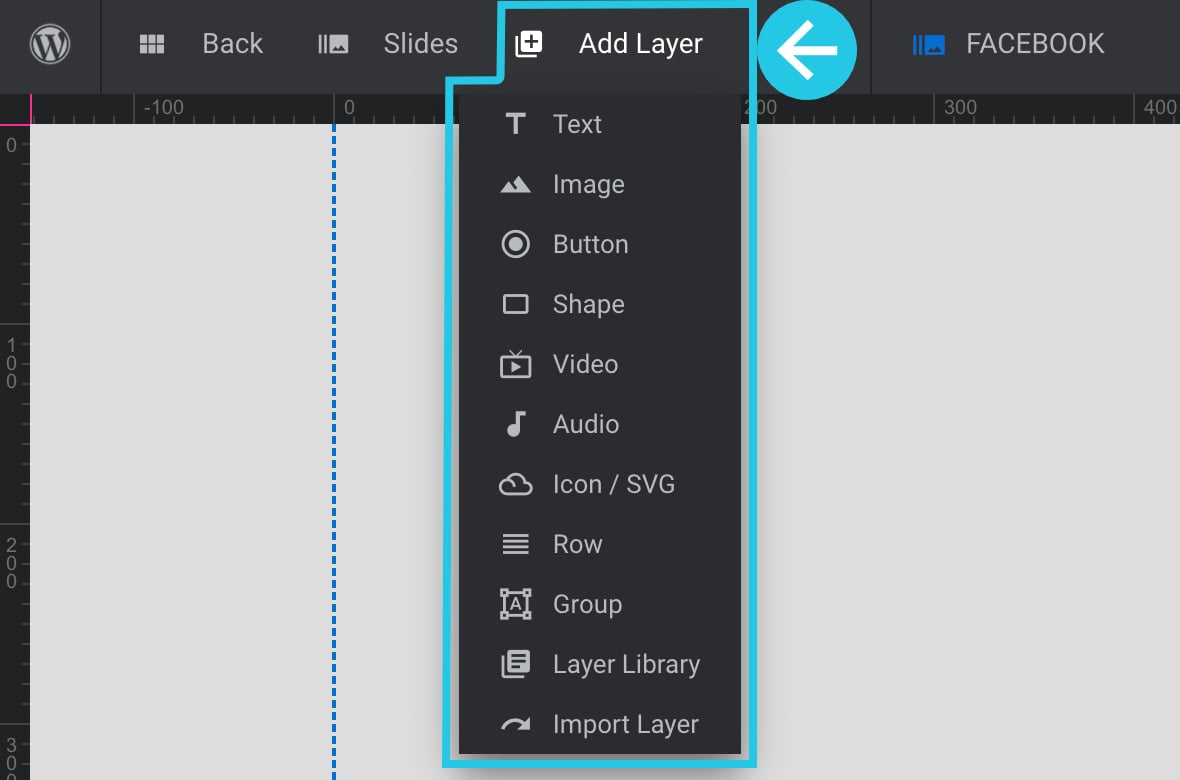
Click on the Image menu option:
Go to the Layer Options tab:

Go to the Content sub-section from the right sidebar:

Scroll down to the Image Layer Content panel:
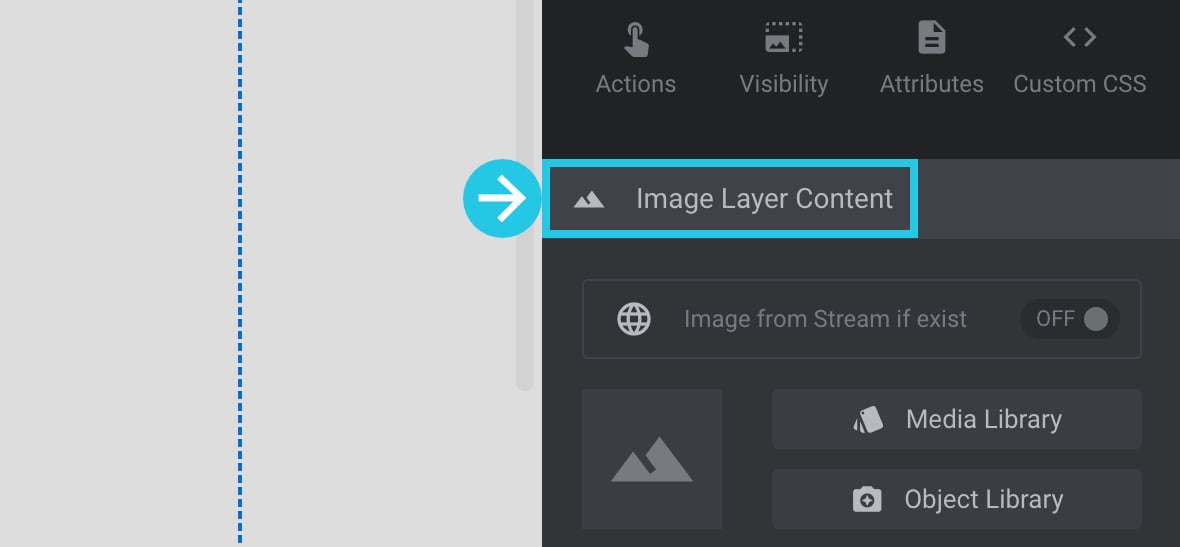
Toggle the Image from Stream if exist option:
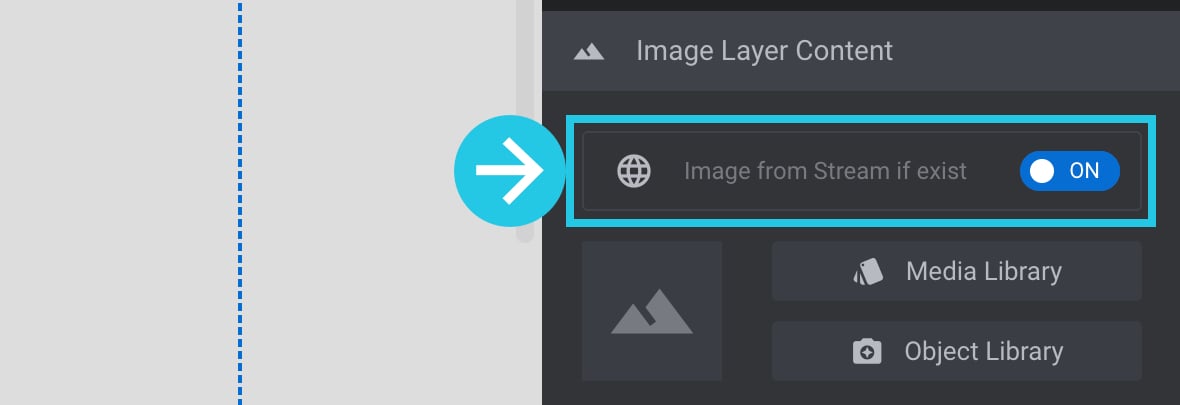
Click the Save button:
Facebook Media Feed Meta Data
You can display metadata about each Facebook media when you show the media in a slider using the Slider Revolution Plugin. Metadata is information about the media, such as the published date, username, or likes.
You can provide more context and information to your website and visitors by displaying metadata with your media. With Slider Revolution, you can easily choose which metadata to display and customize its appearance to match your website’s style.
Add a Text Layer
Go to the Layer Options tab:
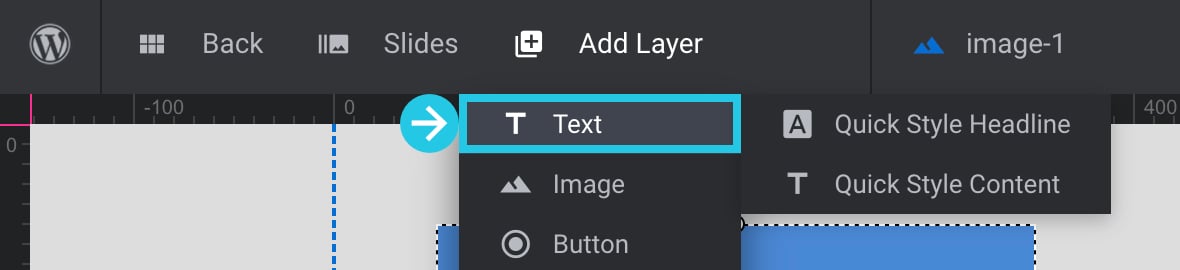
Hover over the Add Layer option to open the dropdown menu:
Click on the Text layer menu item; you will need to add a new text layer for each metadata:
Meta Data
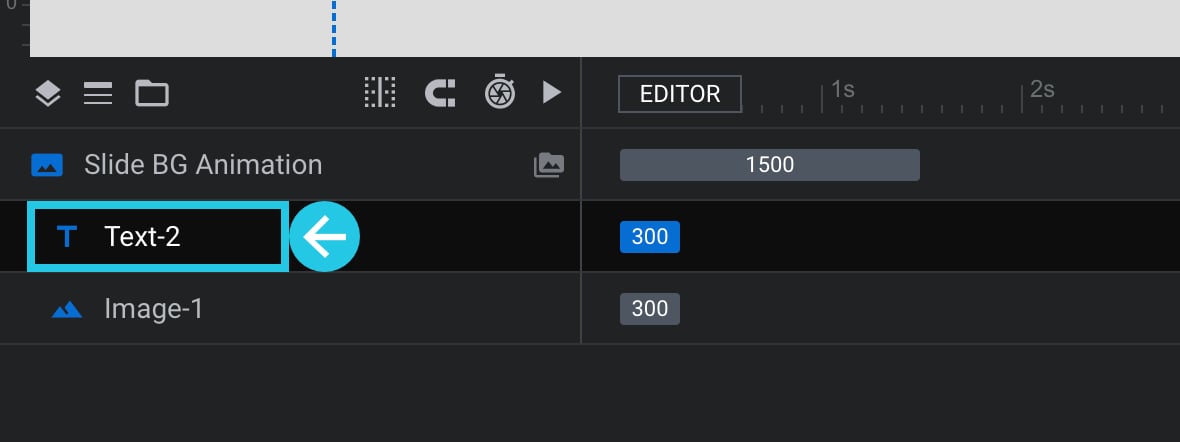
Select the added text layer from the Timeline [?]
The timeline is the section of the module editor dedicated to animation and controlling the stacking order of layers.
From this part of the editor animations can be added, adjusted and previewed. Additionally, layers can be selected from the timeline, and can be dragged and dropped up and down on the timeline to modify which appear in front and which behind.
It can be equally compared to both a timeline in a typical video editing application, and a layers panel in a typical graphic design application at the bottom of the Module Editor [?]
The "Module Editor" is the tool used to create & modify modules.
Through this visual, drag & drop, no-code interface you can add various types of layers, animation and special FX to your modules, as well as managing slides and configuring options.:
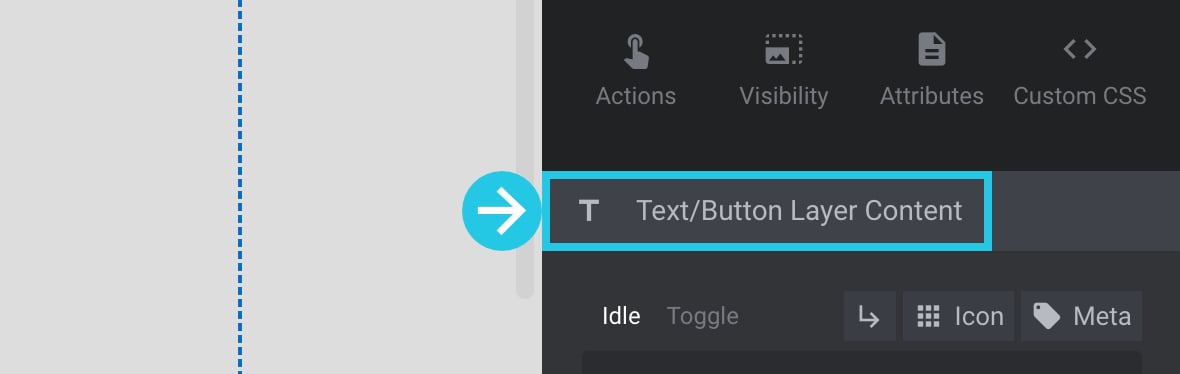
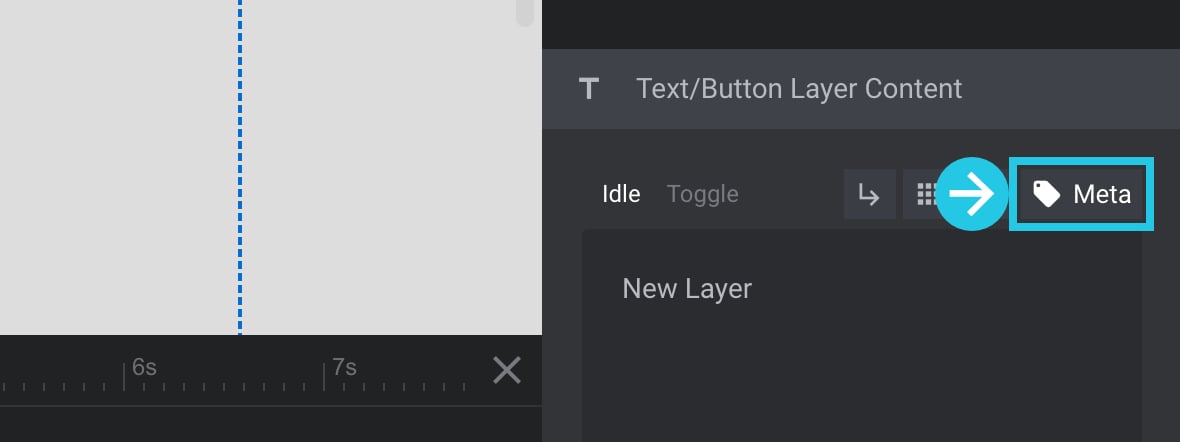
Go to the Text/Button Layer Content panel on the right sidebar:
Click the Meta button:
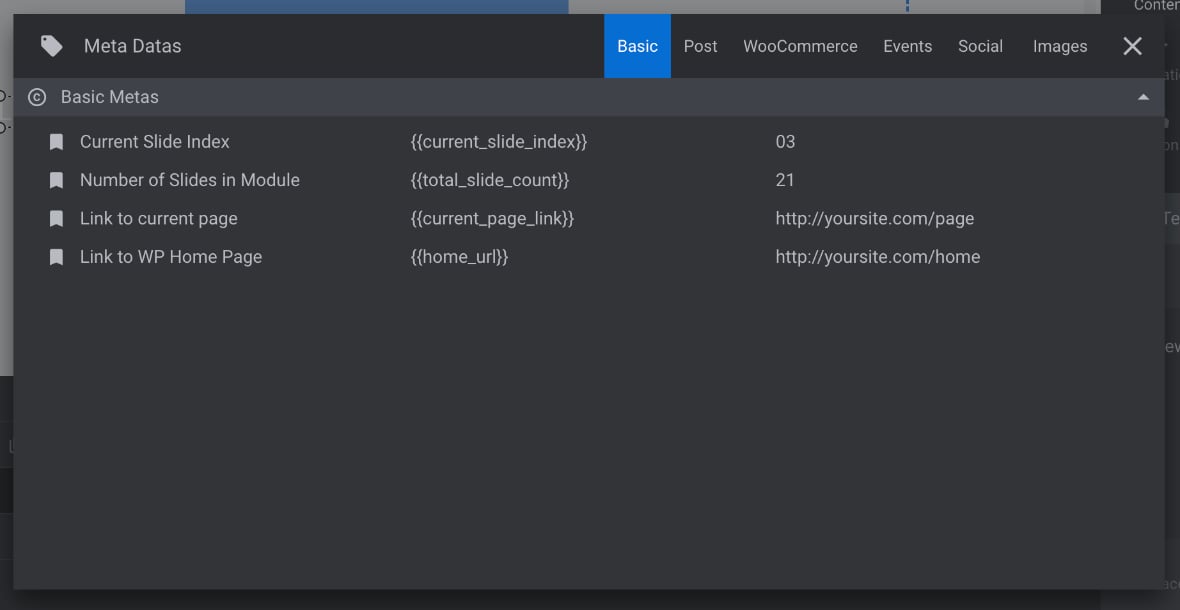
You will see a popup window with metadata that you can click to add:
Social Basics Meta Data
Click on the Social tab in the MetaData popup:

Hover over the Username metadata and click on it:

Click the cross (X) mark from the top right corner of the MetaData popup window:

Go to the Text/Button Layer Content panel:
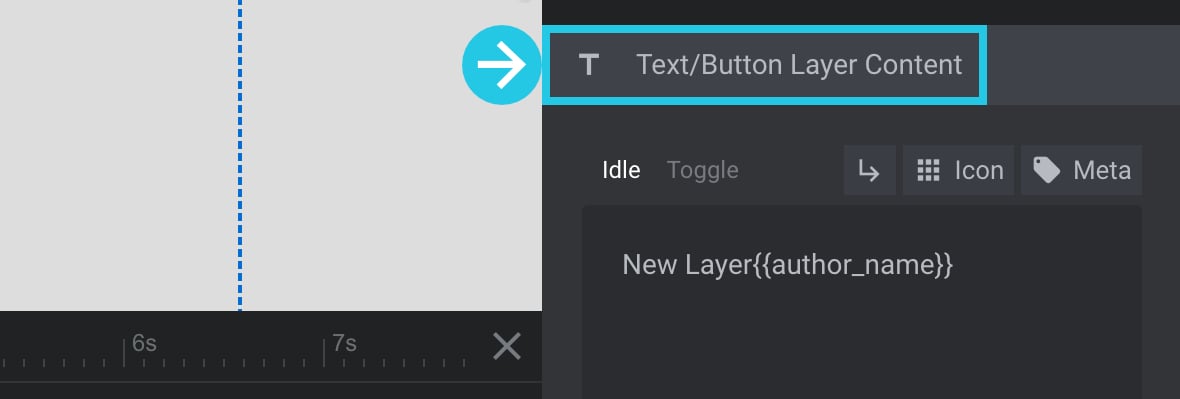
Ensure you are in the Idle text editor window:
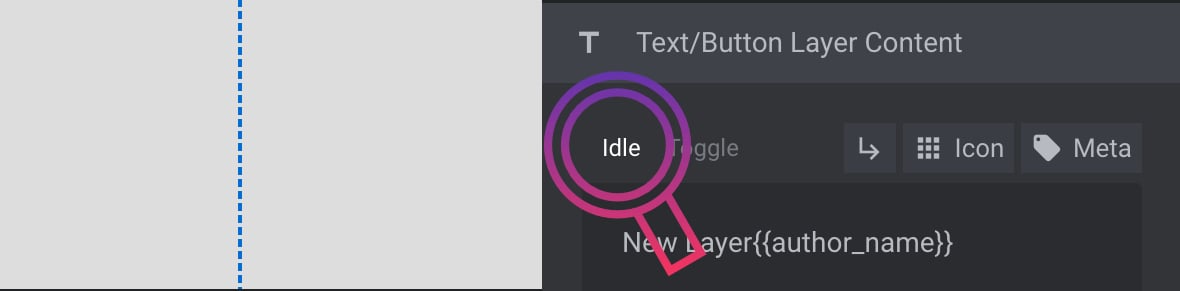
Select and remove any extra content in the window except the {{author_name}} metadata you have added for a username:
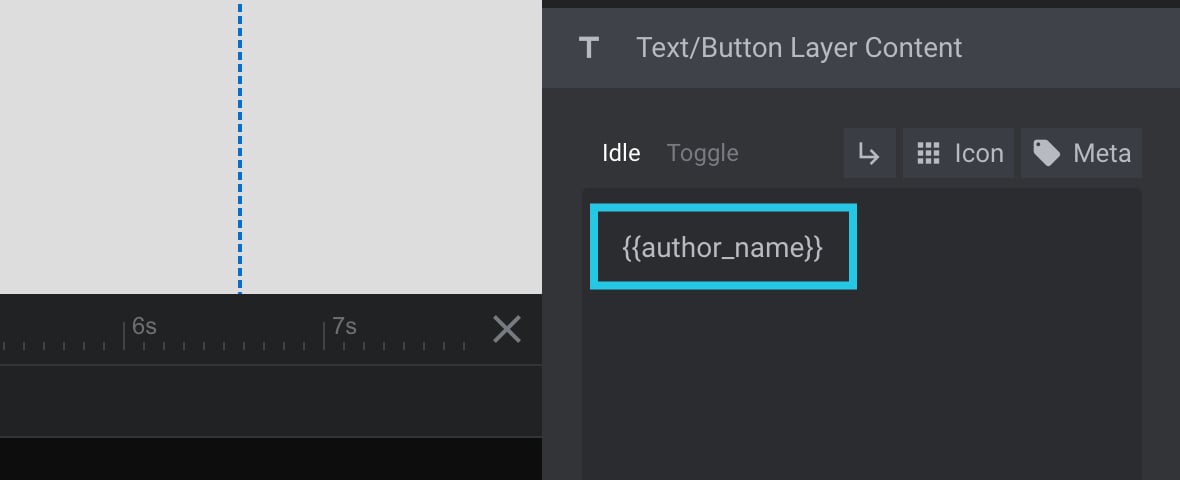
Click the Save button at the bottom of the module editor:

Facebook Extras Meta Data
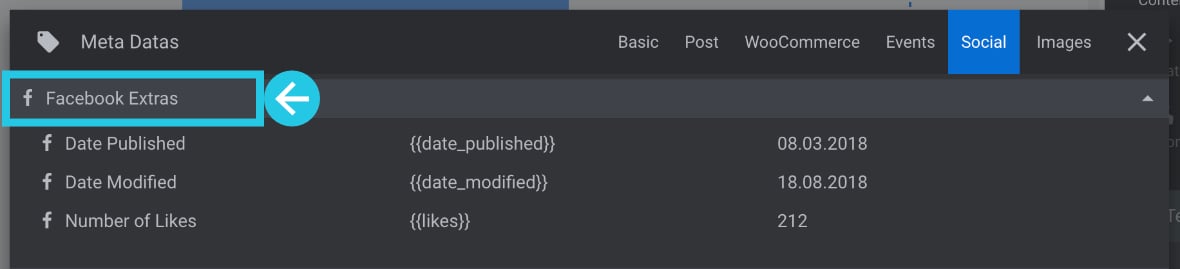
Click on the Social tab in the MetaData popup:
Scroll down to the Facebook Extras row; there are three metadata, especially for Facebook:
Hover over the Number of Likes metadata and click on it:
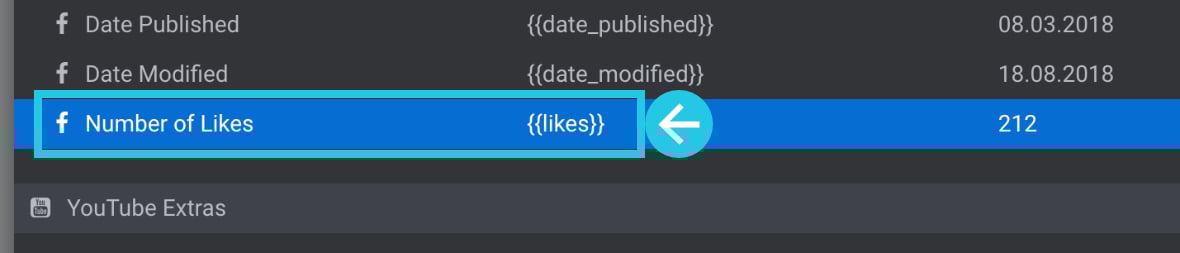
Click the cross (X) mark from the top right corner of the Meta Data popup window:
Go to the Text/Button Layer Content panel:
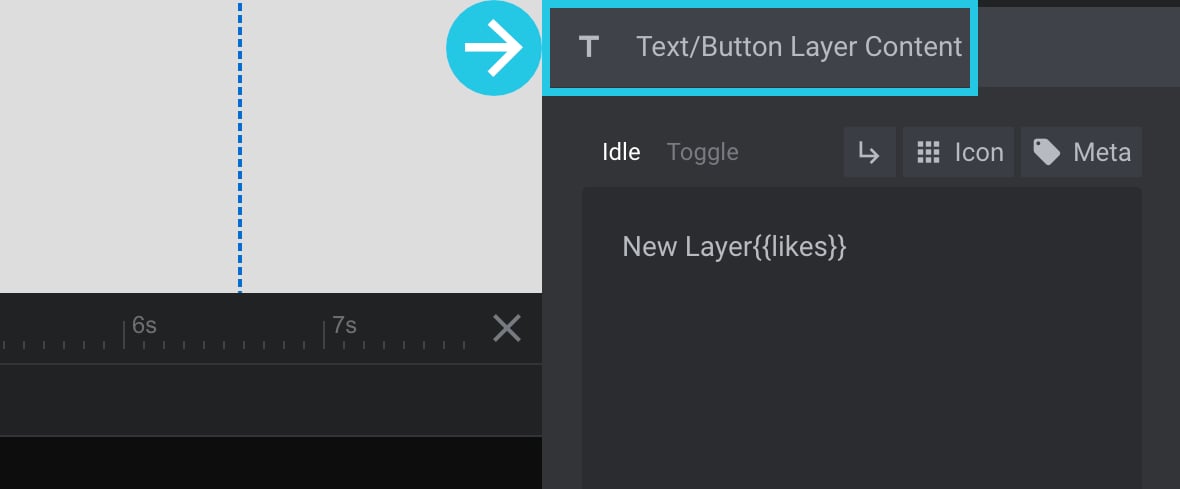
Ensure you are in the Idle text editor window:
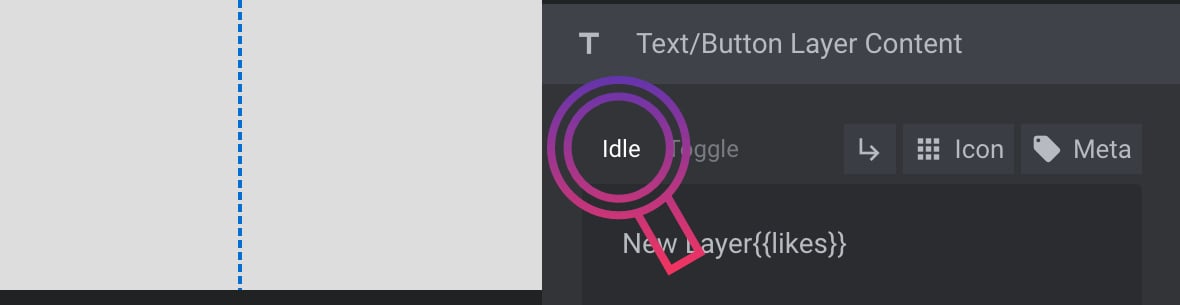
Select and remove any extra content in the window except the {{likes}} metadata you have added:
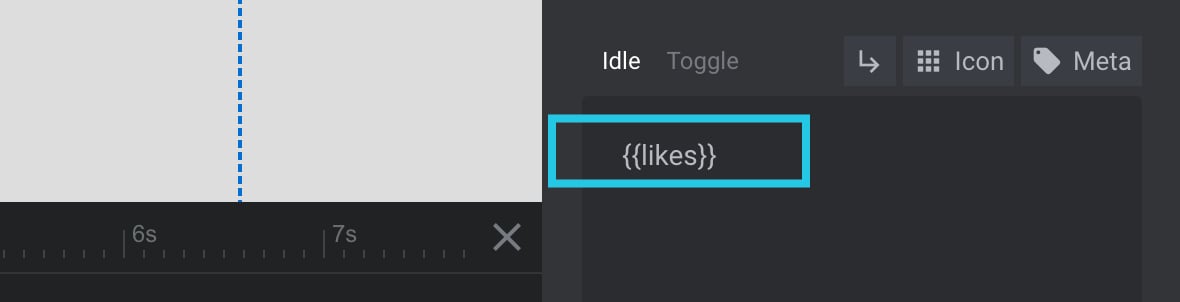
Click the Save button at the bottom of the module editor: