
Template Modification Walkthroughs – High Impact
Do you have a template based module you want to upgrade for the new SR7 Velocity Engine? Learn the modifications each template requires in this guide.

Template Lists by Impact Level
We advise you to use CTRL + F (on Windows) / Command + F (on MacOS) to do a text search of this page and see if a template you have based your own design on is included in this list.
We also recommend you perform the same search in our guides to medium and low impact template modifications:
Templates with Essential, High Impact Visual/Functional Modifications
If you have a module [?]
A module in Slider Revolution acts as a container for slides, which in turn act as containers for layers. Modules are created and edited with the module editor.
A "module" is a single, self contained piece of content. You can think of this as being similar to the way a post or page in regular WordPress is a self contained piece of content.
A module can represent any kind of content Slider Revolution is capable of creating, such as a slider, carousel, hero unit, navigation menu, posts display and so on.
Multiple modules can be combined to form rich content such as complete sites and landing pages. based on a template [?]
A "Template" is a premade module. It has pre-configured layers already in place.
It is designed to be ready for use, either as is or after being modified in the module editor.
Slider Revolution comes with several templates you can use, or alternatively you can create your own templates, thereby allowing you to easily reuse modules you have produced. in this list, we strongly advise you to apply the adjustments recommended in the linked section to ensure expected appearance and functionality:
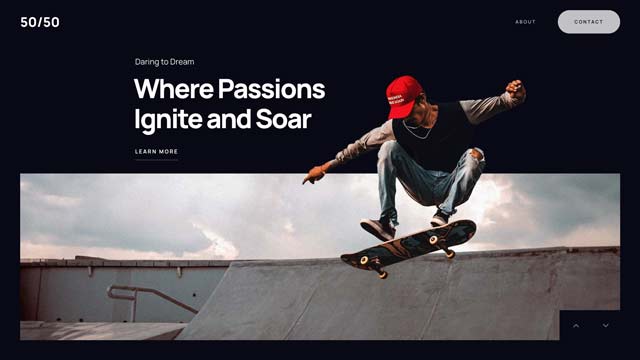
50/50 Split Screen Website Design

Creative Portfolio Website Slider Package
Generative AI WordPress Template Package
Template Guides – High Impact
If you have a module based on the template listed below, we strongly advise you to apply the adjustments recommended in its section.
50/50 Split Screen Website Design
Template Demo: https://www.sliderrevolution.com/templates/split-screen-website-design/
This template requires minor adjustments to OUT animations on select layers [?]
Layers are containers for visual, audio or layout items and are added to slides. For example, text, button, image, audio, video, group and row are all types of layers.
Layers are added to slides via the module editor. to ensure they appear as intended.
Adjustment Processes
Click the following link to open the step-by-step adjustment process guide:
Steps to Upgrade Template
Step 1: Extend OUT animations
On each of the layers indicated for the slides [?]
A "slide" in Slider Revolution is a container into which multiple layers can be added, with layers in turn acting as containers for various forms of media such as images, text, video, audio, buttons, and special effects.
Slides are added to modules and edited via the module editor.
Within the module editor, each slide has its own animation timeline, background and collection of layers.
A single module can have one or many slides. A module with one slide is called a scene, and a module with multiple slides is called a slider or carousel. listed below, set the OUT animation Duration to 800.
Slide #1: Layers: Row-1, Copy-column-2
Slide #2: Layers: Row-1
Slide #3: Layers: Row-1, Copy-column-2
Slide #4: Layers: Row-1
Agency Website Header
Template Demo: https://www.sliderrevolution.com/templates/fullscreen-hero-slider/
The “Agency Website Header” template (aka “Agency Slider” or “Fullscreen Hero Slider”) uses custom JavaScript to create a lightbulb flickering effect when hovering over the lightbulb image on slide 3.
Adjustment Processes
Click the following link to open the step-by-step adjustment process guide:
Steps to Upgrade Template
Step 1: Add Callback Actions
In the Module Editor [?]
The "Module Editor" is the tool used to create & modify modules.
Through this visual, drag & drop, no-code interface you can add various types of layers, animation and special FX to your modules, as well as managing slides and configuring options., go to Slide #3 Ideas, select the Hover Detect layer, and add the following two callback actions.
On Interaction Mouse Enter, trigger callback window.bulbIt(true)
On Interaction Mouse Leave, trigger callback window.bulbIt(false)
Step 2: Update Scripts
Replace the existing script in the Custom JS SR6 tab with the following:
window.bulbIt = (type) => {
  if (window.bulbAnim) window.bulbAnim.kill();
  window.bulbAnim = punchgs.TweenLite.to(jQuery('.lighton'), Math.round(Math.random()*20)/100,{
	autoAlpha : type ? 0.7+(Math.random()*3)/10 : 0,
	ease : punchgs.power3.out
  });
  if (!window.bulbSensor) {
	window.bulbSensor = document.getElementById('lightsensor');
	window.bulbSensor.addEventListener('mousemove',() => window.bulbIt(true));
  }
}
Paste this code in the Custom JS SR7 tab:
window.bulbIt = (type) => {
if (window.bulbAnim) window.bulbAnim.kill();
window.bulbAnim = _tpt.gsap.to('.lighton', Math.round(Math.random()*20)/100, {
alpha : type ? 0.7+(Math.random()*3)/10 : 0,
ease : 'power3.out'
});
if (!window.bulbSensor) {
window.bulbSensor = document.getElementById('lightsensor');
window.bulbSensor.addEventListener('mousemove',() => window.bulbIt(true));
}
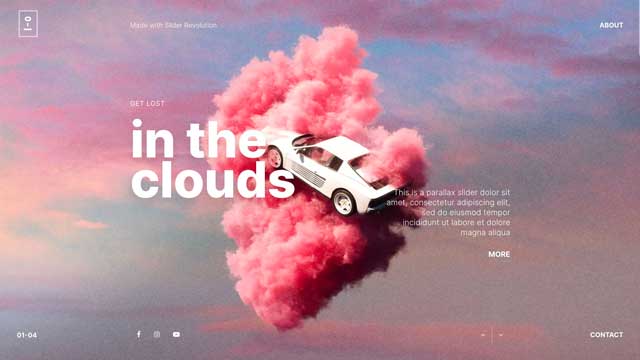
}Artistic Parallax Slider
Template Demo: https://www.sliderrevolution.com/templates/artistic-parallax-slider/
This template requires minor adjustments to OUT animations on select layers to ensure they appear as intended.
Adjustment Processes
Click the following link to open the step-by-step adjustment process guide:
Steps to Upgrade Template
Step 1: Extend OUT animations
On each of the layers indicated for the slides listed below, set the OUT animation Duration to 800.
Slide #1: Layers: Column-2, Column-7
Slide #2: Layers: Column-2, Column-7
Slide #3: Layers: Column-2, Column-7
Slide #4: Layers: Column-2
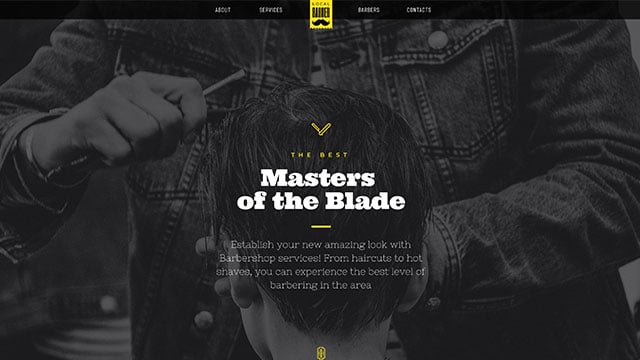
Barber Shop
Template Demo: https://www.sliderrevolution.com/templates/barber-shop-template-for-wordpress/
The “Barber Shop” package uses two sticky menus, each needing to be updated to ensure they are positioned correctly and that menu links scroll to sections within the website as intended.
Adjustment Processes
Click the following link to open the step-by-step adjustment process guide:
Steps to Upgrade Template
Step 1: Update “Header” module
Edit the “Barber Shop” package’s “Header” module, then follow the Update sticky menu process.
Step 2: Update “Mobile menu” module
Edit the “Barber Shop” package’s “Mobile menu” module, then follow steps 1 and 2 of the Update sticky menu process.
Note: The “Mobile menu” module update does not require step 3 of the Update sticky menu process.
Cinematic Slider
Template Demo: https://www.sliderrevolution.com/templates/cinematic-slider-template/
The “Cinematic Slider” template needs new animation defaults saved into its settings so that background [?]
A "background" in Slider Revolution is a type of layer that is always present in every module, and is always visually behind all other layers.
A background can be transparent, a flat color, a gradient, an image, or a video. It can be animated in the same way as other layers can be, however it cannot be deleted. animations run as expected.
To do this, open the module and follow the “Save new defaults” process linked below.
Adjustment Processes
Click the following link to open the step-by-step adjustment process guide:
Clear View Magazine
Template Demo: https://www.sliderrevolution.com/templates/clear-view-minimal-magazine-wordpress-template/
The “Clear View Magazine” template uses a sticky menu that needs to be updated to ensure it is positioned correctly, and that menu links scroll to sections within the website as intended.
Adjustment Processes
Click the following link to open the step-by-step adjustment process guide:
Steps to Upgrade Template
Step 1: Update “Menu” module
Edit the “Clear View Magazine” package’s “Clear View Menu” module, then follow the Update sticky menu process.
Clear View Post Page
Template Demo: https://www.sliderrevolution.com/templates/clear-view-single-post-page-wordpress-template/
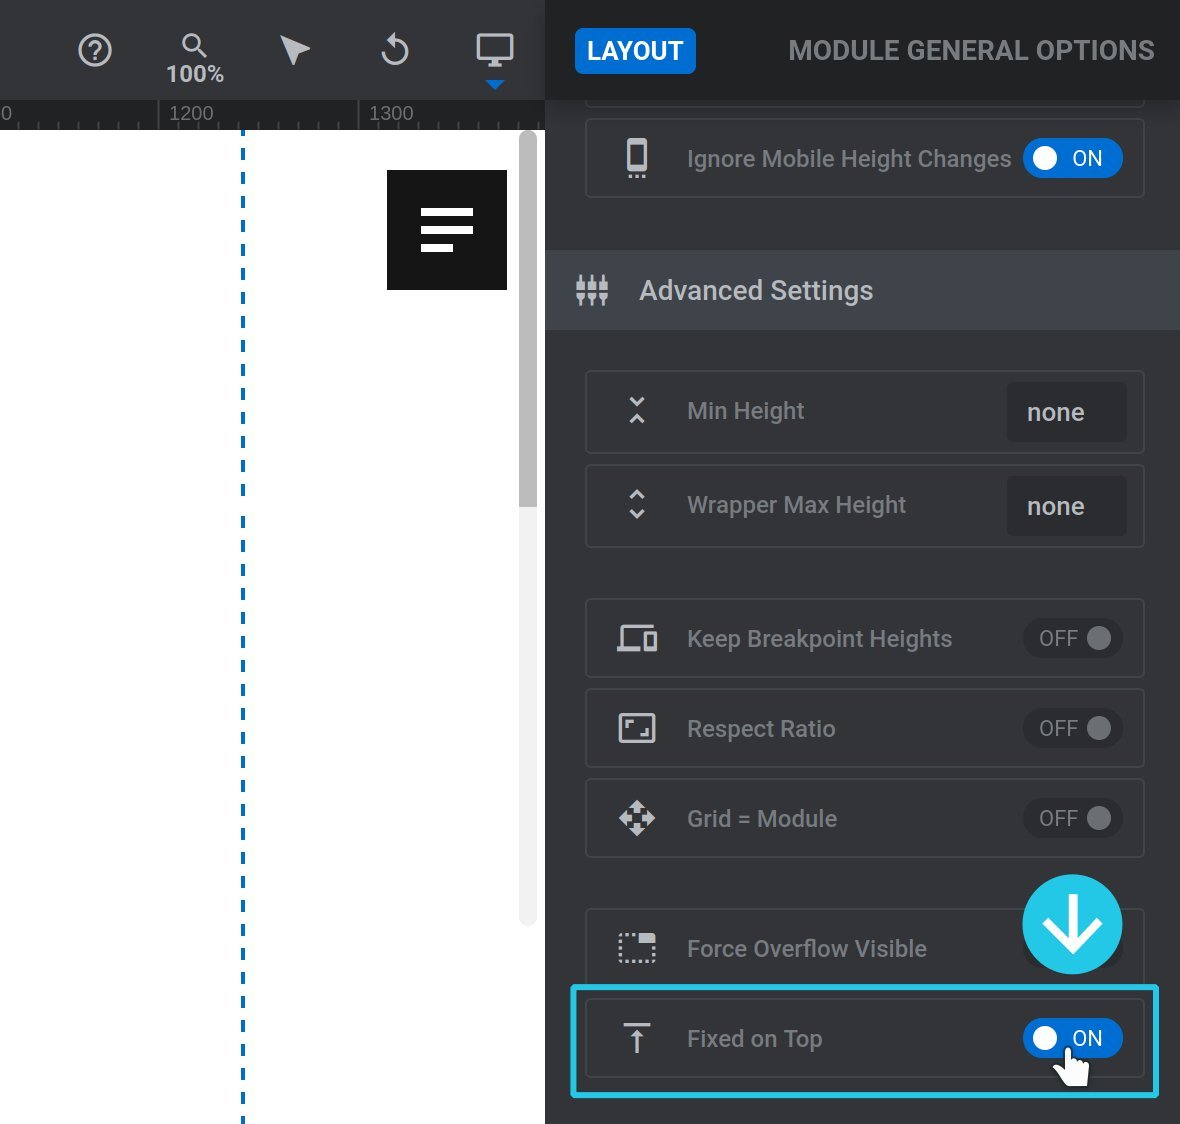
The “Clear View Post Page” template uses a sticky menu that needs to be updated so it is positioned correctly.
Steps to Upgrade Template
Step 1: Set Fixed on Top to ON
In the Module General Options sidebar, open the Layout sub-section. Scroll down to the Advanced Settings panel and ensure Fixed on Top is toggled to ON:
Coming Soon
Template Demo: https://www.sliderrevolution.com/templates/coming-soon-wordpress-under-construction-site/
This template uses a script to manage the number countdown effect included. It requires an upgrade to continue to function.
Steps to Upgrade Template
Step 1: Copy in new countdown script
The SR7 Velocity engine compatible version of the countdown script used in this template is unsuitable for copying from this article.
Instead, we recommend you install a fresh copy of the “Coming Soon” template, then copy the content of the CUSTOM JS SR7 tab and paste it into the corresponding tab in your module.
Corporate Website
Template Demo: https://www.sliderrevolution.com/templates/corporate-website-template/
The “Corporate Website” package has some custom CSS in its “Corporate Selected Projects” module, requiring a minor edit to ensure navigation bullets remain visible.
Optionally, you can adjust the animation timing in the mobile menu of its “Corporate Header” module.
Steps to Upgrade Template
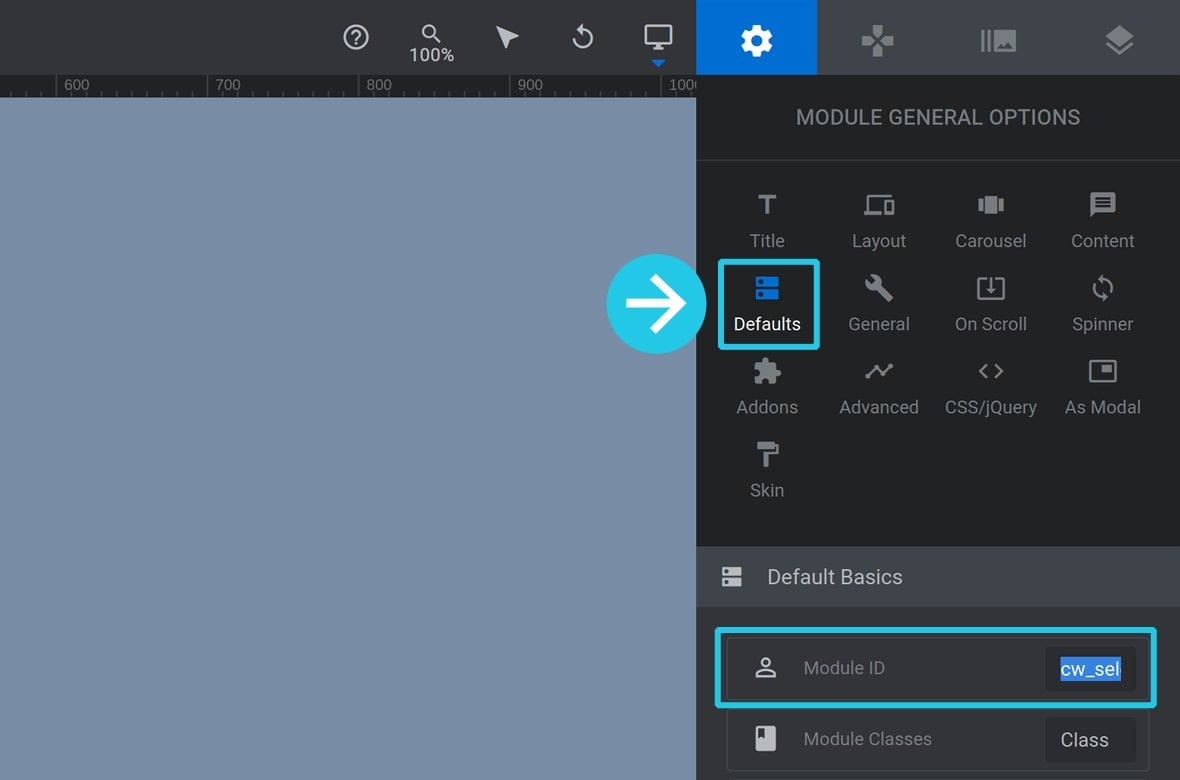
Step 1: “Corporate Selected Projects” module, update padding CSS
In the Module General Options sidebar, open the Defaults sub-section. In the Module ID field, enter cw_selected_projects:
In the Module General Options sidebar, click CSS/jQuery to open the CSS/JS Editor window, then replace the existing CSS:
#rev_slider_144_13_wrapper {padding-bottom: 50px !important}With this new CSS:
sr7-module#cw_selected_projects, #cw_selected_projects_wrapper {padding-bottom: 50px !important}Step 2: “Corporate Header” module, adjust mobile menu animation timing
For each of the layers nested in the group named Mobile Submenu Group, set the IN animation start time to 0, or drag the IN animation strip [?]
Animation strips look like little grey bars in the module editor's timeline:
A strip represents something about a layer changing over time, animating the change along the way. For exmple, a strip might animate a layer changing from being completely transparent to fully opaque.
The width of the strip determines how long the animation will run. The wider the strip, the longer the animation will take to complete. to the very beginning of the timeline [?]
The timeline is the section of the module editor dedicated to animation and controlling the stacking order of layers.
From this part of the editor animations can be added, adjusted and previewed. Additionally, layers can be selected from the timeline, and can be dragged and dropped up and down on the timeline to modify which appear in front and which behind.
It can be equally compared to both a timeline in a typical video editing application, and a layers panel in a typical graphic design application:
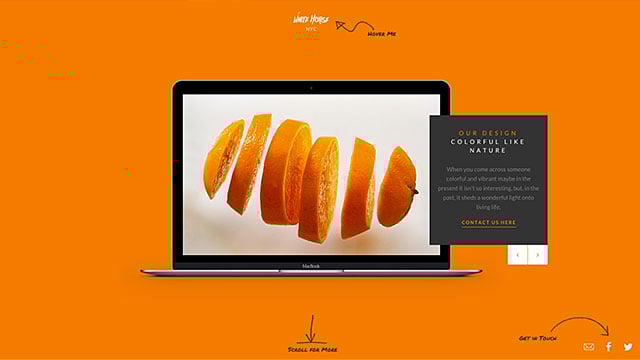
Creative Portfolio Website Slider Package
Template Demo: https://www.sliderrevolution.com/templates/creative-portfolio-website-slider/
The “Creative Portfolio Website Slider” package has some OUT animations that appear to be cut short when transitioning from one slide to the next.
The solution is to ensure that wherever an animated layer has a parent layer, that parent layer’s OUT animation is at least as long as the child’s OUT animation.
Adjustment Processes
Click the following link to open the step-by-step adjustment process guide:
Steps to Upgrade Template
Step 1: “Creative Portfolio Main Slider” module, extend OUT animations
On each of the layers indicated for the slides listed below, set the OUT animation Duration to 800.
Slide #2 about Layers: Column-1
Slide #3 services: Layers: Column-1
Slide #7 testimonials: Layers: Column-1, Copy-column-1, Copy-column-64, Copy-column-65, Copy-column-1
Slide #8 contact: Layers: Copy-column-2
Step 2: All portfolio project modules, extend OUT animations
Each of the portfolio project modules, named “Creative Portfolio Project 1” through “7”, has a layer named either Column-4 (in project 1) or Copy-column-4 (in the remaining six modules).
On each of those layers, set the OUT animation Duration to 800.
Fashion Website Slider
Template Demo: https://www.sliderrevolution.com/templates/fashion-website-slider/
This template has a thin line layer that needs a minor tweak to be visible, and some adjustments made to the menu so its animations appear as intended.
We have also made numerous minor tweaks to the latest version of this template, but none are of high impact so they are not essential to recreate. If you should like to do so anyway, the best approach to achieving full reproduction is to begin with a newly installed version of the updated template and either rebuild your design, or use it as reference to adjust your existing module.
Adjustment Processes
Click any of the following links to open step-by-step adjustment process guides:
Steps to Upgrade Template
Step 1: Remove margin from Line layer
Each of the five slides in “Fashion Website Slider” has a layer named Line. In each slide, select the Line layer, and in the Layer Options sidebar, open the Style sub-section. Then, in the Spacings panel, set the Margin Top to 0px.
Ensure this setting is the same for the Desktop, Notebook, Tablet, and Phone layouts.
Step 2: Update Global Layers menu items
Open the Global Layers [?]
A global layer is a special type of layer that appears on every slide of a module. You can have as many as you like in a module, and they are useful for adding items you always want to display, such as a logo, social media link or contact phone number.
Global layers are added in their own section of the module editor, have their own timeline, and are assembled in much the same way as you would create a regular slide.
Global layers are grouped together and can either all appear in front of your other layers, or all behind your other layers. However, you cannot have some global layers appear in front and some behind. for the module, then on the layer named Slide1 Link, select the OUT animation strip from the timeline. In the Animation sub-section that opens, scroll down to the Advanced panel, switch to the SFX tab, and change the Effect option to No Special Effect.
Repeat the above for the layers Slide2 Link, Slide3 Link, Slide4 Link and Slide5 Link.
Step 3: Extend Menu layer OUT animation duration
Still, in the Global Layers, select the OUT animation for the layer named Menu and extend its Duration to 1000.
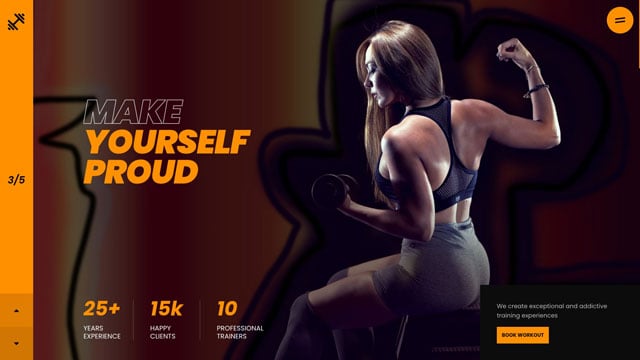
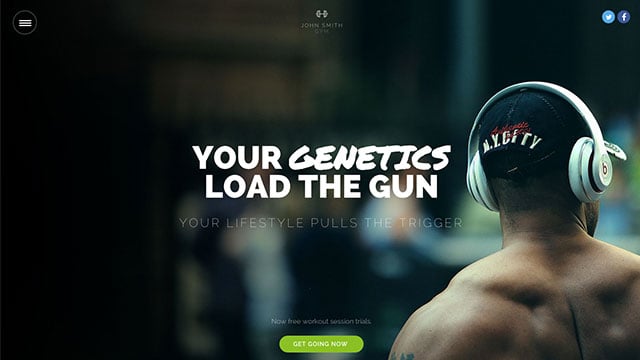
Fitness Gym Website Slider
Template Demo: https://www.sliderrevolution.com/templates/fitness-gym-website-slider/
This template requires minor adjustments to OUT animations on select layers to ensure they appear as intended.
Adjustment Processes
Click the following link to open the step-by-step adjustment process guide:
Steps to Upgrade Template
Step 1: Extend OUT animations
Each of the five slides in this module has layers named Fact 1, Fact 2 and Fact 3. Set the OUT animations on these layers to a Duration of 1000.
The five slides also have layers named Row-0, Column-1, Row-38 and Column-40. Set the OUT animations on these layers to a Duration of 800.
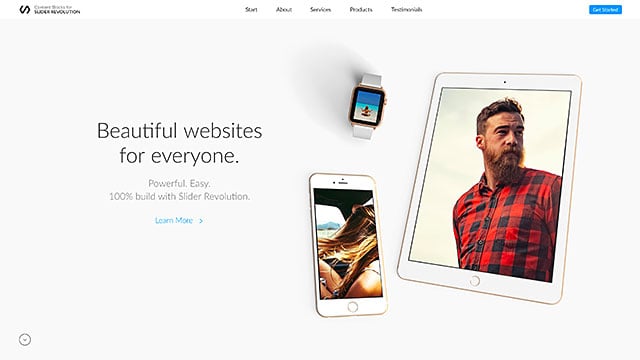
FullSite, aka Light Content Block Package
Template Demo: https://www.sliderrevolution.com/templates/wordpress-parallax-theme/
This template requires some adjustments to its sticky menu in order to function as expected. It also uses a script to create a scroll fade effect that you should convert to built-in options instead.
Adjustment Processes
Click any of the following links to open step-by-step adjustment process guides:
Steps to Upgrade Template
Step 1: ““FullSite Block Menu”, update sticky menu
Edit the “FullSite” package’s “FullSite Block Menu” module, then follow the Update sticky menu process.
Step 2: “FullSite Block #4 Products”, convert scroll fade to in-built
Edit the “FullSite” package’s “FullSite Block #4 Products” module, then follow the convert scroll fade to the in-built process.
Once complete, delete all the custom CSS and JS in the CSS/JS Editor.
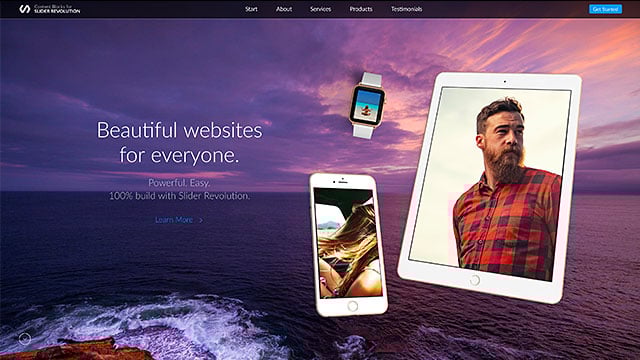
FullSite Dark, aka Dark Content Block Package
Template Demo: https://www.sliderrevolution.com/templates/dark-wordpress-parallax-theme/
This template requires some adjustments to its sticky menu in order to function as expected. It also uses a script to create a scroll fade effect that should be converted to use built-in options instead.
Adjustment Processes
Click any of the following links to open step-by-step adjustment process guides:
Steps to Upgrade Template
Step 1: “Dark FullSite Block Menu”, update sticky menu
Edit the “FullSite Dark” package’s “Dark FullSite Block Menu” module, then follow the Update sticky menu process.
Step 2: “Dark FullSite Block #4 Products”, convert scroll fade to in-built
Edit the “FullSite Dark” package’s “Dark FullSite Block #4 Products” module, then follow the Convert scroll fade to in-built process.
Once complete, delete all the custom CSS and JS in the CSS/JS Editor.
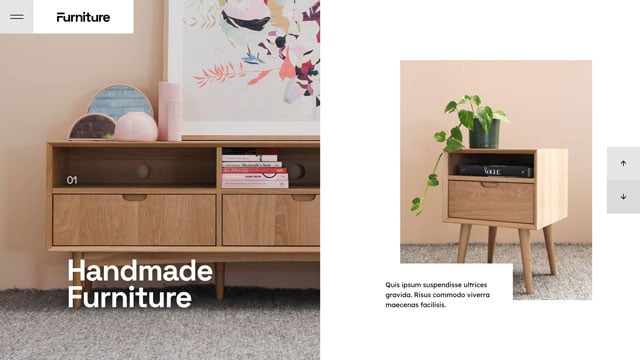
Furniture Website Slider
Template Demo: https://www.sliderrevolution.com/templates/furniture-website-slider/
This template needs a slight adjustment to the positioning of a layer that appears on multiple slides.
Adjustment Processes
Click the following link to open the step-by-step adjustment process guide:
Steps to Upgrade Template
Step 1: Remove margins on absolute position layers
On Slide #1, select the layer named Description and in the Layer Options sidebar open the Style sub-section. Then under the Spacings panel set Margin Bottom to 0.
Do this for both the Desktop and Notebook layouts.
Switch into the Size & Pos sub-section then under the Position & Size panel set the X option to -130px and Y to 100px for the Desktop layout, and for the Notebook layer, set the X option to 65px and Y to 100px.
Open Slide #5 and repeat the above process for the layer, which is also named Description.
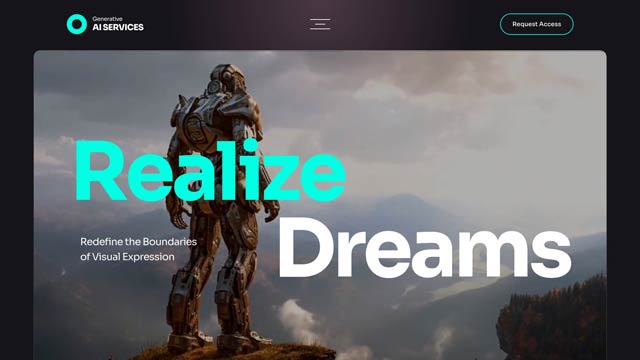
Generative AI WordPress
Template Demo: https://www.sliderrevolution.com/templates/generative-ai-wordpress-template/
This package requires some adjustments to parallax settings on one template, to the position and size of a layer in a second template, and finally to animation timing in a third template.
Adjustment Processes
Click the following link to open the step-by-step adjustment process guide:
Steps to Upgrade Template
Step 1: “G AI Hero1” module, adjust parallax
Select the layer named Row-2, then in the Layer Options sidebar open the On Scroll sub-section. In the Parallax & 3D panel, set the Level to No Parallax.
Select the layer named Video-Bg, and in the Layer Options sidebar, open the On Scroll sub-section. In the Parallax & 3D panel, set the Level to 6. (-20%).
Step 2: “G AI Intro1” module, shrink cube image on mobile
Switch to the Mobile layout in the editor, then select the layer named Img-Shape-Right.
In the Layer Options sidebar, open the Size & Pos sub-section, then set Y to 3px, Width to 100px, Height to 90px.
Step 3: “G AI Images1” module, extend OUT animation
Select the layer named Description and change the OUT animation duration from 300 to 700:
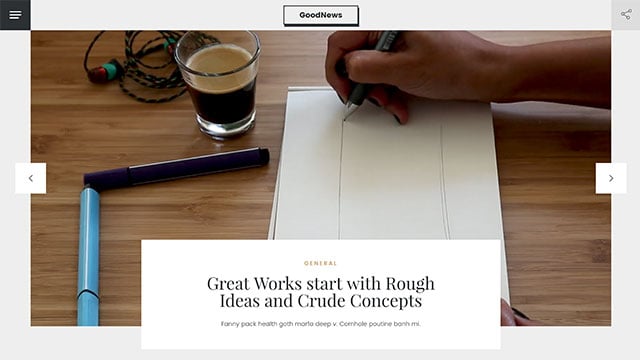
GoodNews One-Pager
Template Demo: https://www.sliderrevolution.com/templates/goodnews-responsive-wordpress-theme/
This template requires an update to its sticky menu in order to function as expected, as well as some tweaks to custom CSS and JS utilized to refine bullet navigation and inline text links.
Adjustment Processes
Click any of the following links to open step-by-step adjustment process guides:
Steps to Upgrade Template Package
Step 1: “Goodnews Menu” module, update sticky menu
Edit the “GoodNews One-Pager” package’s “GoodNews Menu” module, then follow the Update sticky menu process.
Step 2: “Goodnews Carousel” module, update bullet styling
Locate and select this existing CSS in the CSS/JS Editor:
.tiny_bullet_slider .tp-bullet:before {
	content: " ";
	position: absolute;
	width: 100%;
	height: 25px;
	top:-12px;
	left:0px;
	background: transparent;
  }
Then replace it with the following new CSS:
.tiny_bullet_slider .tp-bullet:before, .tiny_bullet_slider .sr7-bullet:before {
	content: " ";
	position: absolute;
	width: 100%;
	height: 25px;
	top:-12px;
	left:0px;
	background: transparent;
}
In the Custom JS SR7 tab, add the following code:
document.addEventListener("sr.slide.afterChange", function (e) {
   revapi4091.element.classList.add("tiny_bullet_slider");
});
Step 3: Multiple modules, update selector targeting
Multiple modules in the “GoodNews One-Pager” package use this CSS:
.rs-layer.tp-linkmod:hover { text-decoration: underline !important; }In order to effectively target new SR7 engine selectors, it should be updated to:
.rs-layer.tp-linkmod:hover, .sr7-layer.tp-linkmod:hover { text-decoration: underline !important; }You only need to update this code in one of the modules on your page, which will affect all others.
Thus, you can perform this update in any of the following modules: “GoodNews Carousel”, “GoodNews Featured”, “GoodNews Menu”, “GoodNews Header”, “GoodNews Spotlight”, or “GoodNews What’s Hot”.
Gym
Template Demo: https://www.sliderrevolution.com/templates/one-page-wordpress-slider/
The hamburger menu in this template needs a settings change on its menu items to function correctly.
Steps to Upgrade Template
Step 1: Update Global Layers menu items
Open the Global Layers for the module, then select the layer named Menu Item 1, and in the Layer Options sidebar, open the Static sub-section. Under the Global Layer Settings panel, change the OUT option from 2 to Last Slide.
Repeat the above for the layers Menu Item 2 and Menu Item 3.
Le Chef Restaurant
Template Demo: https://www.sliderrevolution.com/templates/le-chef-restaurant-website-wordpress-template/
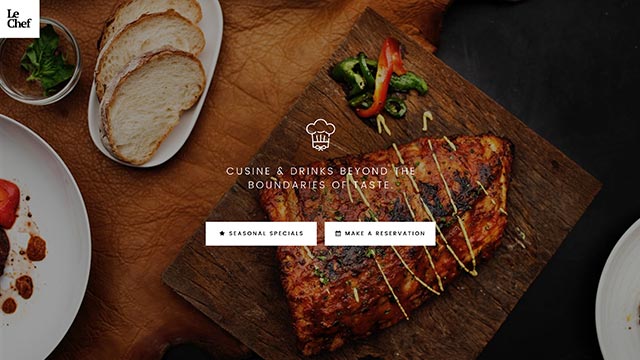
This template requires an update to its sticky menu in order to function as expected.
Adjustment Processes
Click the following link to open the step-by-step adjustment process guide:
Steps to Upgrade Template
Step 1: “Le Chef Menu”, update sticky menu
Edit the “Le Chef Restaurant” package’s “Le Chef Menu” module, then follow the Update sticky menu process.
Minimal Website
Template Demo: https://www.sliderrevolution.com/templates/minimal-website-template/
This template requires an update to its sticky menu in order to function as expected. It also needs to have a new SR7 Velocity engine compatible script added to handle background color shifting on scroll.
Adjustment Processes
Click the following link to open the step-by-step adjustment process guide:
Steps to Upgrade Template Package
Step 1: “r_menu” module, update sticky menu
Edit the “Minimal Website Template” package’s “r_menu” module, then follow the Update sticky menu process.
Step 2: “r_menu” module, copy in new background color shifting script
The SR7 compatible version of the background color shifting script used in this template is not suitable for copying from this article.
Instead, we recommend you install a fresh copy of the “r_menu” template, then copy the content of the CUSTOM JS SR7 tab and paste it into the corresponding tab in your module.
Modern Hair Salon Showcase
Template Demo: https://www.sliderrevolution.com/templates/modern-hair-salon-showcase/
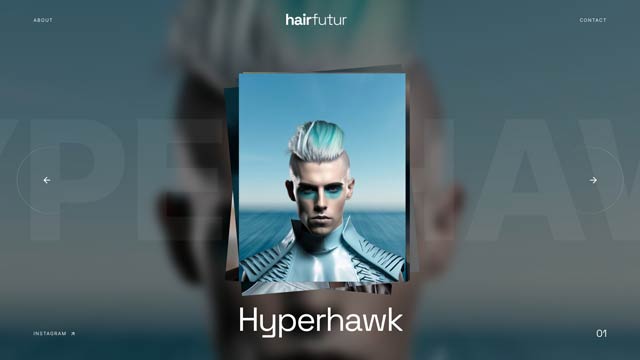
This template, also known as “Futuristic Hairstyles Slider,” needs an adjustment made to the hover settings for some layers to keep them at the correct scale.
Steps to Upgrade Template
Step 1: Set hover scale for four images on each slide
Each of the template’s five slides includes image layers with the following names: Img2, Img3, Img4, Img5.
Select each layer and in the Layer Options sidebar open its Hover sub-section. In the Animation panel, set both the scaleX and scaleY options to 0.4.
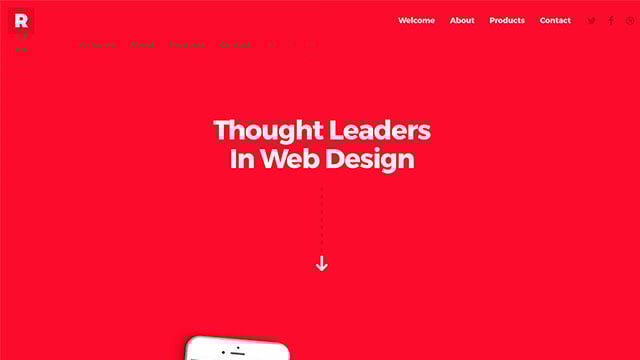
Nice And Clean
Template Demo: https://www.sliderrevolution.com/templates/nice-clean-responsive-wordpress-theme/
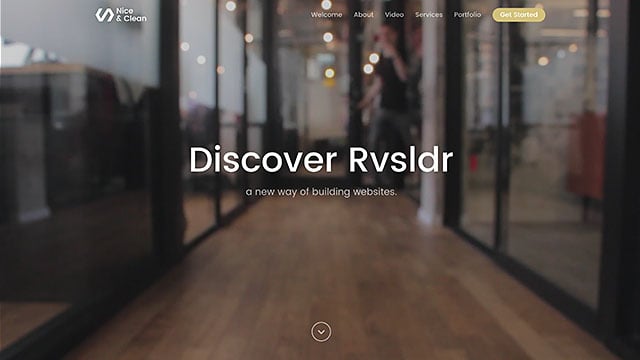
This template requires an update to its sticky menu in order to function as expected. It also requires the addition of a new SR7 Velocity compatible script to handle fading in and out of a background image in the menu.
Optionally, a CSS generated background gradient can be replaced with an in-built gradient as well.
Adjustment Processes
Click any of the following links to open step-by-step adjustment process guides:
- Update sticky menu
- Convert jQuery to pure JS
- Use new API event
- Convert background gradient CSS to in-built options
Steps to Upgrade Template
Step 1: “Nice And Clean Menu”, update sticky menu
Edit the “Nice & Clean” package’s “Nice And Clean Menu” module, then follow the Update sticky menu process.
Step 2: ““Nice And Clean Menu”, add SR7 compatible script
Still editing the “Nice & Clean” package’s “Nice And Clean Menu” module, open the CSS/JS Editor then copy and paste the following script into the CUSTOM JS SR7 tab:
document.addEventListener("sr.slide.afterChange", function (e) {
if (e.id!==revapi4111.id || window.menuFadeListenerAdded) return;
  window.menuFadeListenerAdded = true;
    let menubg = document.getElementById('tp-menubg');
	_tpt.gsap.set(menubg,{autoAlpha:0});
	function fadeInOutBG() {
   	 if (document.documentElement.scrollTop>50 || document.body.scrollTop>50) {
       	_tpt.gsap.to(menubg,0.3,{autoAlpha:1});
    	} else {
   		 _tpt.gsap.to(menubg,0.3,{autoAlpha:0});
    	}
    }
    document.addEventListener('scroll',function() {
		  fadeInOutBG();
    });
    fadeInOutBG();
});
Step 3: “Nice And Clean CallOut” module, convert background gradient to in-built options
The custom CSS style .nc-gradient can be deleted and replaced by adding a linear gradient to the background layer.
For more information, please refer to the Convert background gradient CSS to in-built options process.
The gradient type is linear, and the stops used are:
- #636363 0%
- #383838 100%
Portal Effect Hero Slider
Template Demo: https://www.sliderrevolution.com/templates/portal-effect-hero-slider/
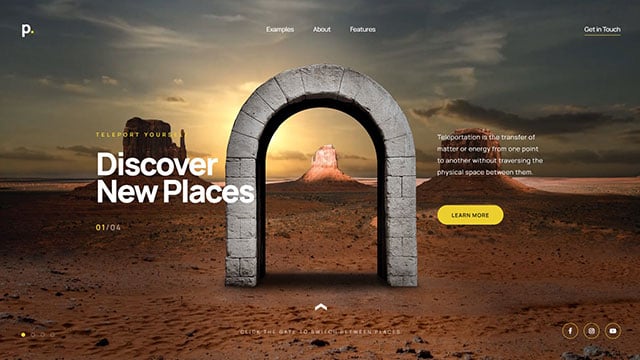
This template requires some small adjustments to OUT animations on select layers to ensure they appear as intended.
Adjustment Processes
Click the following link to open the step-by-step adjustment process guide:
Steps to Upgrade Template
Step 1: Extend OUT animations
Each of the four slides in this module has layers named Copy-column-1, Copy-column-2. Set the OUT animations on these layers to a Duration of 1000.
Real Estate Slider
Template Demo: https://www.sliderrevolution.com/templates/real-estate-slider-for-wordpress/
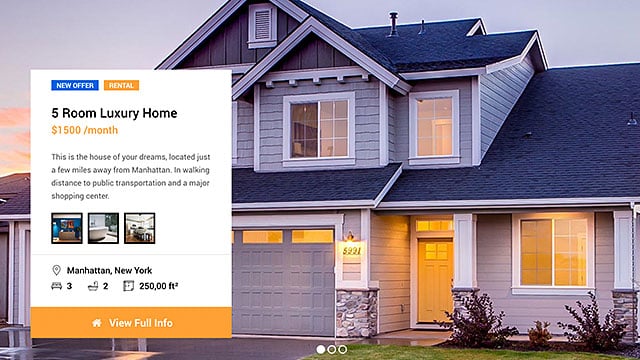
You may encounter an issue where a thumbnail image is missing from each the second and third slides. The solution is to simply resave the module after a couple of specific actions, detailed below.
Steps to Upgrade Template
Step 1: Click thumbnail animations strips then re-save
Open Slide #2 and on the layer named Thumb2 click the IN animation strip, then click on the OUT animation strip.
Switch to Slide #3, and on the layer named Thumb2 click the IN animation strip, then click on the OUT animation strip.
Save the module, refresh on the front-end, and the thumbnail images should now be visible.
Space Opera
Template Demo: https://www.sliderrevolution.com/templates/space-opera-presentation/
The “Space Opera” template may appear to be running animations at a different speed.
This can be solved by opening and saving the module, as per the steps linked below, which will make the animations work off new SR7 Velocity Engine animation defaults.
Adjustment Processes
Click the following link to open the step-by-step adjustment process guide:
Steps to Upgrade Template
Step 1: Save new defaults
Follow the process linked above.
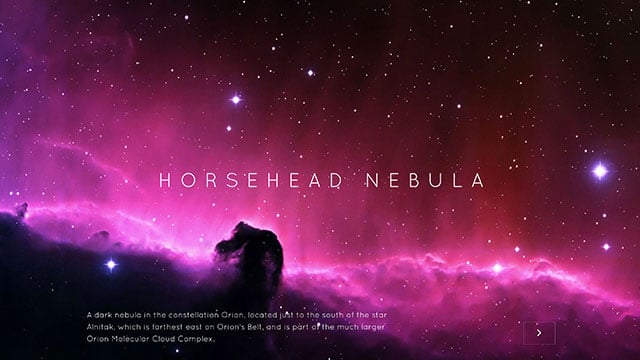
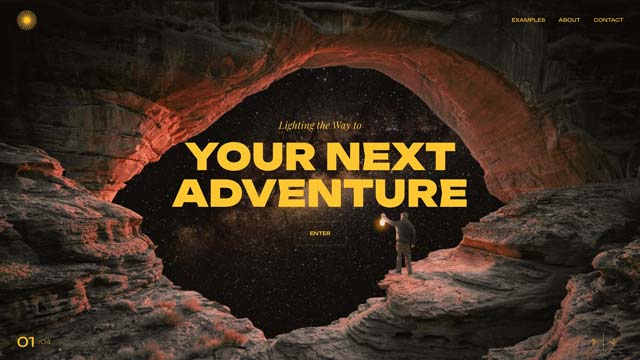
Starry Night Parallax Zoom Effect Slider
Template Demo: https://www.sliderrevolution.com/templates/starry-night-parallax-zoom-effect-slider/
This template requires some small adjustments to OUT animations on select layers to ensure they appear as intended.
Adjustment Processes
Click the following link to open the step-by-step adjustment process guide:
Steps to Upgrade Template
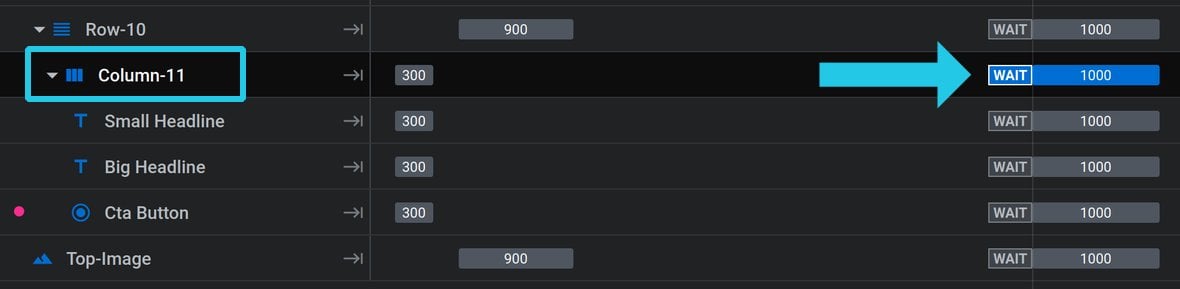
Step 1: Extend Column-11 OUT animation duration
On each of the template’s four slides, select the layer named Column-11 and change the OUT animation duration from 300 to 1000:
Storytelling Website Template
Template Demo: https://www.sliderrevolution.com/templates/storytelling-website-template/
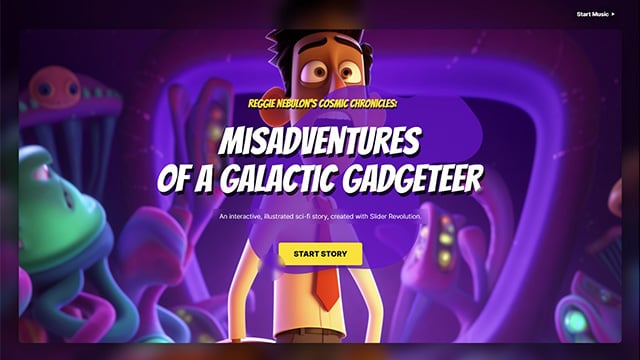
In the “Storytelling Website Template”, you may notice the main image of each slide appears to slightly pop out of its masking area while animating out.
Steps to Upgrade Template
Step 1: Activate Mask on Main Image layer OUT animation
On each slide of the template, select the layer named Main Image, then in the Layer Options sidebar click the Animation sub-section. In the Keyframes panel, select the OUT animation by clicking the Anim To button at the bottom:
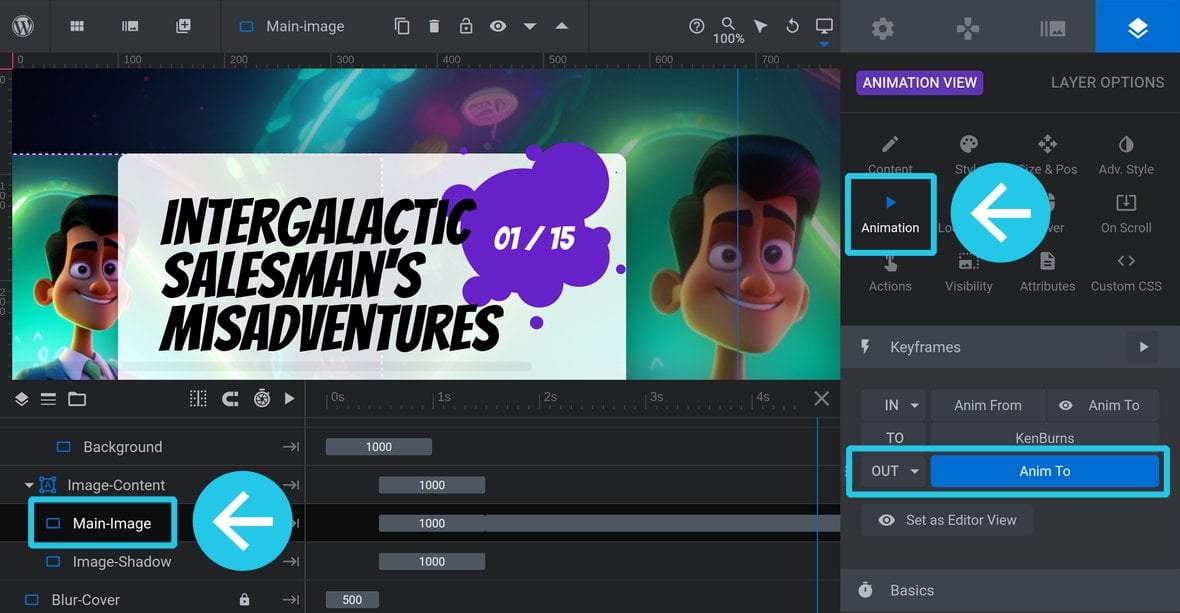
Scroll down to the Advanced panel and click the Mask tab. Toggle Use Masking to ON:
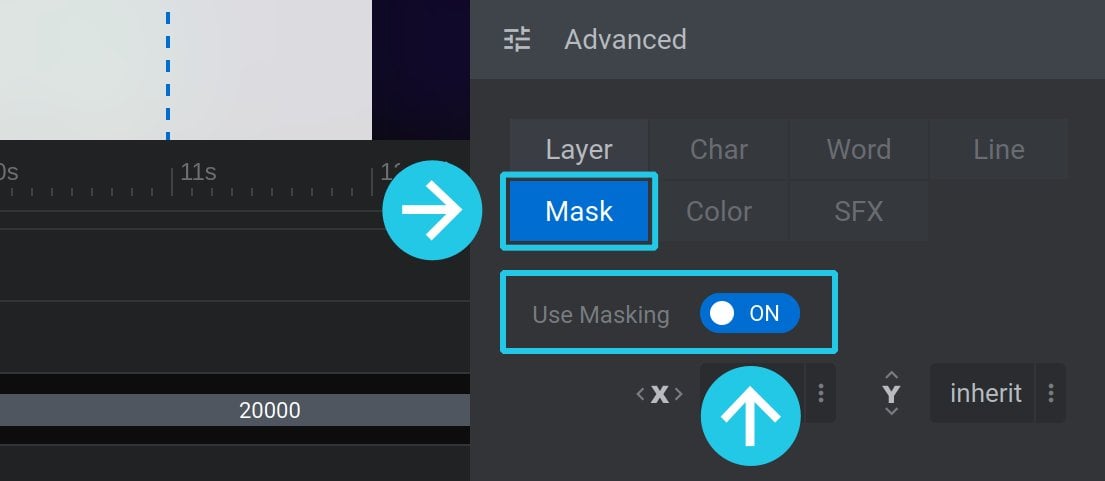
Once you have done this on each slide, save the template.
Themeplicity Website Template
Template Demo: https://www.sliderrevolution.com/templates/wordpress-theme/
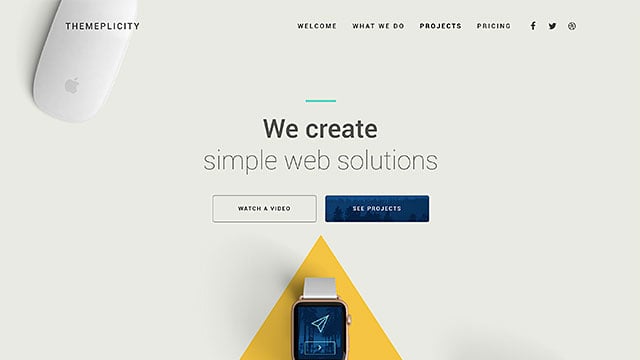
This template requires an update to its sticky menu in order to function as expected. It also requires the addition of a new SR7 Velocity compatible script to handle fading in and out of a background image in the menu. Finally, it requires the addition of new selectors in a custom CSS style.
Adjustment Processes
Click any of the following links to open step-by-step adjustment process guides:
Steps to Upgrade Template
Step 1: “Themeplicity Menu”, update sticky menu
Edit the “Themeplicity Website” package’s “Themeplicity Menu” module, then follow the Update sticky menu process.
Step 2: “Themeplicity Menu”, add menu fading script
In the CSS/JS Editor, add the following code to the Custom JS SR7 tab:
document.addEventListener("sr.module.ready", function (e,id) {
  let menubg = document.getElementById('tp-menubg');
  punchgs.TweenLite.set(menubg,{autoAlpha:0});
  function fadeInOutBG() {
	if (document.documentElement.scrollTop>50 || document.body.scrollTop>50)
  	punchgs.TweenLite.to(menubg,0.3,{autoAlpha:1});
     	else
   		 punchgs.TweenLite.to(menubg,0.3,{autoAlpha:0});
  }
  document.addEventListener("scroll", (event) => {
	fadeInOutBG();
  });
  fadeInOutBG();
});
Step 3: “Themeplicity Tables”, update column targeted CSS
Edit the “Themeplicity Website” package’s “Themeplicity Tables” module, then in the CSS/JS Editor, replace the existing custom CSS with the following:
.tp-boxshadow rs-column-bg, .tp-boxshadow + sr7-col-bg-mask sr7-col-bg {box-shadow: 0px 15px 30px 0px rgba(0,0,0,0.35); }Winery Timeline Slider
Template Demo: https://www.sliderrevolution.com/templates/winery-timeline-slider/
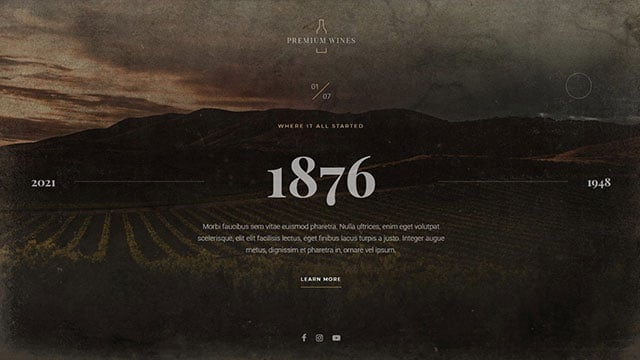
This template requires some small adjustments to OUT animations on select layers to ensure they appear as intended.
Adjustment Processes
Click the following link to open the step-by-step adjustment process guide:
Steps to Upgrade Template
Step 1: Extend OUT animations
Each of the seven slides in this module has a layer named Column-1. Set the OUT animations on these layers to a Duration of 1500.
Wonderstruck One-Pager
Template Demo: https://www.sliderrevolution.com/templates/wonderstruck-website-template/
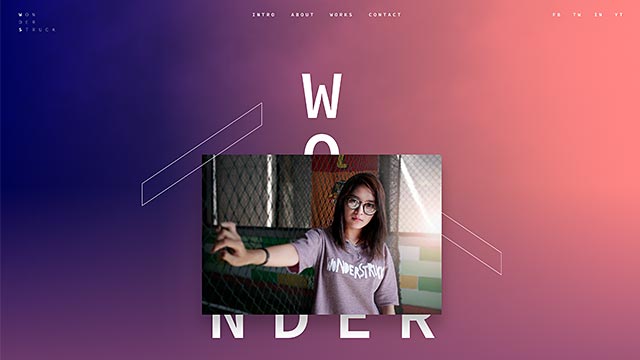
This package requires an update to its sticky menu in order to function as expected.
Optionally, it has a CSS box-shadow that can be converted to use in-built functionality.
Adjustment Processes
Click any of the following links to open step-by-step adjustment process guides:
Steps to Upgrade Template
Step 1: “Wonderstruck Menu”, update sticky menu
Edit the “Wonderstruck One-Pager” package’s “Wonderstruck Menu” module, then follow the Update sticky menu process.
Step 2: “Wonderstruck Header”, convert box-shadow to in-built
Edit the “Wonderstruck One-Pager” package’s “Wonderstruck Header” module, then follow the Convert box-shadow CSS to in-built process.
Main Image is the name of the layer to which the box shadow style should be applied.
WooCommerce Slider Static
Template Demo: https://www.sliderrevolution.com/templates/woo-commerce-slider/

When the video review button is hovered over, it will grow in size and rotate but may not return to its original state afterward.
Steps to Upgrade Template
Step 1: “E-Commerce Slider” module, set animation scale and 2D Rotation
In the “E-Commerce Slider” module, select the layer named Video-Button-Bg, then in the Layer Options sidebar click the Animation sub-section. In the Keyframes panel, select the second keyframe, i.e. the first TO keyframe:
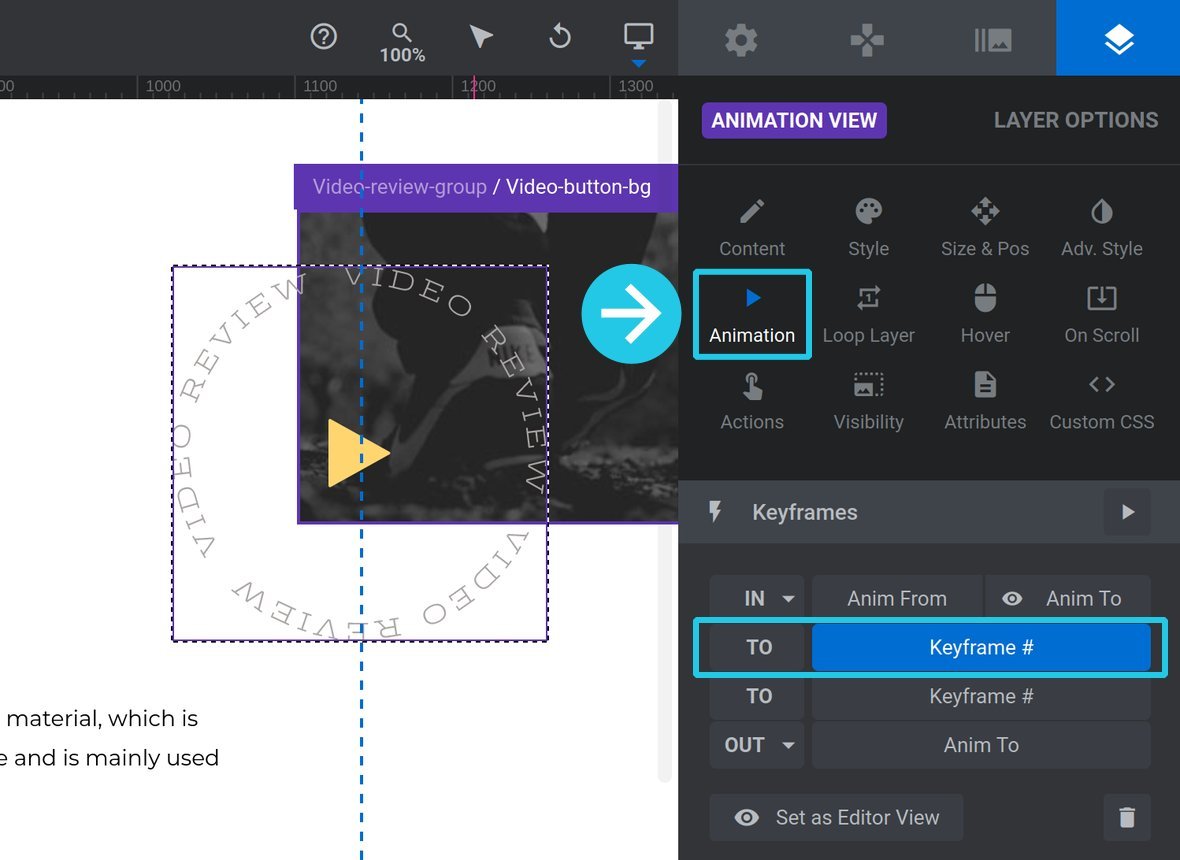
Scroll down to the Advanced panel, and under the Layer tab set both scaleX and scaleY to 1. Additionally, set the 2D Rotation option to 0deg:

Save the template, and the layer state should return to normal after hovering.
Wedding Photo Slider Template Package
Template Demo: https://www.sliderrevolution.com/templates/wedding-photo-slider/
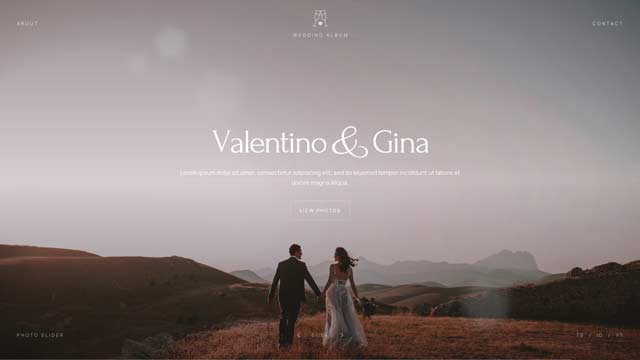
This template requires a new script to be added to handle opening a modal window in an SR7 Velocity compatible manner.
Adjustment Processes
Click any of the following links to open step-by-step adjustment process guides:
Steps to Upgrade Template
Step 1: “Wedding Photo Slider”, add modal opening script
Edit the “Wedding Photo Slider” package’s “Wedding Photo Slider” module, then paste this code in the Custom JS SR7 tab:
document.addEventListener('sr.modal.open',function(e) {
  revapi4268.playScene('weddingpreloader','out');
});
Zen Technology Website Template
Template Demo: https://www.sliderrevolution.com/templates/zen-technology-website/
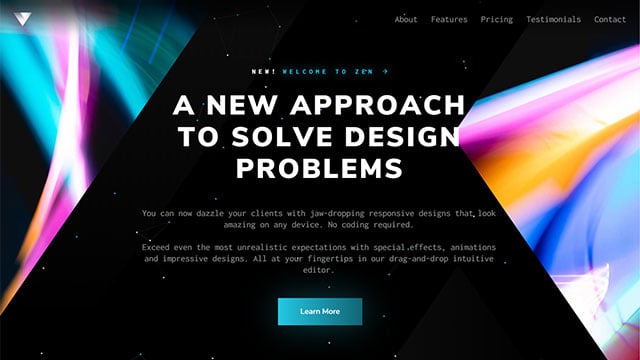
This template needs line breaking functionality added after the price figures in its pricing module.
Steps to Upgrade Template
Step 1: “Zen Pricing” module, adjust layout
There are two options for how you can adjust this layout.
The first is to perform an extensive reworking of how layers are grouped and styled. This process adheres to best practices, however is beyond the scope of this document. As such our recommendation is to install a fresh copy of the “Zen Pricing” module, examine its layer structure, and use it as a reference for how to rework your own module’s layout.
The second option is a quick fix; the most direct method to ensure line-breaking works as expected.
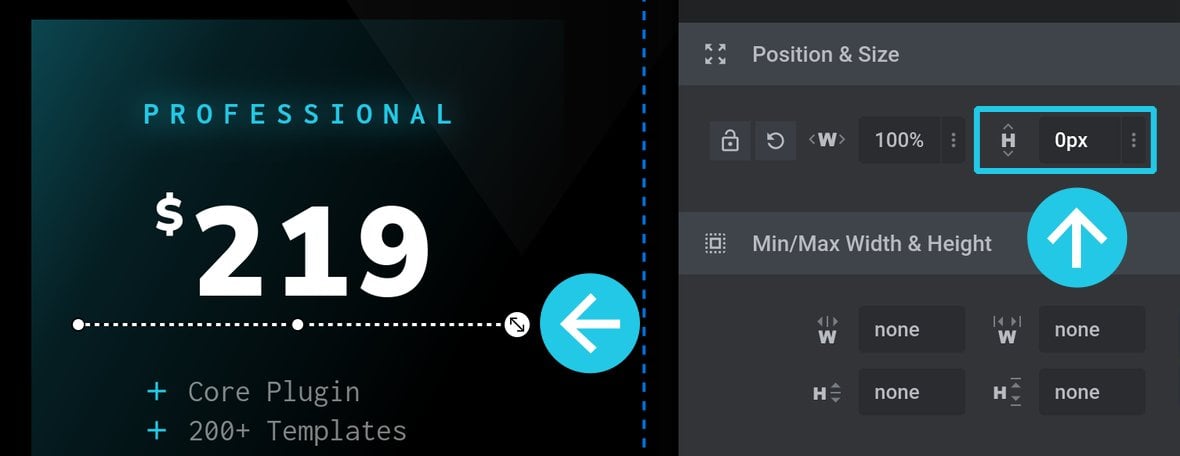
To use this approach, select one of the layers in a pricing column that contains a bullet list of + symbols. Then, in the Layer Options sidebar, Content sub-section, scroll down to the Content Behavior panel and click the Add LineBreak Before button:
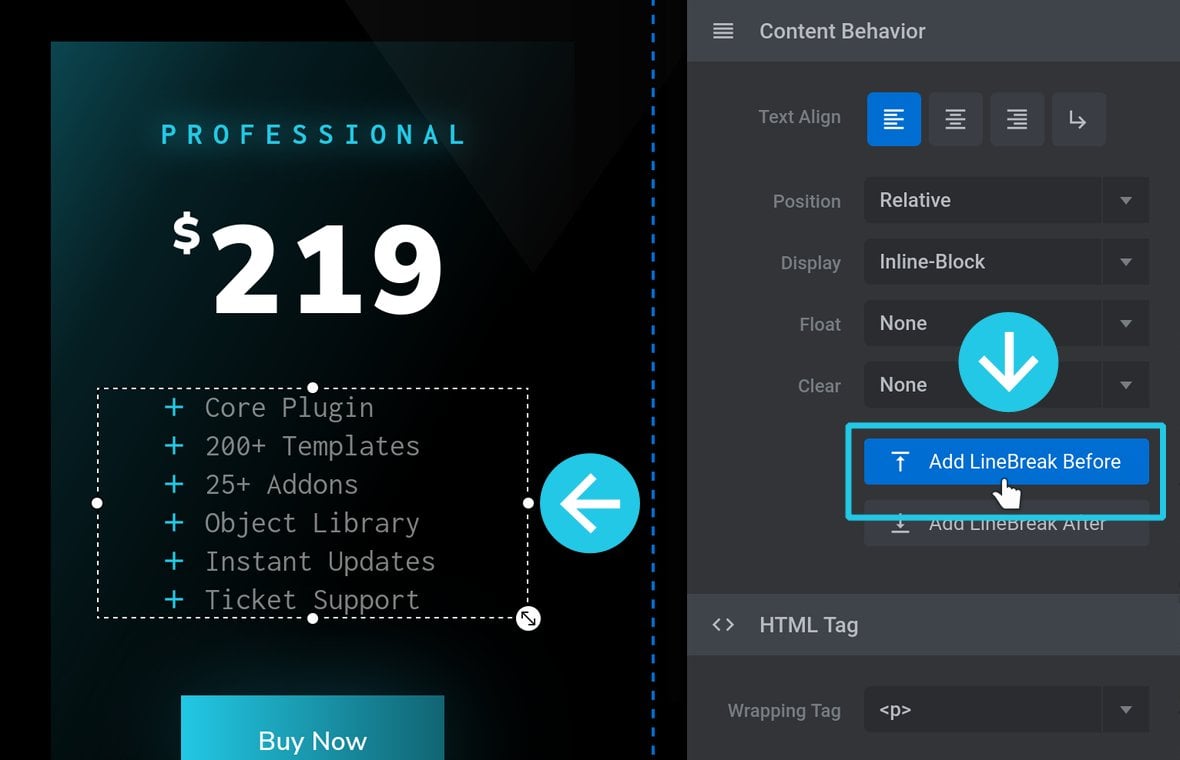
Then select the newly added LineBreak layer, and under its Size & Pos subsection, set the Height option to 0px:
Repeat this process for the other two columns, save your template, and now line breaking should behave as expected.