
Template Modification Walkthroughs – Medium Impact
Do you have a template based module you want to upgrade for the new SR7 Velocity Engine? Learn the modifications each template requires in this guide.

Template Lists by Impact Level
We advise you to use CTRL + F (on Windows) / Command + F (on MacOS) to do a text search of this page and see if a template you have based your own design on is included in this list.
We also recommend you perform the same search in our guides to high and low impact template modifications:
Templates with Optional, Medium-Impact Visual Adjustments
If you have a module based on a template in this list, it will deliver best results if you apply the adjustments recommended in the linked section, however it is not essential:
Template Guides – Medium-Impact
If you have a module based on a template listed below, it will deliver best results if you apply the adjustments recommended in the linked section, however it is not essential.
App Landing Page
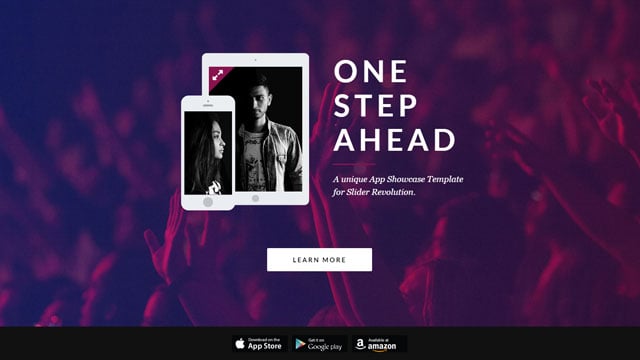
Template Demo: https://www.sliderrevolution.com/templates/app-landing-page-free-template/
This template uses some custom CSS to give default styling to links in text layers. It uses a selector that is now deprecated, and hence should be updated.
Adjustment Processes
Click the following link to open the step-by-step adjustment process guide:
Steps to Upgrade Template
Step 1: Replace custom CSS
In the CSS/JS Editor, the following custom CSS can be found:
.rs-layer.App-Content a,
.rs-layer.App-Content a:visited {
  color: #89124e !important;
  border-bottom: 1px solid transparent !important;
  font-weight: bold !important;
}

.rs-layer.App-Content a:hover	{
   border-bottom: 1px solid #89124e !important;
}
Replace that CSS with the following:
.App-Content a,
.App-Content a:visited {
  color: #89124e !important;
  border-bottom: 1px solid transparent !important;
  font-weight: bold !important;
}

.App-Content a:hover	{
   border-bottom: 1px solid #89124e !important;
}
Blur Effect Slider
Template Demo: https://www.sliderrevolution.com/templates/blur-effect-slider/
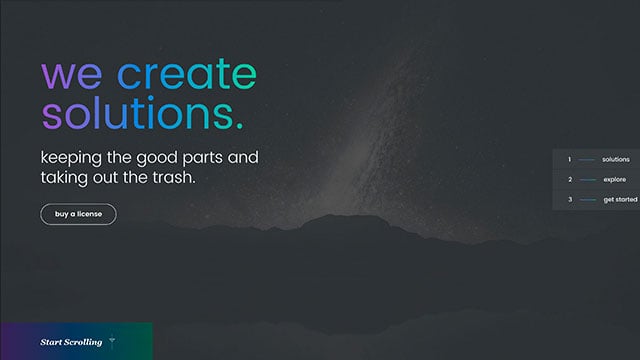
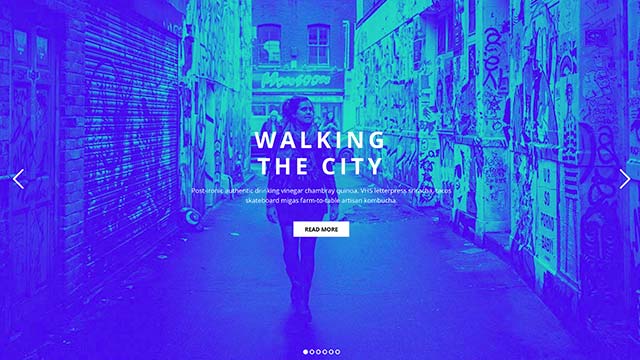
This template uses a text gradient that can be replaced, and a reworked global nav layout that can optionally be replicated.
Adjustment Processes
Click the following link to open the step-by-step adjustment process guide:
Steps to Upgrade Template
Step 1: Convert text gradient on title
On each slide, the layer named Title has a text gradient applied to it via the custom class blurslider-gradient.
This custom code can be replaced by following the process Convert text gradient CSS to in-built options & layer CSS
Step 2: (Optional) Rebuild Global Layer nav items
In the newest version of this template the navigation items found in the Global Layers have been rebuilt, using multiple inline-block items rather than a single item with CSS applied.
The process for the rebuild is beyond the scope of this guide, but if you wish to recreate it you can install a fresh copy of the template and use it as a reference.
Carousel Gallery
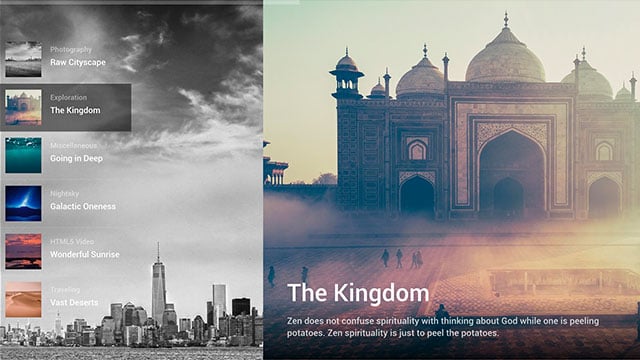
Template Demo: https://www.sliderrevolution.com/templates/wordpress-carousel-gallery/
This template uses CSS to create a linear gradient behind the caption that can be replaced with in-built options.
Adjustment Processes
Click the following link to open the step-by-step adjustment process guide:
Steps to Upgrade Template
Step 1: Replace gradient on Gradient Bg layers
The Gradient Bg layer on each slide has a background gradient generated through the custom CSS class tp-gradientstyle. It can be replaced with a gradient created via in-built options.
The gradient type is linear, and the angle is 180, and the stops used are:
rgba(0,0,0,0)50%rgba(0,0,0,0.83)99%rgba(0,0,0,0.75)100%
Chocolate Bar Product Presentation Template
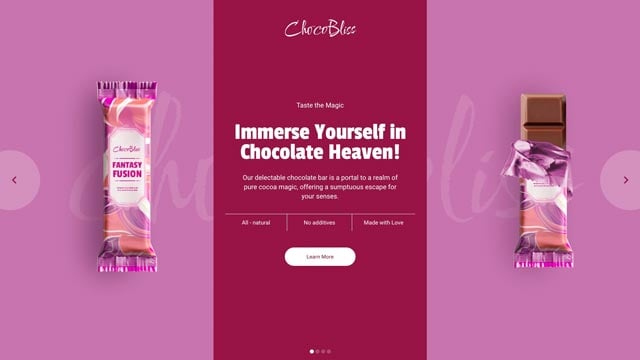
Template Demo: https://www.sliderrevolution.com/templates/chocolate-bar-product-presentation-template/
This template needs a minor tweak to the IN animations of two layers.
Steps to Upgrade Template
Step 1: Adjust animation timing on Global Layers
Open the template’s Global Layers, then set the Logo layer’s IN animation Duration to 850, and the Preload-Background layer’s IN animation Duration to 800.
Christmas Snow Scene

Template Demo: https://www.sliderrevolution.com/templates/christmas-snow-scene/
The “Christmas Snow Scene” template used to require a custom script to create its snow effect. This script can now be replaced by the Holiday Snow addon [?]
Addons extend the functionality of Slider Revolution, adding new controls to the module editor and allowing you to do extra things with your design.
For example, using the particle addon you can create effects such as falling snow, and using the distortion addon you can create shimmering effects such as simulating being underwater.
There are dozens of addons available, all included with the full version of Slider Revolution..
Steps to Upgrade Template
Step 1: Replace script with Snow addon
Delete the script found in the CUSTOM JS SR6 tab.
Install and enable the Holiday Snow addon. The default settings are already suitable, so no further configuration is required.
Concept

Template Demo: https://www.sliderrevolution.com/templates/fullscreen-wordpress-plugin/
This template uses some custom CSS to give default styling to links in text layers. It uses a selector that is now deprecated, and hence should be updated.
Adjustment Processes
Click the following link to open the step-by-step adjustment process guide:
Steps to Upgrade Template
Step 1: Replace Custom CSS
In the CSS/JS Editor, the following custom CSS can be found:
.rs-layer.Concept-Content a,
.rs-layer.Concept-Content a:visited {
  color: #fff !important;
  border-bottom: 1px solid #fff !important;
  font-weight: 700 !important;
}

.rs-layer.Concept-Content a:hover    {
   border-bottom: 1px solid transparent !important;
}


.rs-layer.Concept-Content-Dark a,
.rs-layer.Concept-Content-Dark a:visited {
  color: #000 !important;
  border-bottom: 1px solid #000 !important;
  font-weight: 700 !important;
}


.rs-layer.Concept-Content-Dark a:hover    {
   border-bottom: 1px solid transparent !important;
}
Replace that CSS with the following:
.Concept-Content a,
.Concept-Content a:visited {
  color: #fff !important;
  border-bottom: 1px solid #fff !important;
  font-weight: 700 !important;
}

.Concept-Content a:hover    {
   border-bottom: 1px solid transparent !important;
}


.Concept-Content-Dark a,
.Concept-Content-Dark a:visited {
  color: #000 !important;
  border-bottom: 1px solid #000 !important;
  font-weight: 700 !important;
}


.Concept-Content-Dark a:hover    {
   border-bottom: 1px solid transparent !important;
}
Creative Frontpage

Template Demo: https://www.sliderrevolution.com/templates/best-wordpress-slider/
This template used to require custom CSS to set the appropriate z-index when hovering over images on the Illustrator Detail and WebDesigner Detail slides.
It has since been converted to use in-built hover z-index options, so the existing custom CSS is no longer needed, and if left in place may interfere with correct functioning. Hence, the code should be deleted.
Adjustment Processes
Click the following link to open the step-by-step adjustment process guide:
Steps to Upgrade Template
Step 1: Remove Z-index CSS
Delete the line of CSS found in the CSS/JS Editor.
Duotone Slider
Template Demo: https://www.sliderrevolution.com/templates/wordpress-header-image-slider/
This template requires a tweak to the transition animation duration for each slide.
Steps to Upgrade Template
Step 1: Modify Duration setting on each slide
In the Slide Options sidebar, open the Animation sub-section. Scroll down to the Advanced panel then under the Timing tab, change the Duration option from 2000ms to 1000ms.
Repeat the above for each slide in the module.
Focus Parallax Effect

Template Demo: https://www.sliderrevolution.com/templates/parallax-effect-wordpress-plugin/
This template uses CSS to create a radial gradient on a shape layer that can be replaced with in-built options.
Adjustment Processes
Click the following link to open the step-by-step adjustment process guide:
Steps to Upgrade Template
Step 1: Replace gradient on Gradient Overlay layer
The Gradient Overlay layer on the first slide has a background gradient generated through the custom CSS class tp-gradientstyle. It can be replaced with a gradient created via in-built options.
The gradient type is radial, and the stops used are:
rgba(255,206,0,0)0%rgba(255,206,0,0)40%rgba(255,206,0,0.35)75%rgba(229,141,0,0.5)100%)
Furniture Store Isometric Slider

Template Demo: https://www.sliderrevolution.com/templates/furniture-store-isometric-slider/
This template requires a small change to the OUT animation of a layer that appears on each slide.
Adjustment Processes
Click the following link to open the step-by-step adjustment process guide:
Steps to Upgrade Template
Step 1: Extend OUT animations
Each of the four slides in this module has a layer named Column-6. Set the OUT animation on these layers to a Duration of 800.
GoodNews Content Page
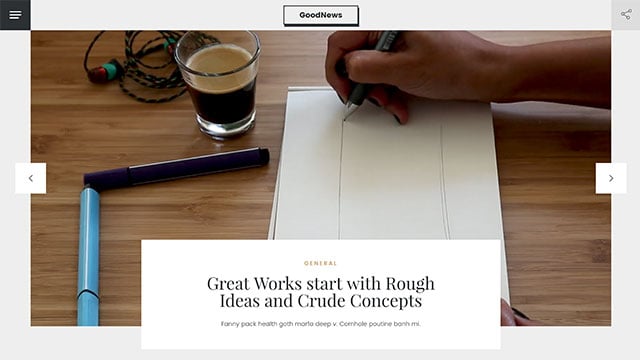
Template Demo: https://www.sliderrevolution.com/templates/goodnews-responsive-wordpress-theme-content/
This template package needs to have a drop shadow style added to the main title, border radius applied to an author image, and refinement of layer area heights in three modules.
Adjustment Processes
Click the following link to open the step-by-step adjustment process guide:
Steps to Upgrade Template
Step 1: “Goodnews Menu Back” module, add title shadow
Select the layer named Goodnews, and in the Layer Options sidebar open the Adv. Style sub-section.
In the Box Shadow panel, toggle the Effect option to ON, then set X to 2px, Y to 6px, Blur Radius to 0px, Spread to 0px and Shadow Color #2D3032.
Step 2: “Goodnews Blogheader” module, remove custom CSS
Select the layer named Author Pic, and in the Layer Options sidebar, open the Style sub-section. Scroll down to the Border panel, set Border Style to Solid, then set all four Border Radius options to 50%.
You can then delete all the code found in the CUSTOM CSS tab of the CSS/JS Editor. This code contains the border-radius styling you replaced with in-built options and shadow code that is no longer used in this template.
Step 3: “Goodnews Blog Content” module, set layer area heights
Go to the Module General Options sidebar and open the Layout sub-section.
In the Layer Area Size panel, set the Desktop Height option to 1342px, the Notebook Height option to 1172px, the Tablet Height option to 892px, and the Mobile Height option to 1194px.
Step 4: “Goodnews Testimonials” module, set layer area heights
Go to the Module General Options sidebar and open the Layout sub-section.
In the Layer Area Size panel, set the Desktop Height option to 800px, the Notebook Height option to 867px, the Tablet Height option to 742px, and the Mobile Height option to 782px.
Step 5: “Goodnews Blog Footer” module, set layer area heights
Go to the Module General Options sidebar and open the Layout sub-section.
In the Layer Area Size panel, set the Desktop Height option to 542px, the Notebook Height option to 565px, the Tablet Height option to 746px, and the Mobile Height option to 740px.
Innovation Slider
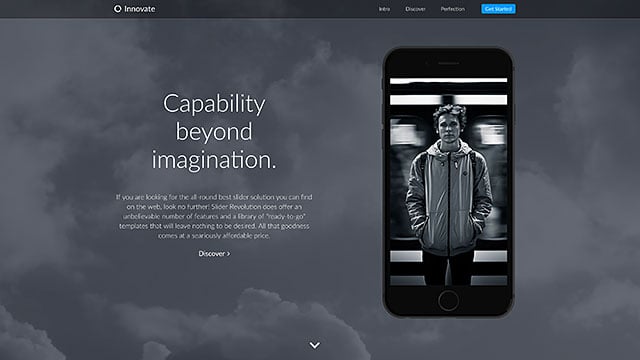
Template Demo: https://www.sliderrevolution.com/templates/best-wordpress-slider-plugin-2016/
This template uses a script that fades on scroll. This script can be replaced with in-built options by following the process linked to below.
Adjustment Processes
Click the following link to open the step-by-step adjustment process guide:
Main Feature Slider

This template uses some custom CSS and JS to add extra inline menu items in some slides. In order to function as expected they require some new custom code to be added.
Adjustment Processes
Click any of the following links to open step-by-step adjustment process guides:
Steps to Upgrade Template
Step 1: Update CSS
Add the selector .mfs_menutab_selected .rs-layer:before to the existing CSS so it appears as follows:
.mfs_menutab_selected .sr7-layer:before, .mfs_menutab_selected .rs-layer:before {
    content:" ";
    width:3px;
    background:#D50000;
    position:absolute;
    top:16%;
    left:-30px;
    transition:all 0.3s;
    -webkit-transition:all 0.3s;
    box-sizing:border-box;
    margin-top:-1px;
    height:66%;
}
Step 2: Add SR7 compatible JavaScript
Add the following code to the Custom JS SR7 tab of the CSS/JS Editor:
document.addEventListener("sr.slide.afterChange", function (e) {
  [...e.current.slide.querySelectorAll('.mfs_menutab')].forEach((t, i) => {
	if (i == 0) t.classList.add('mfs_menutab_selected');
	if (!t.dataset.haslistener) {
  	t.addEventListener("click", function (c) {
    	let currentSelected = document.querySelector('.mfs_menutab_selected');
    	if (!!currentSelected) currentSelected.classList.remove('mfs_menutab_selected');
    	c.currentTarget.classList.add('mfs_menutab_selected');
  	});
  	t.dataset.haslistener = true;
	}
  })
});


document.addEventListener("sr.slide.beforeChange", function (e) {
  let currentSelected = document.querySelector('.mfs_menutab_selected');
  if (!!currentSelected) currentSelected.classList.remove('mfs_menutab_selected');
});
Material UI Slider
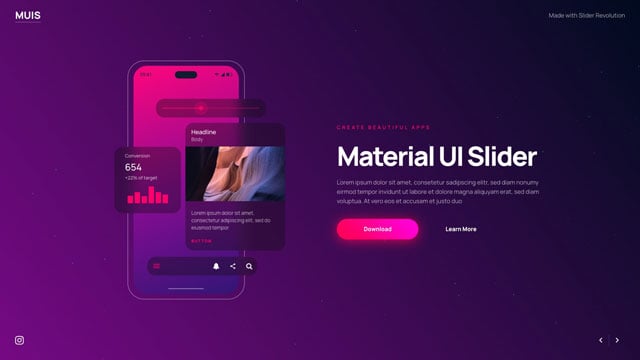
Template Demo: https://www.sliderrevolution.com/templates/material-ui-slider/
This template has a slightly misaligned line graphic on the first slide.
Steps to Upgrade Template
Step 1: Adjust layer position
On the first slide of the module, there are layers named Fill Line and Bg Line.
For both of these layers, go to the Layer Options sidebar, open the Size & Pos sub-section, and in the Position & Size panel, change the Y option from -4px to 0.
Medicare Medical Services

Template Demo: https://www.sliderrevolution.com/templates/medicare-medical-services-website/
This package’s “Medicare Research” template uses custom CSS to ensure overflow is correctly handled on its navigation tabs. It uses a selector that is now deprecated and should hence be updated.
Adjustment Processes
Click the following link to open the step-by-step adjustment process guide:
Steps to Upgrade Template
Step 1: “Medicare Research” module, replace custom CSS
In the CSS/JS Editor, the following custom CSS can be found:
#research_wrapper .tp-tab-mask { overflow: visible !important; }Replace that CSS with the following:
.medicare > :first-child { overflow: visible !important; }Modern Portfolio Showreel Slider

Template Demo: https://www.sliderrevolution.com/templates/modern-portfolio-showreel-slider/
This template has a minor misalignment on a text layer.
Steps to Upgrade Template
Step 1: Adjust margin on layer in Global Layers
Open the module’s Global Layers, select the layer named Cta-Button, and in the Layer Options sidebar, open the Style sub-section.
Scroll down to the Spacings panel and change the Margin Left option from 100px to 0.
Particle Effect Three

Template Demo: https://www.sliderrevolution.com/templates/particle-background-effect/
This template has a title and button each with gradient CSS that can be replaced.
Adjustment Processes
Click any of the following links to open step-by-step adjustment process guides:
- Convert text gradient CSS to in-built options & layer CSS
- Convert background gradient CSS to in-built options
Steps to Upgrade Template
Step 1: Replace text gradient effect
Follow the Convert text gradient CSS to in-built options & layer CSS process for the layer named Title.
The style responsible for the text gradient is the one with the class blurslider-gradient. The gradient type is linear, and the stops used are:
#9357cc0%#2989d850%#2cc99d100%
Step 2: Replace buy button gradient
The Buy layer has a background gradient generated through the custom CSS class blurslider-button. It can be replaced with a gradient created via in-built options.
The gradient type is linear, and the stops used are:
#9357cc0%#2989d850%#2cc99d100%
Portfolio Viewer

Template Demo: https://www.sliderrevolution.com/templates/wordpress-portfolio-plugin/
This template has some custom JavaScript that adds a shadow when certain images are hovered over. It can be replaced with custom CSS.
Steps to Upgrade Template
Step 1: Delete all custom Javascript
Delete the JS that came with the template, which will be found in the Custom JS SR6 tab.
Step 2: Add in New CSS
Add the following custom CSS via the CSS/JS Editor:
.upperzindex { z-index: 40 !important;}


.ddd_mousebox {
 box-shadow: none;
 transition: box-shadow 0.4s;
}


.ddd_mousebox:hover {
 box-shadow: 0 50px 100px rgba(15,20,40,0.35), 0 20px 45px rgba(15,20,40,0.35);
}


sr7-px:has(> .ddd_mousebox):hover{
 z-index: 30 !important;
}
The above code replaces a CSS hover transition on the box-shadow property to replace the formerly used Javascript. It also handles ensuring layers have the proper z-index hover.
Step 3: Add upperzindex class to Number layer
In the slide named One Detail, select the layer named Number, and in the Layer Options sidebar, open the Attributes sub-section; then in the Class options, add upperzindex.
Repeat this for the slide named Three Detail.
Real Estate Showcase Slider
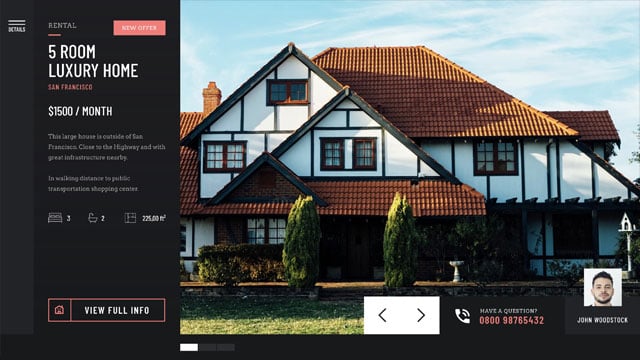
Template Demo: https://www.sliderrevolution.com/templates/real-estate-showcase-slider/
This template uses some custom CSS that should be updated to include new selectors.
Adjustment Processes
Click the following link to open the step-by-step adjustment process guide:
Steps to Upgrade Template
Step 1: Update Custom CSS
Replace this code:
#real_estate_slider_forcefullwidth #details span {color: #fff}
#real_estate_slider_forcefullwidth rs-module {overflow: visible !important}
#real_estate_slider_forcefullwidth .persephone .tp-bullet {height:15px !important}
With this code:
.ress_details span {color: #fff}
#real_estate_slider_forcefullwidth rs-module {overflow: visible !important}
.persephone .tp-bullet, .persephone .sr7-bullet {height:15px !important}
Rock Band Music
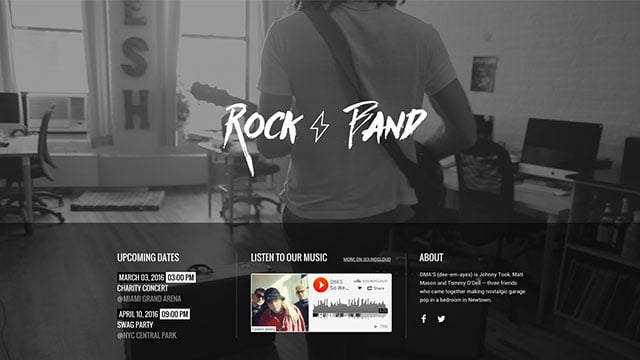
Template Demo: https://www.sliderrevolution.com/templates/rock-band-music-theme-slider-revolution-plugin/
This template uses custom CSS that should be updated to include new selectors. It also has minor layout quirks that can be solved with Group layers.
Adjustment Processes
Click the following link to open the step-by-step adjustment process guide:
Steps to Upgrade Template
Step 1: Update Custom CSS
Replace this code:
.rs-layer.Twitter-Content a,
.rs-layer.Twitter-Content a:visited { color: #fff !important; text-decoration: underline !important;}
.rs-layer.Twitter-Content a:hover { color: #fff !important; text-decoration: none !important;}
With this code:
.rs-layer.Twitter-Content a, .sr7-layer.Twitter-Content a,
.rs-layer.Twitter-Content a:visited, .sr7-layer.Twitter-Content a:visited { color: #fff !important; text-decoration: underline !important;}
.rs-layer.Twitter-Content a:hover, .sr7-layer.Twitter-Content a:hover { color: #fff !important; text-decoration: none !important;}
Step 2: Rework layout
You may find some layout issues around the SoundCloud player. These can be solved by setting up Group layers and implementing a relative positioning based layout.
The steps to do so are beyond the scope of this guide, so the best approach is to install a fresh copy of the template and use it as a reference to recreate the updated layout.
Scroll Effect

Template Demo: https://www.sliderrevolution.com/templates/big-bold-fullscreen-slider/
This template has a script that creates a fading and scaling effect on scroll. It should have the fading aspect of that script replaced by in-built options, and the scaling effect updated for SR7 engine compatibility.
Adjustment Processes
Click any of the following links to open step-by-step adjustment process guides:
Steps to Upgrade Template
Step 1: Replace scroll fade JS with in-built
In the CUSTOM JS SR6 tab of the CSS/JS Editor, remove the elements of the script that govern the fade effect. This means replacing this code:
var newCall = new Object(),
    cslide;


newCall.callback = function() {
    var proc = revapi258.revgetparallaxproc(),
   	 fade = 1+proc,
   	 scale = 1+(Math.abs(proc)/10);


	punchgs.TweenLite.set(revapi258.find('rs-sbg-wrap, rs-bgvideo'),{opacity:fade,scale:scale});
}
newCall.inmodule = "parallax";
newCall.atposition = "start";


revapi258.bind("revolution.slide.onloaded",function (e) {
    revapi258.revaddcallback(newCall);
});
With this code:
var newCall = new Object(),
    cslide;


newCall.callback = function() {
    var proc = revapi4199.revgetparallaxproc(),
   	 scale = 1+(Math.abs(proc)/10);


	punchgs.TweenLite.set(revapi4199.find('rs-sbg-wrap, rs-bgvideo'),{scale:scale});
}
newCall.inmodule = "parallax";
newCall.atposition = "start";


revapi4199.bind("revolution.slide.onloaded",function (e) {
    revapi4199.revaddcallback(newCall);
});
Then enable the in-built scroll fade effect as per the instructions in the Convert scroll fade JS to in-built process.
However, rather than setting the fade Direction to Top, set it to Both.
Step 2: Update JS scale effect code
It’s also necessary to have an SR7 compatible version of the script left in the SR6 code tab.
As such, paste the following code in the CUSTOM JS SR7 tab of the CSS/JS Editor:
var newCall = new Object(),
    cslide;


newCall.callback = function() {
    var proc = revapi4199.revgetparallaxproc(),
   	 scale = 1+(Math.abs(proc)/10);


	punchgs.TweenLite.set(revapi4199.find('sr7-bg, sr7-media'),{scale:scale});
}
newCall.inmodule = "parallax";
newCall.atposition = "start";


document.addEventListener("sr.slide.afterChange", function (e) {
    revapi4199.revaddcallback(newCall);
});
Smart Living One Pager V3

Template Demo: https://www.sliderrevolution.com/templates/smart-living-one-page-template-for-wordpress-v3/
This template requires some minor spacing and border adjustments.
Steps to Upgrade Template
Step 1:“footer 3” module, remove margins
Select the layer named Logo, and in the Layer Options sidebar open the Style sub-section.
In the Spacings panel, set the Margin Top option to 0 and the Padding Top option to 100 for the Desktop, Notebook and Tablet layouts. Phone layout options can remain as is.
Step 2: “footer 3” module, remove margins
Select the layer named Cta Button, and in the Layer Options sidebar open the Style sub-section.
In the Border panel, set the Border Color to #e3ae7e, Border Style to Solid, and all four Border Size options to 1px.
Team Carousel
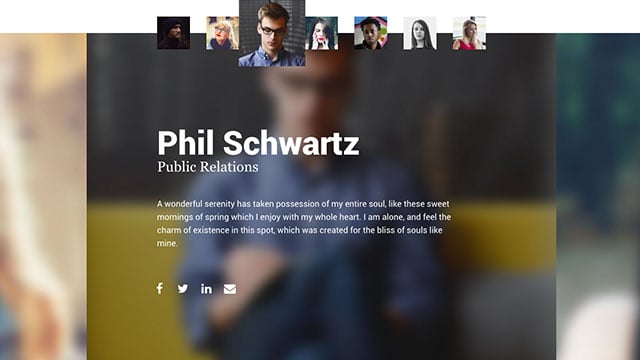
Template Demo: https://www.sliderrevolution.com/templates/thumbnail-hover-carousel-slider-revolution-plugin/
This template should have a line of obsolete CSS removed.
Adjustment Processes
Click the following link to open the step-by-step adjustment process guide:
Steps to Upgrade Template
Step 1: Convert hover z-index CSS to in-built on Global Layers
Open the template’s Global Layers, and for each thumbnail image, complete the Convert hover z-index CSS to in-built options process linked above.
Note: The CSS that you should remove from this template is:
rs-static-layers .rs-parallax-wrap:not(:first-child):hover { z-index: 100 !important; }Team Slider
The “Team Slider” template requires the same adjustments as the “Team Carousel” template. Please follow the instructions provided in the section for that template above.
Tech Journal

Template Demo: https://www.sliderrevolution.com/templates/wordpress-slider/
This template uses a script that fades on scroll. This script can be replaced with in-built options by following the process linked to below.
Adjustment Processes
Click the following link to open the step-by-step adjustment process guide:
Visual Art Forms Slider

Template Demo: https://www.sliderrevolution.com/templates/visual-art-forms-slider/
There is a quirk on the movement direction of an animated layer in this template.
Steps to Upgrade Template
Step 1: Rework layer nesting
You may notice an animation quirk on the Click-Rotate layer. This can be solved by setting up a Group layer to parent the Click-Rotate layer.
The steps to do so are beyond the scope of this guide, so the best approach is to install a fresh copy of the template and use it as a reference to recreate the updated layers.
WooCommerce Slider
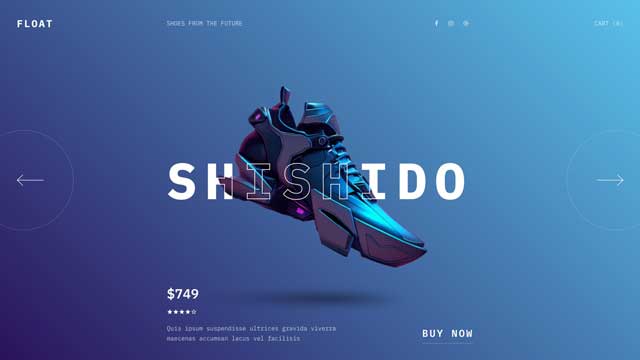
Template Demo: https://www.sliderrevolution.com/templates/sneaker-woocommerce-slider/
This template uses some custom CSS that should be updated to include new selectors.
Adjustment Processes
Click the following link to open the step-by-step adjustment process guide:
Steps to Upgrade Template
Step 1: Update custom CSS
Replace this code:
#srwoo .rs-layer .rs-starring .star-rating { color: #fff !important; }
#srwoo .rs-layer .rs-starring .star-rating:before, .rs-layer .rs-starring-page .star-rating:before { color: #fff !important; }
With this code:
#srwoo .rs-layer .rs-starring .star-rating, #srwoo .sr7-layer .star-rating { color: #fff !important; }
#srwoo .rs-layer .rs-starring .star-rating:before, .rs-layer .rs-starring-page .star-rating:before, .sr7-layer .star-rating:before { color: #fff !important; }
WooCommerce Slider Dynamic

Template Demo: https://www.sliderrevolution.com/templates/woo-commerce-slider/
This template uses some custom CSS that should be updated to include new selectors.
Adjustment Processes
Click the following link to open the step-by-step adjustment process guide:
Steps to Upgrade Template
Step 1: Update custom CSS
Replace this code:
.rs-starring {
    font-size: 20px !important;
}


.rs-starring .star-rating,
.rs-starring .star-rating:before {
	 color: #000 !important;
}


.rs-layer .rs-starring .star-rating {
	 color: #000 !important;
      font-size: 20px !important;
}
With this code:
.rs-starring {
    font-size: 20px !important;
}


.rs-starring .star-rating,
.rs-starring .star-rating:before {
	 color: #000 !important;
}


.rs-layer .rs-starring .star-rating, .sr7-layer .rs-starring .star-rating {
	 color: #000 !important;
      font-size: 20px !important;
}